When you’re working with a #14 screw, picking the right drill bit size is essential to get a tight fit without damaging the material.
Choosing the correct drill bit for a #14 screw helps prevent splitting or stripping the material as well as ensures the screw holds firmly.
Too small a bit, and you risk splitting or stripping; too large, and the screw won’t hold properly.
The ideal bit size varies depending on the material and screw length, but there’s a practical range you can rely on to get the job done efficiently.
Let’s explore what that range looks like and how to select the best drill bit for a #14 screw in different situations.
What Size Drill Bit Do You Need for a #14 Screw?
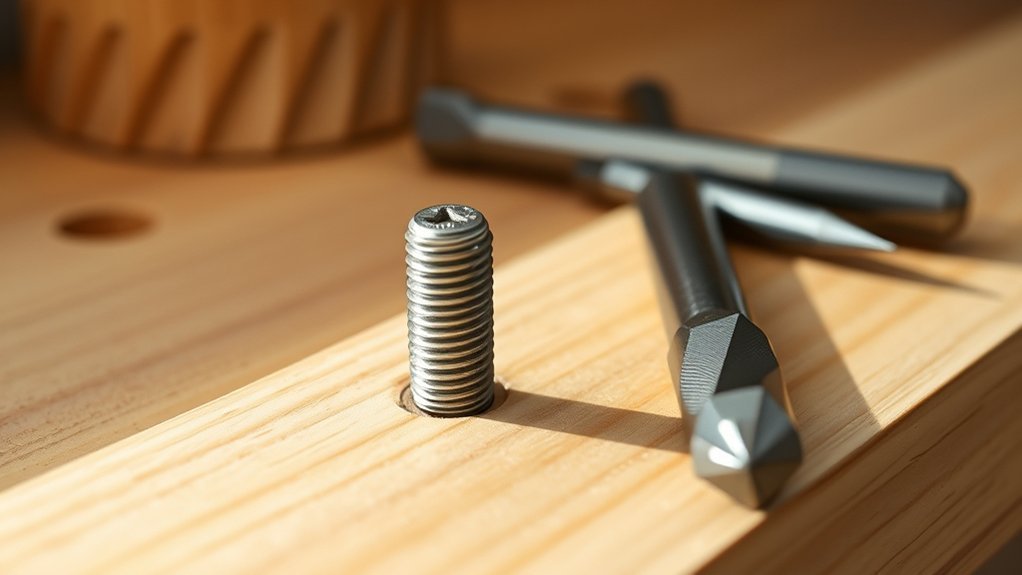
When working with a #14 screw, you’ll typically need a drill bit between 7/32 inch and 1/4 inch in diameter. Choosing the right size depends on the material you’re drilling into and the screw length considerations.
For harder materials, like metal or hardwood, opt for a drill bit made from high-speed steel or cobalt, as these drill bit materials provide durability and precision. If you’re working with softer materials, a standard steel bit usually suffices.
Also, consider the screw length; longer screws require a pilot hole that allows the screw to penetrate smoothly without splitting the material. By selecting a drill bit that matches these factors, you guarantee proper threading and prevent damage to your workpiece, making your project more efficient and secure.
Why Choosing the Right Drill Bit Size Matters for #14 Screws
You need the right drill bit size to prevent the wood from splitting when driving a #14 screw. If the hole is too small, the wood can crack under pressure.
On the other hand, a properly sized hole guarantees the screw grips securely without damaging the material.
Preventing Wood Splitting
Although it might seem minor, choosing the right drill bit size for a #14 screw plays an essential role in preventing wood from splitting. When you drill a pilot hole, you reduce the stress on the wood fibers by allowing the screw to enter smoothly.
If the hole is too small, the wood grain will split as the screw forces its way in. Conversely, a hole that’s too large won’t hold the screw securely. Pay close attention to screw depth; drill the pilot hole slightly deeper than the screw length to avoid creating pressure below the surface.
This careful balance protects the wood grain and maintains the integrity of your project. Selecting the correct drill bit size guarantees clean, crack-free wood every time.
Ensuring Proper Screw Grip
Because the drill bit size directly affects how securely a #14 screw grips the material, choosing the right size is crucial for a strong connection. If the hole is too large, the screw won’t hold firmly, reducing screw grip and weakening the joint.
Too small, and you’ll struggle to drive the screw in, lowering drill efficiency and risking material damage. To guarantee proper screw grip:
- Select a drill bit slightly smaller than the screw’s major diameter for ideal thread engagement.
- Match the pilot hole depth to the screw length to avoid unnecessary resistance.
- Adjust the bit choice based on the material’s density. Hardwoods need slightly larger pilot holes than softwoods.
This balance ensures a tight, durable hold while maximizing drill efficiency.
How to Measure a #14 Screw for the Perfect Pilot Hole
To get the perfect pilot hole for a #14 screw, you need to measure the screw’s diameter accurately. Use calipers to gauge the thickness without including the threads.
Once you have that measurement, you can select a drill bit that matches the core diameter for a secure fit.
Measuring Screw Diameter
Measuring the diameter of a #14 screw is essential for selecting the right drill bit size for your pilot hole. To get it right, focus on the screw thread, as this is the widest part that dictates your drill bit choice.
Here’s how to measure accurately:
- Use a caliper to measure the outer diameter of the screw thread.
- Check the screw length to estimate the necessary drill depth for your pilot hole.
- Confirm measurements against a screw size chart to avoid errors.
This straightforward approach guarantees your pilot hole fits the screw snugly, preventing wood splitting and improving hold strength. Remember, the drill bit should match the screw’s core diameter, not the thread’s outer edge, for best results.
Selecting Pilot Hole Size
Choosing the right pilot hole size for a #14 screw requires matching the drill bit to the screw’s core diameter. To do this, select a drill bit type suitable for the material—wood, metal, or plastic—since each demands different bits like brad point, twist, or spade bits.
Measure the screw’s inner shaft (without threads) to find its core diameter, then pick a drill bit that closely matches this measurement. Using proper pilot hole techniques guarantees the screw drives in smoothly without splitting the material or stripping threads.
If you’re working with hardwood, a slightly larger pilot hole may be necessary. Always test on scrap material first to confirm the fit. This approach assures secure fastening and prevents damage while optimizing your project’s durability and finish.
Using Calipers Accurately
When you need an exact measurement of a #14 screw’s core diameter, using calipers accurately is essential. Different caliper types, digital, dial, and vernier, offer varying ease and precision. Choose the one you’re most comfortable with. Apply proper measurement techniques to get reliable results.
- Position the caliper jaws on the screw’s core, avoiding the threads to measure the shank diameter accurately.
- Close the jaws gently until they contact the screw without compressing it.
- Read the measurement carefully, noting whether your caliper displays metric or imperial units.
This precise measurement guides you in selecting the perfect pilot hole size, ensuring the screw fits snugly without splitting the material or stripping the threads. Mastering caliper types and measurement techniques saves time and improves your project quality.
Recommended Drill Bit Sizes for Wood, Metal, and Sheet Metal #14 Screws
To secure a #14 screw properly, you’ll need the right drill bit size for the material you’re working with. For wood, use a 7/32-inch bit to create a pilot hole that accommodates the screw’s coarse thread type without splitting the material.
When working with metal, select a slightly smaller bit, around 9/64 inch, because metal requires a tighter fit to guarantee the screw threads bite effectively. For sheet metal, go even smaller, around 1/16 inch, since thin material demands a snug pilot hole to prevent deformation.
Keep in mind that different drill bit materials, such as high-speed steel or cobalt, are better suited for metal drilling, while standard bits work well for wood. Matching the drill bit size to your screw thread type and material guarantees strong, lasting connections.
Best Drill Bit Types for Drilling Pilot Holes for #14 Screws
Selecting the right drill bit type plays an essential role in creating clean, accurate pilot holes for #14 screws. The choice depends on the material you’re drilling and the pilot hole depth needed for a secure fit. Here are three top drill bit types you should consider:
- High-Speed Steel (HSS) Bits Ideal for most wood and metal applications, these bits offer durability and precision.
- Cobalt Bits Made from a tougher drill bit material, cobalt bits handle harder metals and extended use without dulling.
- Brad Point Bits Perfect for wood, they have a sharp tip that prevents wandering and guarantees accurate pilot hole depth.
Matching your bit’s material and design to your project assures cleaner holes and prevents screw damage.
How to Drill Pilot Holes for #14 Screws in Wood and Metal
Choosing the right drill bit type sets you up for success when creating pilot holes for #14 screws in wood and metal. Start by selecting a bit that matches the screw type. Wood screws need a bit slightly smaller than the screw’s core diameter, while metal screws require a bit equal to that diameter.
Use steady drill techniques: hold the drill perpendicular to the surface, apply consistent pressure, and start at a low speed to avoid damaging the material. For wood, drill until the hole matches the screw’s shank length. For metal, verify the hole’s depth accommodates the screw without forcing it.
These steps help prevent splitting or stripping, guaranteeing your #14 screws grip securely and your project holds together firmly.
Adjusting Drill Bit Size for Hard vs. Soft Materials
When working with hard materials, you’ll want to use a slightly larger drill bit to prevent splitting or cracking. For soft materials, a bit closer to the screw’s core diameter helps guarantee a tight fit without stripping the material.
Adjusting your drill bit size based on the material hardness makes your #14 screws hold better and last longer.
Hard Material Drill Sizes
Drill bit size adjustments play an essential role when working with hard materials compared to soft ones. When you’re drilling for a #14 screw, hard material considerations demand a slightly smaller pilot hole to guarantee strong grip without splitting. You must also confirm drill bit compatibility with the material to avoid bit damage and guarantee accuracy.
Here’s what to keep in mind:
- Choose a drill bit about 80-90% the screw’s minor diameter for hardwoods.
- Use high-speed steel or carbide bits designed for tough surfaces.
- Apply steady, moderate pressure to prevent overheating or bit wear.
Soft Material Bit Choices
Soft materials require different pilot hole sizes than hard ones to ascertain the #14 screw holds securely without causing damage. When working with soft material, you’ll want to use a slightly smaller drill bit than you would for hardwood.
This guarantees the screw threads bite firmly, providing strong holding power without splitting the wood. For soft materials like pine or cedar, a drill bit around 7/64 inch to 1/8 inch works well as a pilot hole for a #14 screw.
Using too large a drill bit will reduce grip, while too small increases the risk of cracking. Always test your drill bit size on a scrap piece of the same soft material to confirm the fit before proceeding with your project.
Troubleshooting: Fixing Loose or Tight #14 Screws in Pilot Holes
If you find your #14 screws either spinning loosely or refusing to drive in properly, the issue often lies in the size of the pilot hole. The screw thread needs enough material to bite into for a secure hold, but too small a hole causes excessive resistance.
#14 screws require the right pilot hole size to avoid slipping or excessive resistance when driving in.
Here’s how to fix it:
- Loose screws: Drill a slightly smaller pilot hole so the screw threads grip the material firmly.
- Tight screws: Enlarge the pilot hole incrementally to reduce friction without compromising hold.
- Stripped holes: Fill the hole with wood filler or a toothpick, then redrill the pilot hole to the correct size.
Adjusting the pilot hole guarantees proper engagement of the screw thread, preventing loose or overly tight fastening for #14 screws.
Tips to Avoid Splitting Wood When Drilling Pilot Holes for #14 Screws
Guaranteeing the right pilot hole size helps prevent loose or tight screws, but it’s equally important to protect the wood from splitting during drilling. To avoid splits, drill your pilot hole slightly smaller than the screw’s core diameter and follow the wood grain direction.
Drilling against the grain increases stress and the chance of cracks. Control screw depth by stopping just short of the material’s thickness, reducing pressure that causes splitting. Use a slow, steady drilling speed to maintain control and prevent overheating.
If you’re working near edges, drill a shallower pilot hole or pre-drill a clearance hole to minimize wood stress. Taking these steps guarantees a clean, strong fastening without damaging the wood grain or compromising screw depth.
Tools and Accessories That Make Drilling #14 Screw Pilot Holes Easier
While selecting the right drill bit is essential for pilot holes, using the proper tools and accessories can greatly streamline the process when working with #14 screws. Understanding drill bit types and pilot hole techniques will save you time and improve accuracy.
Choosing the right drill bit and tools ensures efficient, accurate pilot holes for #14 screws.
Here are three key tools to reflect on:
- Countersink Bit creates a conical hole so the screw head sits flush, preventing wood splitting.
- Drill Guide or Jig keeps your drill steady and guarantees straight, precise pilot holes every time.
- Depth Stop Collar attaches to your drill bit to control hole depth, avoiding overdrilling.
Using these tools together helps you drill clean, consistent pilot holes, making your woodworking with #14 screws much easier and more professional.
Conclusion
Choosing the right drill bit size for your #14 screw is like finding the perfect key for a lock—it guarantees a secure fit without damaging your material. Remember to adjust your bit size based on the material’s hardness to avoid splitting or loose screws.
With the right pilot hole, your project will hold strong and last longer. Keep these tips in mind, and drilling pilot holes will become a quick, reliable step in your workflow.
When selecting the drill bit, ensure it matches the screw’s core diameter for optimal grip. This approach makes all the difference when working with a #14 screw.