You might not realize that the drill bit size you choose for a 1/4-20 tap directly affects thread strength and tool longevity.
Using the wrong diameter can lead to thread failure or a broken tap, especially in harder materials. Understanding why a #7 drill bit, at 0.201 inches, is preferred requires more than just matching numbers—it involves grasping the relationship between hole size, thread pitch, and material type.
Let’s examine how to select and verify the correct drill bit size for your tapping needs.
Choosing the right drill bit for a 1/4-20 tap ensures that your threads will be strong and durable. It also helps prevent damage to your tap, saving time and money in the long run.
By paying attention to these details, you can improve the quality of your threaded holes and achieve professional results every time.
What Size Drill Bit Do You Need for a 1/4-20 Tap?
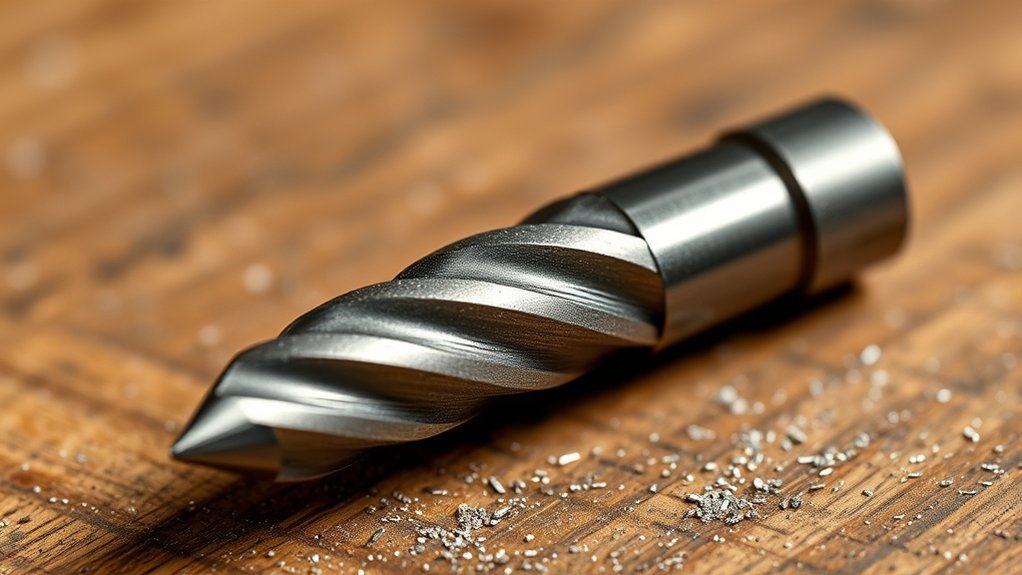
When selecting the drill bit size for a 1/4-20 tap, what matters most is guaranteeing the correct hole diameter to achieve proper thread engagement. For a 1/4-20 tap, the ideal drill bit size is typically a #7 drill, which measures 0.201 inches in diameter.
This precise drill selection guarantees the tap installation creates threads that are strong and accurate without excessive material removal. Using a drill bit that’s too large reduces thread depth, compromising strength, while one too small increases tap torque and risks breakage.
Why Does Drill Bit Size Matter for 1/4-20 Threads?
Because selecting the correct drill bit size directly affects thread strength and fit, you must choose carefully for 1/4-20 taps. Proper drill bit selection guarantees the tapped hole maintains ideal thread compatibility, preventing issues like stripped threads or weak engagement.
Using a drill bit that’s too large compromises thread depth, reducing mechanical strength. Conversely, a drill bit that’s too small makes tapping difficult and risks tool breakage. For 1/4-20 threads, the drill bit diameter must match tap requirements precisely to achieve correct pitch diameter and thread profile.
This precision assures that the fastener seats securely, delivering consistent performance under load. Ultimately, understanding why drill bit size matters helps you create durable, reliable threads that meet design specifications and functional demands.
How Do You Measure and Verify the Correct Drill Bit Diameter?
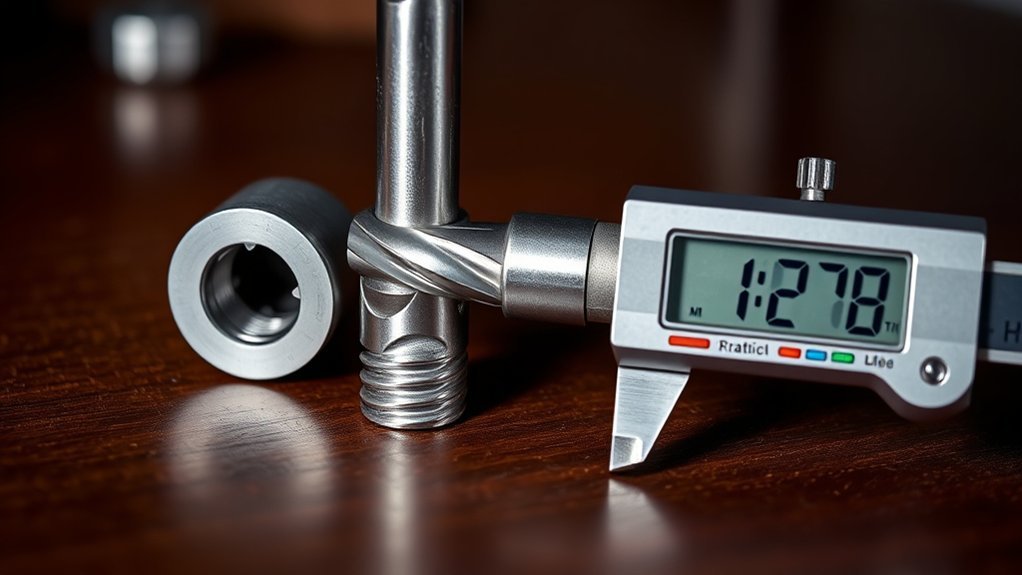
Selecting the correct drill bit size sets the foundation for accurate thread cutting, but you still need to measure and verify the bit’s diameter before use. Start by using a caliper or micrometer to measure the drill bit’s diameter precisely.
Position the measuring drill tool at the widest part of the bit’s cutting edge to guarantee accuracy. Take multiple measurements along the bit length to detect any taper or wear.
Verifying diameter confirms the bit matches the required size for the 1/4-20 tap, typically 13/64 inches. Avoid relying solely on stamped sizes, as manufacturing tolerances vary.
Accurate measuring drill practices prevent undersized or oversized holes, ensuring thread integrity and fit. This verification step is essential to maintain machining precision and avoid costly errors in threading operations.
How to Drill Holes for 1/4-20 Threads
To create accurate 1/4-20 threaded holes, you need the correct drill bit size, typically a #7 bit measuring 0.201 inches. Follow a step-by-step drilling process to guarantee the hole’s diameter and depth meet specifications without damaging the material.
Avoid common mistakes like using dull bits or applying excessive pressure, which can compromise thread quality.
Correct Drill Bit Size
When preparing to tap a 1/4-20 thread, you’ll need a drill bit with a diameter of 13/64 inches. Selecting the correct drill bit size is essential for proper tap installation, ensuring the internal threads form accurately without compromising material integrity.
Consider the drill bit materials; high-speed steel (HSS) bits offer durability and maintain sharpness, especially when working with metals. Carbide bits, though more brittle, provide superior precision in hard materials.
Using the precise 13/64-inch bit size allows the tap to cut threads with the correct pitch and depth, preventing thread stripping or weak engagement. Always verify the drill bit’s diameter with calibrated measuring tools before drilling to maintain dimensional accuracy and optimize tap performance in your project.
Step-by-Step Drilling Guide
Although drilling a hole for a 1/4-20 thread may seem straightforward, following a methodical step-by-step process guarantees accuracy and prevents damage to both the material and the tap. First, select the appropriate drill bit, typically a #7 bit for 1/4-20 threads.
Secure the workpiece firmly to avoid movement. Use a drill press or steady hand with consistent speed to confirm a clean, straight hole. Apply cutting fluid to reduce heat and wear.
Drill with moderate pressure, clearing chips frequently to prevent clogging. After drilling, inspect the hole for burrs and clean thoroughly.
Proceed to thread tapping using proper drill techniques to maintain tap alignment and longevity. Regular tap maintenance, including cleaning and lubrication, confirms precision and extends tool life.
Common Drilling Mistakes
Three common mistakes can compromise the accuracy and quality of holes drilled for 1/4-20 threads. First, insufficient control over drilling depth often leads to incomplete threads or weak engagement.
Second, poor tap alignment causes thread distortion and potential tool breakage. Third, using an incorrect drill bit size results in improper thread fit and reduced strength. To avoid these pitfalls, focus on:
Maintaining consistent drilling depth with depth stops or guides
Ensuring precise tap alignment by using a tapping guide or jig
Selecting the recommended drill bit size (typically #7 drill bit for 1/4-20 taps)
Avoiding excessive feed rates that cause chatter and hole deformation
Which Drill Bit Sizes Work Best With a 1/4-20 Tap?
Selecting the correct drill bit size is essential for creating accurate threads with a 1/4-20 tap. According to standard tap specifications, a 1/4-20 tap requires a 0.201-inch or #7 drill bit to achieve the proper thread engagement. This size balances the material removal and thread strength effectively.
When choosing drill bit types, high-speed steel (HSS) bits are typically preferred due to their durability and precision. If you’re working with tougher materials, consider cobalt or titanium-coated bits to maintain sharpness.
Using the correct drill bit size guarantees the tap cuts clean threads without excessive wear or risk of breaking. Deviating from these specifications compromises thread integrity, so always match your drill bit carefully to the 1/4-20 tap’s requirements for ideal results.
How to Prevent Thread Damage When Tapping 1/4-20 Threads
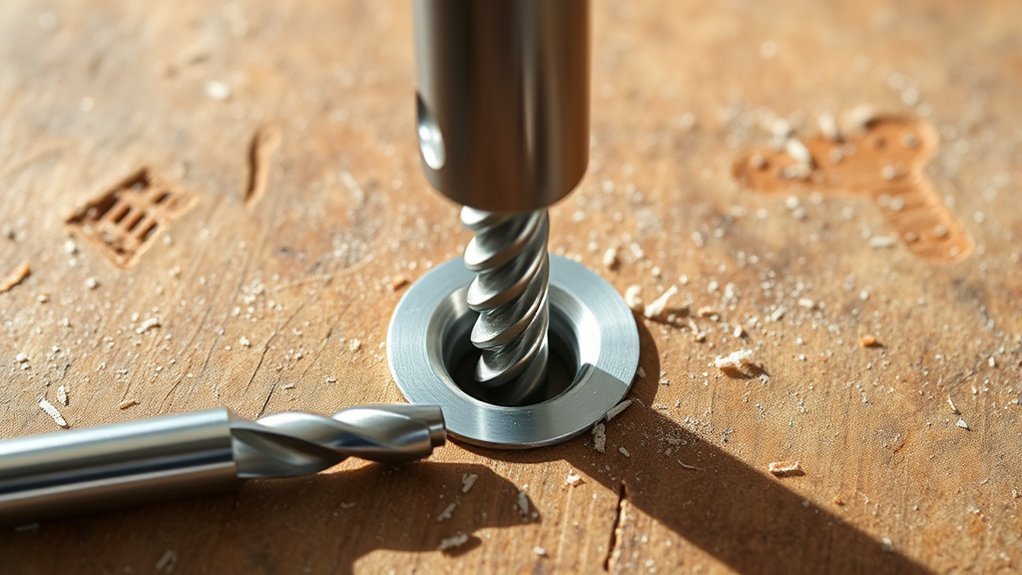
To prevent thread damage when tapping 1/4-20 threads, you need to control feed rate and maintain proper alignment throughout the process. Applying correct tapping techniques minimizes the risk of cross-threading and tap breakage.
Use consistent, moderate pressure while advancing the tap, withdrawing periodically to clear chips. Thread lubrication is essential to reduce friction and heat, extending tap life and ensuring clean threads.
Follow these steps to protect threads:
Align the tap squarely to the hole axis before starting.
Apply appropriate thread lubrication to reduce wear.
Use a steady, controlled feed rate to avoid excessive force.
Reverse the tap slightly after every few turns to clear chips.
These measures help produce accurate, durable 1/4-20 threads without damage.
How Does Material Type Affect Drill Bit and Tap Choice?
Material type markedly influences your choice of drill bit and tap, affecting tool durability, cutting efficiency, and thread quality. When you work with harder materials, you need drill bits and taps made from high-speed steel or cobalt to withstand increased wear.
Softer materials allow you to use standard carbon steel tools but may require sharper cutting angles to prevent deformation. Material hardness directly dictates tool selection, while material thickness impacts drill bit length and tap reach.
Thicker materials demand longer tools with enhanced rigidity to maintain alignment and prevent breakage. Additionally, you must adjust feed rates and lubrication based on material properties to optimize thread formation and extend tool life.
Understanding these factors guarantees precise 1/4-20 threading without compromising tool or workpiece integrity.
How to Troubleshoot Common Problems When Tapping 1/4-20 Threads
When tapping 1/4-20 threads, you need to watch for tap misalignment that can cause poor thread quality or breakage. Clearing chip blockages promptly guarantees smooth cutting and prevents damage to the tap.
If the tap breaks, analyzing the cause, such as excessive torque or incorrect feed rate, will help you avoid repeating the issue.
Identifying Tap Misalignment
Although tap misalignment might seem subtle at first, it can cause significant issues such as uneven thread cutting or tap breakage when working with 1/4-20 threads. You need to apply precise tap alignment techniques to avoid these misalignment consequences.
To identify misalignment, observe the following:
- Uneven thread depth or inconsistent thread profile along the hole
- Increased resistance or binding sensation during tapping
- Visible deviation of the tap from the hole axis under inspection
- Tap breakage or premature wear indicating off-axis loading
Pay close attention to these indicators to correct your setup before damage occurs. Ensuring correct tool perpendicularity and using alignment aids can prevent costly errors and improve thread quality.
Clearing Chip Blockages
Since chip blockages can stall tapping progress and damage threads, you must clear them promptly when working with 1/4-20 taps. Employ effective chip removal techniques such as reversing the tap periodically to break chips and using compressed air to clear debris.
Maintaining your drill bit sharpness also prevents excessive material buildup and guarantees clean cuts. Ignoring chip accumulation risks thread damage and tap breakage.
| Problem | Cause |
|---|---|
| Slow tapping | Chip build-up |
| Tap binding | Insufficient clearing |
| Thread damage | Excess chips |
| Drill bit wear | Poor maintenance |
| Tap breakage | Blocked chips |
Adopt regular drill bit maintenance and chip removal to maintain thread integrity and extend tool life.
Managing Tap Breakage
Clearing chip blockages effectively reduces the risk of tap breakage, but you still need to address other factors that cause taps to snap during 1/4-20 thread cutting. Implementing proper tap maintenance techniques is essential to extend tool life and maintain cutting efficiency.
Confirm you use a drill bit with peak durability to prevent misalignment and excessive force during tapping. Monitor torque carefully to avoid overloading the tap. When you detect increased resistance or chatter, stop immediately to inspect and clean the tap.
Additionally, consider the following measures:
- Use appropriate lubrication to reduce friction and heat buildup
- Apply consistent, controlled feed rates to minimize stress
- Regularly inspect taps for wear or damage
- Replace worn taps promptly to prevent breakage
Following these practices will help you troubleshoot and manage common tap breakage issues effectively.
Conclusion
Choosing the right drill bit size for your 1/4-20 tap isn’t just a step—it’s the difference between a secure thread and a frustrating failure. When you pick the #7 drill bit at 0.201 inches, you’re not guessing; you’re engineering precision.
Coincidentally, that exact fit prevents thread stripping and tap breakage, saving time and material. So, trust the measurement, use the right bit, and guarantee your threads perform flawlessly every time.
In conclusion, knowing what size drill bit for 1 4 20 tap is essential to achieve strong, reliable threads without damage.