When you pick up a drill, the part of the drill that holds the bit is called the chuck. It’s a clamping mechanism designed to hold the drill bit firmly in place, ensuring precision and safety during operation.
But not all chucks are the same—they vary in type, size, and tightening method.
Understanding these differences is essential before you start any project, as they directly impact performance and ease of use.
What Is a Drill Chuck and How It Holds the Bit?
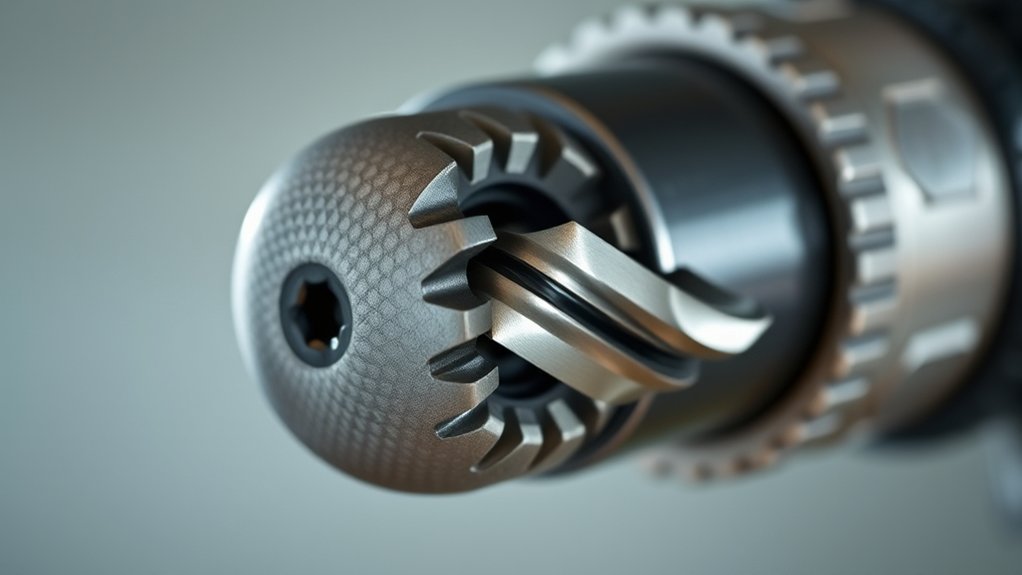
A drill chuck is the clamping device at the front of a drill that secures the drill bit in place. Understanding chuck mechanics is vital for guaranteeing ideal bit compatibility and secure operation. When you insert a bit, the chuck’s jaws engage it by tightening evenly around the shank, distributing clamping force to prevent slippage.
You control this tightening via a key or a twist mechanism, depending on the chuck design. Proper alignment between the chuck’s internal components and the bit’s dimensions is essential to maintain concentricity and reduce runout during drilling.
Types of Drill Chucks
When choosing the right drill chuck, you need to understand the different types available, as each offers distinct mechanisms and levels of precision. Keyed chucks rely on a separate key to tighten or loosen the jaws, providing a very secure grip on the bit, which is essential for high-torque applications.
You’ll find keyed chucks commonly used in heavy-duty drills where bit slippage is unacceptable. On the other hand, keyless chucks allow you to tighten or release the bit by hand, offering faster bit changes and convenience. While keyless chucks sacrifice some clamping force compared to keyed versions, they are ideal for light to medium tasks.
Knowing these differences helps you select a chuck that balances convenience and grip security based on your drilling needs.
Essential Features to Consider When Choosing a Drill Chuck
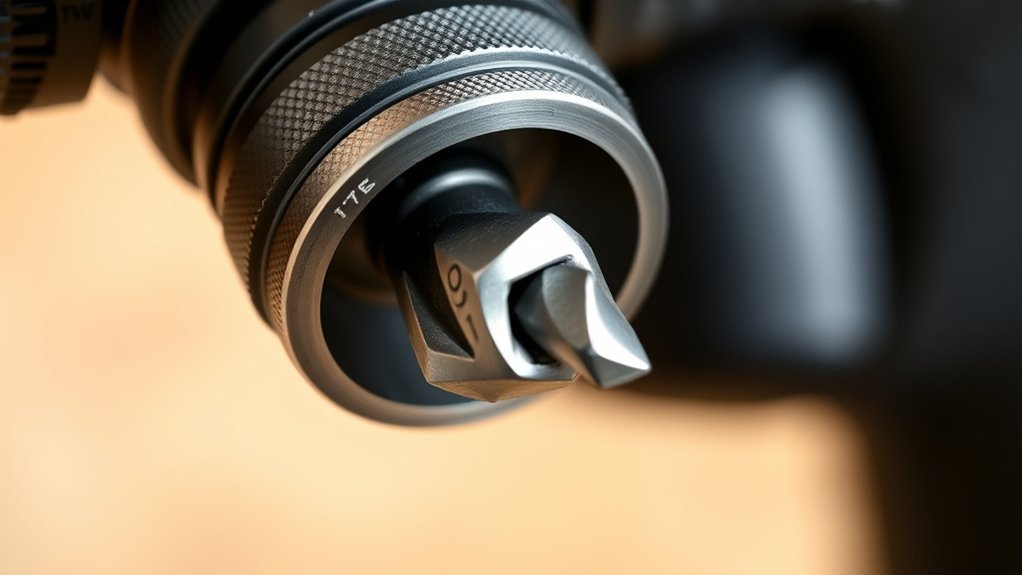
How do you guarantee your drill chuck meets both performance and durability requirements? Start by evaluating chuck materials; steel alloys offer strength and wear resistance, while plastic components may reduce weight but compromise longevity. Next, consider fitting compatibility to ascertain the chuck properly attaches to your drill’s spindle, preventing wobble and bit slippage.
| Feature | Consideration |
|---|---|
| Chuck Materials | Steel for durability; plastic for lightness |
| Fitting Compatibility | Match spindle size and thread type |
| Jaw Type | Three-jaw for versatility; keyless for speed |
How to Open and Close a Drill Chuck to Change Bits
Ensuring your drill chuck fits securely is only part of maintaining ideal performance; efficiently opening and closing the chuck to change bits directly affects your workflow and tool reliability. Start by identifying your chuck type, keyed or keyless, to determine the appropriate method.
For keyed chucks, insert the chuck key into the gear teeth and turn counterclockwise to loosen the jaws, then remove the bit matching your required size. For keyless chucks, grip the collar firmly and rotate it counterclockwise to open the jaws.
Insert the new bit, ensuring its shank size aligns with the chuck’s capacity, then close the jaws by turning clockwise until the bit is snug. Proper manipulation prevents slippage and wear, optimizing compatibility across varying bit sizes and maintaining tool precision.
How to Securely Tighten the Drill Chuck for Safety
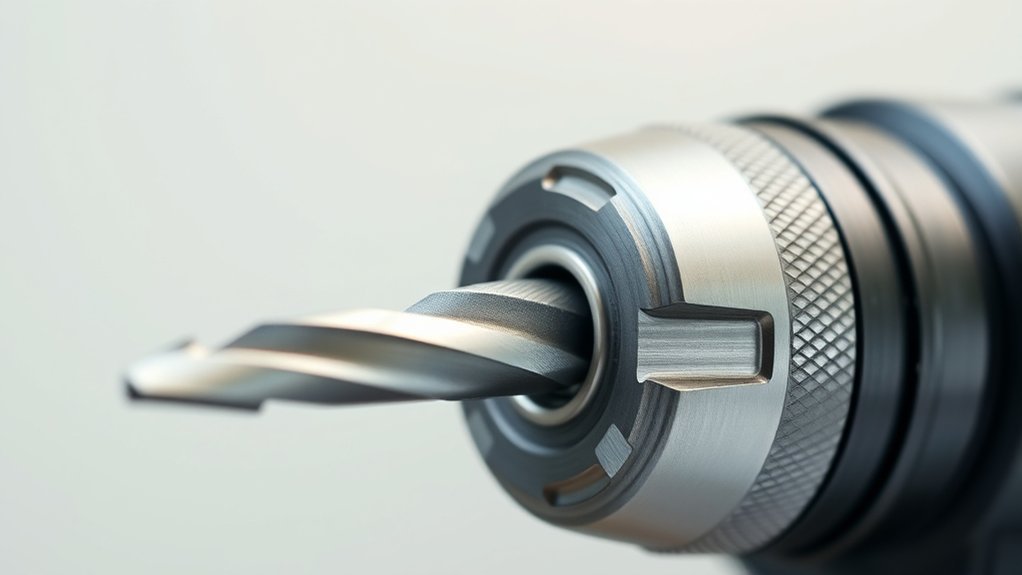
To guarantee safe operation, you need to tighten the drill chuck firmly using the correct technique, typically by hand or with a chuck key if provided. Applying consistent, even pressure prevents bit slippage and reduces the risk of accidents.
Always double-check the chuck’s grip before starting to work for maximum safety.
Proper Chuck Tightening Technique
Although it may seem straightforward, tightening the drill chuck correctly is critical to maintaining bit stability and preventing slippage during operation. Different chuck types, keyed, keyless, and SDS, require specific handling to secure the bit effectively. Proper tightening not only enhances performance but also extends tool life through consistent drill maintenance.
Follow these steps for a precise chuck tightening technique:
- Insert the bit fully into the chuck jaws, confirming proper alignment.
- For keyed chucks, use the chuck key to evenly tighten each side, applying firm, consistent torque.
- For keyless chucks, grip the collar tightly and twist clockwise until resistance indicates a secure hold.
Adhering to these steps guarantees peak bit retention and operational safety without over-tightening.
Safety Tips For Drill Use
When you secure the drill chuck properly, you minimize the risk of bit slippage that can lead to injury or damage. To guarantee drill safety, always insert the bit fully into the chuck before tightening.
Use the appropriate chuck key or hand-tighten firmly if it’s a keyless chuck, confirming the bit is centered and stable. Test the bit’s grip by applying moderate force before operation.
Incorporate workplace precautions by wearing safety goggles and keeping your hands clear of the spinning bit. Regularly inspect the chuck for wear or damage that could compromise its grip.
Following these precise steps guarantees the drill bit remains secured during use, reducing hazards and maintaining efficient performance. Prioritize these safety measures every time you handle the drill chuck.
How the Drill Chuck Affects Performance
Since the drill chuck directly secures the bit, its design and condition greatly influence torque transmission and bit stability during operation. You must understand how the chuck affects overall drill torque and bit compatibility to optimize performance.
- Torque Transfer Efficiency: A high-quality chuck guarantees minimal slippage, allowing more drill torque to reach the bit without losses.
- Bit Compatibility: The chuck’s jaw design determines which bit shanks it can securely hold, impacting versatility and application range.
- Rigidity and Stability: A well-maintained chuck maintains firm grip under load, reducing bit wobble and improving drilling precision.
Common Chuck Problems and How to Fix Them
Even the best drill chucks can encounter issues that compromise performance, but you can often address these problems with straightforward maintenance or adjustments. One common chuck issue is bit slippage, usually caused by worn or dirty jaws. To fix this, clean the jaws thoroughly and lubricate the chuck mechanism following proper chuck maintenance tips.
Another frequent problem is difficulty tightening or loosening the chuck, often due to debris buildup or rust. Disassemble the chuck if possible, clean all parts, and apply a light machine oil to restore smooth operation. If your chuck won’t hold bits securely, check for damaged or misaligned jaws and recalibrate or replace them as needed.
Regular inspection and cleaning prevent most common chuck issues, ensuring reliable bit retention and ideal drill performance.
When to Replace a Worn or Damaged Drill Chuck
You’ll notice signs of chuck wear when your drill bit slips or the chuck fails to tighten properly, directly affecting drilling accuracy and safety. Ignoring these issues can reduce performance and damage your workpiece.
Knowing how to identify wear and follow precise replacement steps guarantees your drill operates efficiently.
Signs Of Chuck Wear
Although drill chucks are designed for durability, prolonged use inevitably leads to wear that compromises their grip and alignment. Recognizing signs of deterioration helps you decide when to replace the chuck and maintain peak performance.
Follow these precise chuck maintenance tips to detect wear early:
- Slipping Bits: If your bit frequently slips despite proper tightening, it indicates worn jaws or internal components.
- Uneven Jaw Movement: Notice any irregular or jerky jaw motion when tightening; this signals mechanical degradation.
- Visible Damage or Corrosion: Inspect for cracks, rust, or pitting, which weaken chuck integrity and affect clamping force.
Impact On Drill Performance
Detecting worn or damaged components in your drill chuck directly affects the tool’s operational efficiency. A compromised chuck design can lead to poor bit retention, causing slippage and inconsistent torque transfer. This degradation reduces drilling accuracy and increases wear on both the bit and the motor.
When the chuck no longer maintains secure bit compatibility, you risk damaging workpieces and potentially injuring yourself. Additionally, vibration and misalignment from a faulty chuck intensify mechanical stress, shortening the drill’s lifespan.
To maintain peak performance, you need to evaluate the chuck’s grip strength and inspect for visible wear or deformation. Replacing the chuck promptly upon detecting these issues guarantees consistent bit engagement, preserves drill integrity, and ensures precision in your tasks.
Steps To Replace Chuck
When a drill chuck shows signs of wear or damage, replacing it promptly secures ideal tool performance and safety. Neglecting this step compromises drill bit compatibility and overall efficiency.
Follow these steps to replace your chuck correctly:
- Remove the Old Chuck: Loosen the chuck jaws completely, locate the retaining screw inside (usually reverse-threaded), and unscrew it. Then, use an adjustable wrench to detach the chuck from the spindle.
- Select the Correct Replacement: Choose a chuck matching your drill’s spindle size and type to maintain drill bit compatibility and adhere to chuck maintenance tips.
- Install the New Chuck: Thread the new chuck onto the spindle securely, tighten the retaining screw, and verify proper alignment and grip strength before use.
Replacing promptly secures precision and prolongs drill lifespan.
How to Choose the Best Drill Chuck for Your Needs
Since drill chucks come in various designs and specifications, selecting the right one requires evaluating your specific drilling tasks, compatibility with your drill, and the materials you’ll work with. First, consider the drill types you own, such as corded, cordless, or hammer drills, as each may require different chuck mechanisms.
Next, assess the bit sizes you frequently use; make sure the chuck accommodates your largest and smallest bits for versatility. Also, decide between keyed and keyless chucks: keyed models offer stronger grip and precision, while keyless provide faster bit changes.
Material compatibility matters, too. Metal chucks excel in heavy-duty tasks, whereas plastic ones suit light work. Finally, check the chuck’s mounting style, whether threaded or tapered, to guarantee it fits your drill spindle securely. Careful evaluation guarantees peak performance and longevity.
Conclusion
Now that you know the drill chuck is the heart of your drill, holding the bit firmly in place, you can appreciate how vital it is to choose the right type and maintain it properly.
Don’t let a loose chuck throw a wrench in your work—secure it tightly to guarantee precision and safety.
With the right care, your drill chuck will perform like clockwork, keeping your projects running smoothly every time. Remember, the part of the drill that holds the bit is the drill chuck, making it essential for effective drilling.