What Drill Bit for TV Mount
Mounting a TV on drywall versus concrete demands very different drill bits, yet many overlook this critical detail.
Knowing what drill bit for TV mount to use is essential not just to create a hole, but to guarantee the mount holds securely and safely.
Choosing the wrong drill bit can lead to wall damage or a failed installation.
Before you pick up your drill, it’s essential to understand which bit material and size match your wall type and anchor requirements.
Choosing the Right Drill Bit for TV Mounting
When mounting a TV, choosing the right drill bit guarantees secure attachment and prevents damage to your wall. You need to select drill bit types based on the wall material: masonry bits for concrete or brick, high-speed steel bits for wood studs, and carbide-tipped bits for metal studs.
The drill bit diameter must match the anchor size specified in your mounting techniques to assure a tight fit. Using an incorrect drill bit can lead to improper anchoring or wall damage, compromising the TV’s stability.
Always verify the wall type before drilling and use a level and stud finder to position anchors correctly. By matching drill bit types precisely to your mounting techniques, you’ll achieve a secure, durable TV installation without unnecessary repairs or risks.
Common Drill Bit Sizes for TV Mount Anchors
Different anchor types require specific drill bit sizes to confirm a secure fit when mounting your TV. For plastic expansion anchors, commonly used in drywall, you’ll typically need a drill bit matching the anchor size—often between 3/16” and 1/4”.
Toggle bolts or molly bolts demand larger holes, usually 1/2” or more, depending on anchor size. Concrete or masonry anchors require masonry drill bits sized precisely to the anchor diameter, generally 1/4” to 3/8”.
Make certain you select drill bit types corresponding to your wall material and anchor sizes to avoid loose or overly tight fittings. Always check the anchor packaging for recommended drill bit size, as matching these guarantees ideal holding strength and prevents damage during installation.
Which Drill Bit Materials Work Best for TV Mounting
How do you choose the right drill bit material for mounting your TV securely? Selecting the proper drill bit type depends largely on the mounting materials you’ll encounter.
For metal studs or brackets, cobalt or titanium-coated drill bits excel due to their hardness and heat resistance, guaranteeing clean, precise holes. When you work with masonry or concrete walls, carbide-tipped bits offer superior durability and efficiency, easily penetrating tough surfaces without dulling quickly.
High-speed steel (HSS) bits suit softer materials but wear out faster on harder substrates. Avoid using bits not matched to your mounting materials, as this risks damaging the wall or creating unstable anchor points.
Best Drill Bits for Drywall and Wood Studs
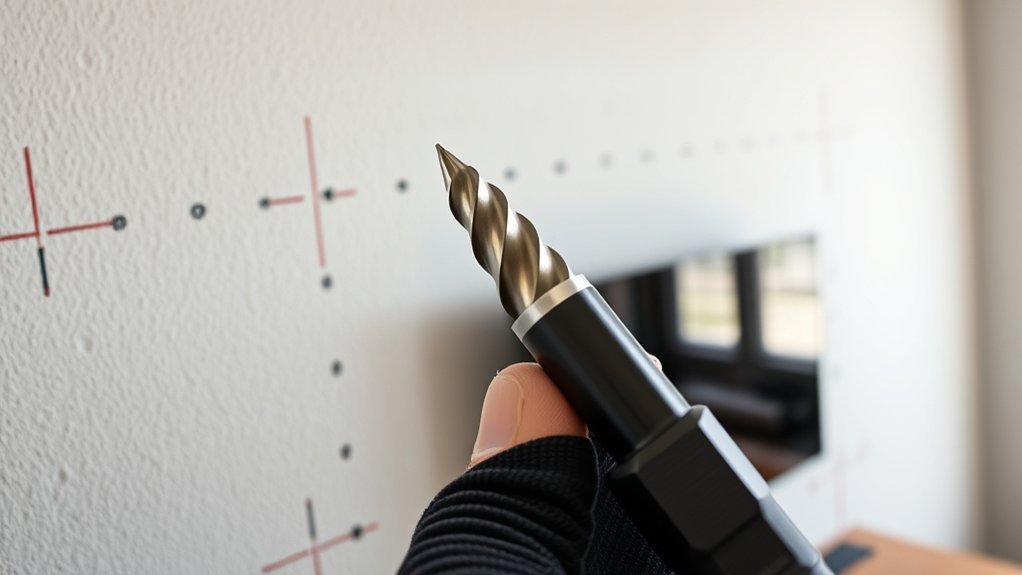
Matching drill bit materials to your mounting surface guarantees a reliable hold, especially with drywall and wood studs. Since drywall thickness varies (typically 1/2″ or 5/8″), use a standard high-speed steel (HSS) bit to penetrate drywall cleanly.
For wood studs behind drywall, a sharp spade or brad point bit guarantees accurate, splinter-free holes. Always use a stud finder to locate studs precisely before drilling.
| Surface | Recommended Drill Bit |
|---|---|
| Drywall | High-speed steel (HSS) |
| Wood Studs | Brad point or spade bit |
| Drywall Thickness | 1/2″ or 5/8″ (adjust bit length) |
Selecting the right bit minimizes drywall damage and maximizes screw grip in wood studs, securing your TV mount safely.
Best Drill Bits for Concrete and Masonry Walls
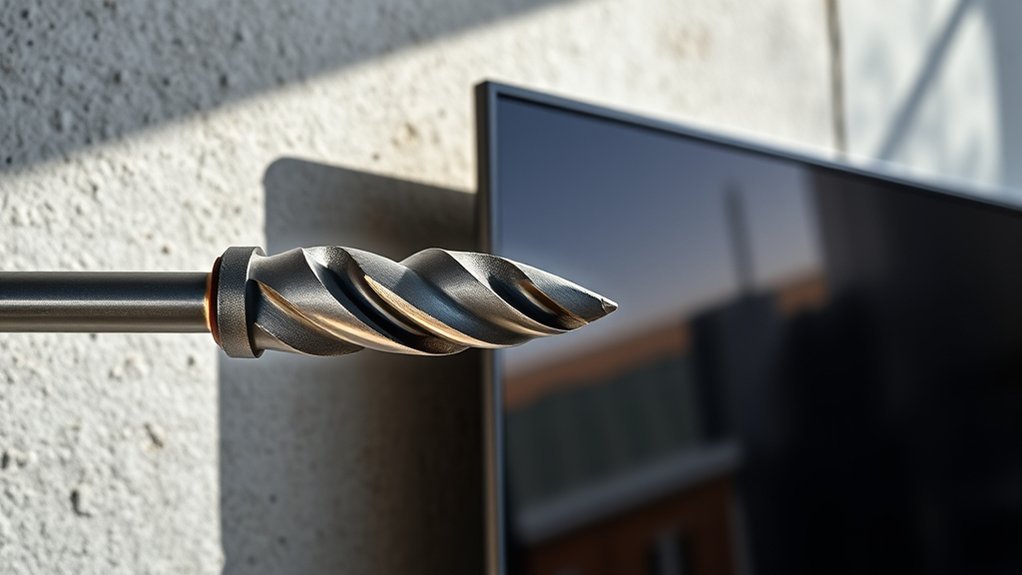
When drilling into concrete or masonry walls, you’ll need carbide-tipped masonry bits designed to withstand hard, abrasive surfaces. Concrete drill bits feature a tungsten carbide tip, which maintains sharpness and durability when penetrating dense materials.
Masonry drill bits often have a slightly different tip geometry optimized for chipping through brick, block, or stone. Both types typically incorporate a flute design to efficiently remove dust and debris during drilling.
For mounting your TV on such walls, choose drill bits matched to your wall material and drill size requirements. Using the correct concrete drill bits or masonry drill bits guarantees clean holes and prevents bit damage or wall cracking.
Avoid standard steel bits here; they’re prone to dulling quickly and can overheat, compromising your mounting installation.
How to Drill Clean Holes Without Damaging Walls
Choose a drill bit designed for your wall material to guarantee clean, precise holes. Use painter’s tape or a drill guide to protect the wall surface from chipping or cracking.
Apply steady pressure and start drilling at a low speed to maintain control and prevent damage.
Choose Proper Drill Bit
Selecting the correct drill bit is essential for creating clean, precise holes without damaging your walls. First, identify your wall material, such as drywall, concrete, brick, or wood, since each requires specific drill bit types.
For drywall, standard twist bits work well, while masonry bits are necessary for concrete or brick. Wood walls respond best to spade or brad point bits.
Use carbide-tipped masonry bits for harder surfaces to avoid bit wear and wall damage. Match the drill bit diameter to your mounting anchors for a secure fit.
Avoid oversized bits that enlarge holes unnecessarily or undersized bits that force anchors, risking wall cracks. By choosing the proper drill bit tailored to your wall material, you guarantee efficient drilling, prevent structural damage, and achieve a reliable TV mount installation.
Prevent Wall Surface Damage
Although drilling into walls may seem straightforward, preventing surface damage requires careful technique and the right tools. Employ wall protection techniques like using painter’s tape over the drilling spot to minimize paint chipping.
Select drill bits designed for your wall type to avoid cracking. Steady your drill and apply moderate pressure to prevent wall surface damage. Here’s a quick guide for minimizing damage:
| Step | Action | Purpose |
|---|---|---|
| 1 | Mark drilling point | Accuracy |
| 2 | Apply painter’s tape | Protect surface |
| 3 | Use appropriate drill bit | Prevent cracks |
| 4 | Drill at low speed | Control |
| 5 | Clean debris carefully | Avoid surface scratches |
Following these wall protection techniques guarantees clean holes without compromising your wall’s integrity.
When and How to Use Pilot Holes for TV Mounts
You use pilot holes to guide screws and prevent wood or drywall from splitting when mounting your TV. Start by selecting a drill bit slightly smaller than your screw diameter.
Then mark and drill shallow holes at each mounting point. This guarantees secure and accurate installation without damaging the wall material.
Purpose Of Pilot Holes
When installing a TV mount, drilling pilot holes guarantees screws enter the wall or studs accurately and securely. Pilot hole benefits include reducing wood splitting and preventing wall damage, which enhances installation accuracy.
By pre-drilling, you guide screws directly into studs, ensuring the mount’s stability and load-bearing capacity. This step also minimizes the effort needed to drive screws, avoiding misalignment that could compromise safety.
Using pilot holes helps maintain wall integrity, essential for heavy TV mounts. Overall, pilot holes provide precise screw placement, enhancing the mount’s firm attachment.
Skipping this step risks uneven mounting and potential structural failure. Embrace pilot holes to achieve a secure, long-lasting installation that supports your TV’s weight confidently and maintains wall durability.
Steps To Drill Pilot Holes
Properly drilling pilot holes sets the foundation for a secure TV mount installation. First, identify the wall materials, such as drywall, concrete, or wood, as this dictates your drill bit choice and drill depth. Mark your mounting points, then select a drill bit slightly smaller than the mounting screws to prevent wall damage.
Maintain consistent drill depth, ideally matching screw length, to guarantee firm anchoring without over-penetration. Drill straight and steady to avoid misalignment.
| Step | Action |
|---|---|
| 1 | Identify wall materials |
| 2 | Mark mounting points |
| 3 | Select correct drill bit |
| 4 | Set drill depth |
| 5 | Drill pilot holes straight |
Following these steps guarantees your TV mount is stable and secure.
Common Mistakes to Avoid When Choosing Drill Bits
Although selecting a drill bit may seem straightforward, overlooking key factors can lead to poor performance or damage. You must guarantee drill bit compatibility with your wall material and drill type to avoid stripping or breakage. Neglecting drill bit maintenance, such as cleaning and sharpening, reduces efficiency and precision.
Common mistakes to avoid include:
Using the wrong bit type for the substrate, risking wall damage or unstable mounts.
Ignoring the drill bit size specified for pilot holes, which affects anchor grip and mount stability.
Failing to inspect bits for wear or dullness, leading to excessive force and imprecise holes.
Conclusion
Choosing the right drill bit may seem complicated, but it’s key to a safe, secure TV mount. Don’t worry about damaging your walls—using the correct bit type and size for your surface prevents cracks and guarantees a firm hold.
Remember, matching the bit to your wall material and anchor size saves you time and frustration. With the right tools and technique, you’ll mount your TV confidently and avoid costly mistakes.
For best results, always select the proper drill bit for TV mount projects to ensure a sturdy and lasting installation.