When you pick up lock pliers, your first step is to adjust the jaw width precisely to fit the object you’re working on.
Lock pliers are designed to provide a firm grip that won’t slip but also won’t damage the surface.
After clamping, you engage the locking mechanism to hold the tool in place without continuous effort.
Mastering these basics sets the stage for handling tougher tasks.
However, understanding the nuances of release and torque control is equally important for effective use.
What Are Lock Pliers?
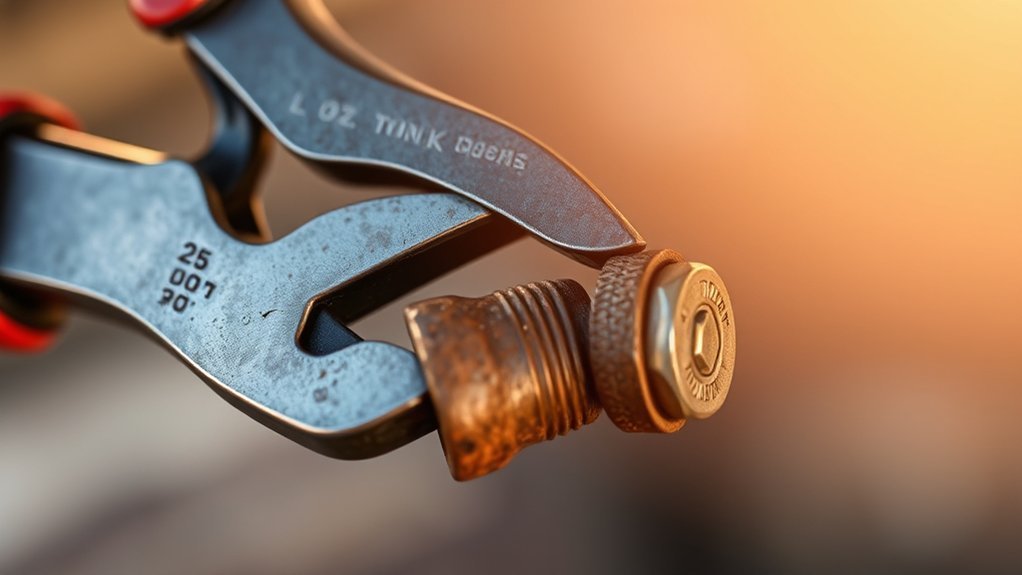
Lock pliers, also known as vise-grip pliers, are specialized hand tools designed to firmly clamp and hold objects in place. You’ll find several types of lock pliers, including curved jaw, straight jaw, and long nose variants, each tailored for specific gripping tasks.
Understanding the lock pliers history reveals their invention in the early 20th century, aimed at providing a reliable, adjustable grip that frees your hands during work. These tools function through a locking mechanism that maintains pressure without continuous force from you.
When you use lock pliers, you engage the jaws around an object, then lock them in position with a lever, allowing precise, stable control over your workpiece. Their design combines versatility with strength, making them essential in mechanical and construction tasks.
How to Adjust Lock Pliers for a Secure Grip
To secure a firm grip with lock pliers, start by adjusting the jaw width to match the object’s size. Turn the adjustment screw clockwise or counterclockwise until the jaws fit snugly around the item.
Then, squeeze the handles to engage and tighten the locking mechanism, ensuring the pliers hold firmly in place.
Adjusting Jaw Width
Although it may seem straightforward, adjusting the jaw width correctly is crucial for achieving a secure grip with pliers. Start by locating the adjustment screw at the handle base.
Turn this screw clockwise to decrease the jaw width or counterclockwise to increase it. Make incremental adjustments, then test the fit by placing the jaws around your workpiece. Confirm the jaws close evenly without excessive force.
Proper jaw width prevents slippage and damage. Once set, the lock adjustment maintains consistent pressure. Avoid over-tightening the screw to preserve the tool’s mechanism.
Precise jaw width adjustment enhances grip reliability and extends tool life. Always verify the fit before proceeding to the locking phase to guarantee peak performance and safety.
Tightening Locking Mechanism
Once you’ve adjusted the jaw width, focus on tightening the locking mechanism to secure the grip firmly. Use precise tightening techniques by turning the adjustment screw clockwise to increase tension. Avoid overtightening, which can damage the tool or the object.
Make incremental locking adjustments and test the grip by applying gentle pressure. The locking mechanism should hold without slipping or excessive force.
| Step | Action |
|---|---|
| 1. Set jaw width | Adjust screw to fit the object |
| 2. Tighten locking | Turn adjustment screw clockwise |
| 3. Test grip | Apply pressure, verify no slip |
How to Lock and Release Lock Pliers
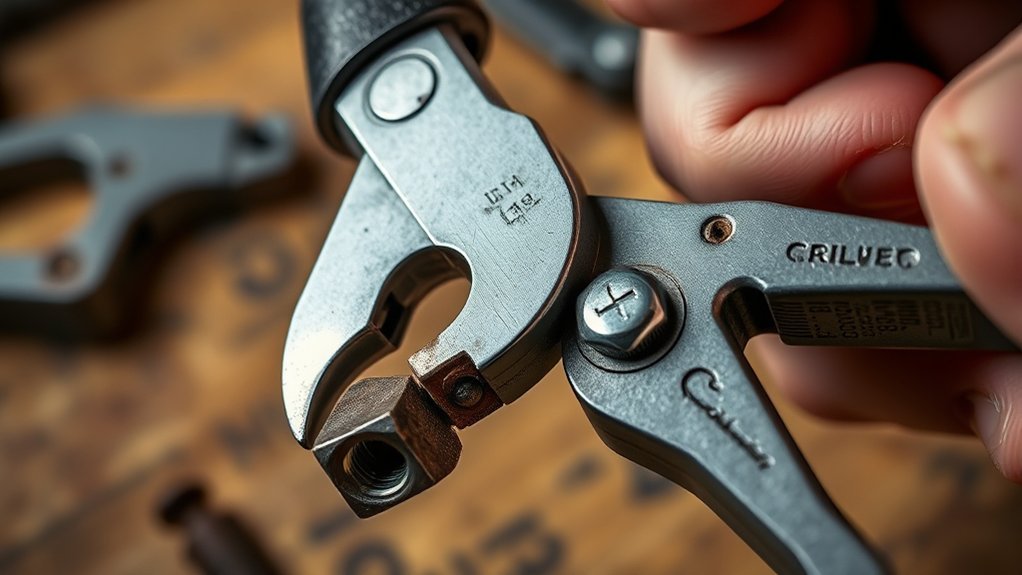
Grasp the handles firmly and squeeze them together until the jaws clamp securely onto the object. This action engages the locking mechanism, which holds the jaws in place without requiring continuous pressure.
To guarantee a tight grip, adjust the screw at the handle’s end before clamping. When you need to release the lock pliers, use the designated release technique: typically, this involves pressing the release lever or trigger located near the handle pivot.
This disengages the locking mechanism, allowing the jaws to open smoothly. Avoid forcing the handles apart, as this can damage the tool or the object. Mastering this lock and release process guarantees efficient, safe operation of your lock pliers for various tasks.
Gripping and Turning Stubborn Objects With Lock Pliers
First, adjust the jaw tension to fit the object’s size precisely. Next, secure the grip firmly without over-tightening to prevent damage.
Finally, apply controlled torque to turn the object steadily and avoid slipping.
Adjusting Jaw Tension
Although lock pliers are designed to hold objects firmly, you’ll need to adjust the jaw tension to ascertain a secure grip on stubborn or irregularly shaped items. Begin by locating the tension adjustment screw at the handle’s end.
Turn this screw clockwise to increase jaw tension, tightening the grip, or counterclockwise to reduce tension for easier release. Make small increments during grip adjustment to avoid over-tightening, which can damage the object or the tool.
After adjusting, test the pliers on the target object to confirm the grip strength suits the task. Proper jaw tension ascertains the pliers lock securely without slipping, enabling effective control.
Mastering this adjustment enhances your precision when handling challenging materials with lock pliers.
Securing Grip Properly
Make certain the lock pliers are positioned squarely around the object before engaging the locking mechanism. Align the jaws evenly to guarantee maximum contact and prevent slippage.
Once positioned, squeeze the handles firmly until you hear a click, indicating the jaws are locked. Adjust grip pressure carefully; too much can damage the object, while too little compromises stability.
Verify that the locking lever is fully engaged, securing the grip reliably. Throughout this process, maintain handle comfort by positioning your hand to minimize fatigue and maximize control.
If you feel discomfort, reposition your grip or adjust tension to balance pressure with ergonomic handling. Properly securing the grip assures effective manipulation of stubborn objects with minimal risk of injury or damage.
Applying Controlled Torque
With a secure grip established, you can now focus on applying controlled torque to loosen or tighten stubborn objects. Begin by positioning your hand to apply steady, even pressure on the lock pliers’ handles, ensuring the grip techniques prevent slippage.
Gradually increase force to transfer torque efficiently to the target without damaging the object or tool. Maintain alignment between the pliers’ jaws and the object’s surface to maximize torque applications and minimize wear.
Avoid sudden or excessive force, as this risks stripping fasteners or deforming components. Consistently monitor the grip’s stability during turning, adjusting as needed to maintain control.
Clamping Materials Safely Using Lock Pliers
When you clamp materials using lock pliers, make sure the jaws align properly to distribute pressure evenly and prevent damage. Begin by selecting the appropriate jaw size and shape for your material.
Adjust the locking mechanism gradually to secure the grip without over-tightening, which can deform or weaken the workpiece. Employ precise clamping techniques, positioning the pliers so that force is applied perpendicular to the surface.
Always engage safety precautions: wear protective gloves to avoid pinches and guarantee your workspace is stable to prevent slippage. Double-check the lock’s engagement before applying torque or pressure.
Tips to Protect Surfaces When Using Lock Pliers
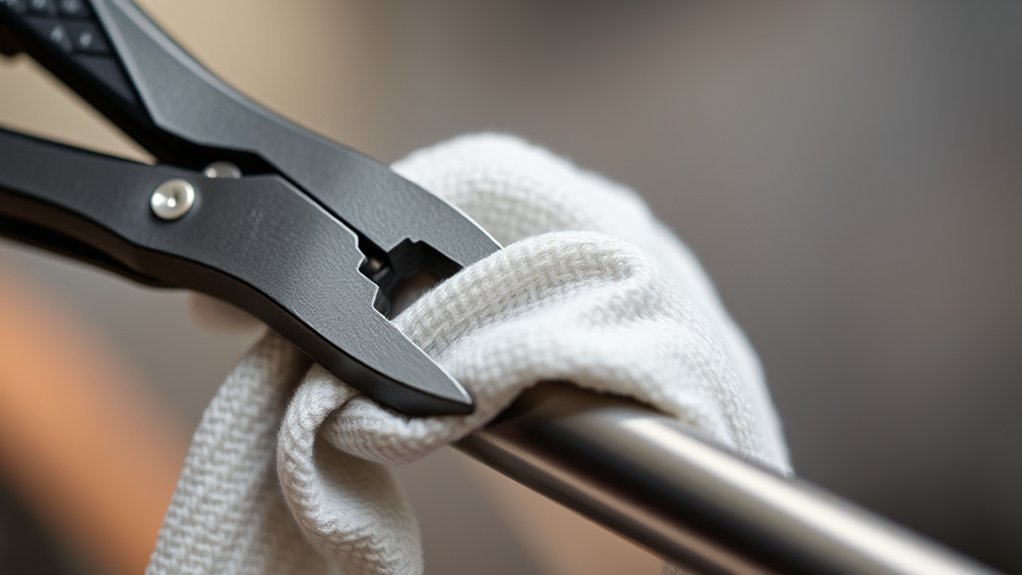
Although lock pliers provide a strong grip, you’ll need to take specific measures to protect delicate surfaces from marring or indentations. Start by applying protective pads or strips of soft material, such as rubber or leather, between the jaws and the workpiece. This surface protection reduces direct metal-to-material contact, preventing damage.
Adjust the locking mechanism carefully to avoid excessive pressure that can deform the surface. Always inspect the jaws for wear or damage that might compromise grip or safety.
Use the correct size and type of lock pliers for the task to maintain proper tool safety. Following these steps guarantees secure clamping while preserving the integrity of your materials, minimizing the risk of surface damage during your projects.
Common Lock Pliers Mistakes to Avoid
If you want to maximize the effectiveness and safety of lock pliers, you need to avoid common mistakes that compromise grip and damage materials. One of the most frequent lock plier mishaps is over-tightening. Applying excessive force can deform the workpiece or damage the pliers’ jaws.
Conversely, under-tightening reduces grip strength, causing slippage. Another mistake is using lock pliers on incompatible materials or inappropriate sizes, which leads to poor engagement and tool wear. Avoid twisting or levering with lock pliers, as they’re designed for clamping, not prying.
Finally, neglecting regular maintenance, like cleaning and lubricating the adjustment screw, impairs smooth operation. By sidestepping these common mistakes, you guarantee precise control, prolong tool life, and protect your workpiece from unintended damage.
When to Use Lock Pliers Instead of Other Tools
Since lock pliers provide a strong, adjustable grip, you should choose them over other tools when you need to securely hold irregularly shaped objects or apply consistent clamping pressure. Their advantages include maintaining grip tension without continuous effort, making them ideal for welding, clamping, and removing stripped bolts.
Consider these common applications to decide when lock pliers outperform alternatives:
| Task | Lock Pliers Advantages | Alternative Tool Limitations |
|---|---|---|
| Holding irregular shapes | Adjustable locking mechanism | Fixed grips lack adaptability |
| Welding clamp | Consistent pressure applied | Manual clamps may slip |
| Removing rounded bolts | Strong grip without damage | Wrenches slip on damaged bolts |
| Temporary fixture | Hands-free operation possible | Requires manual holding |
| Metal bending | Precise control and force | Less precise force application |
Use lock pliers when precision and secure hold are critical.
How to Maintain and Care for Your Lock Pliers
Proper maintenance guarantees your lock pliers function reliably and last longer. Start by applying recommended cleaning techniques after each use; wipe down all metal surfaces with a clean cloth and use a brush to remove debris from the jaws and pivot points.
Avoid using harsh chemicals that can degrade metal components. Lubricate the pivot joint and adjustment screw periodically to maintain smooth operation.
Inspect your pliers for wear or damage, focusing on the locking mechanism and jaw alignment. For storage solutions, keep your lock pliers in a dry, cool environment to prevent rust and corrosion.
Use a protective case or hang them on a pegboard to avoid mechanical damage. Following these steps assures your lock pliers remain precise and ready for any task.
Conclusion
Lock pliers can increase your grip strength by up to 50%, making tough tasks more manageable. By adjusting the jaw width precisely and using the locking mechanism correctly, you guarantee a secure hold without exerting constant pressure.
Remember to release the lock gently to avoid tool damage. With proper technique and care, lock pliers become an indispensable tool for gripping, turning, and clamping tasks efficiently and safely.
Use lock pliers methodically to maximize performance and longevity. Incorporating these tools into your workflow ensures you get the best results every time.