Putting a drill bit in a drill may seem straightforward, yet doing it improperly can lead to poor performance or safety risks. You’ll need to understand your drill’s chuck type and how to loosen it correctly before inserting the bit.
This process demands precision to guarantee the bit is secure and aligned. Knowing these steps will help you avoid common mistakes and achieve ideal results with your tool.
Properly installing a drill bit ensures efficient drilling and protects both the tool and the user. Taking the time to learn the correct method is essential for any DIY project or professional job.
Figure Out Your Drill and Chuck Type for Drill Bits
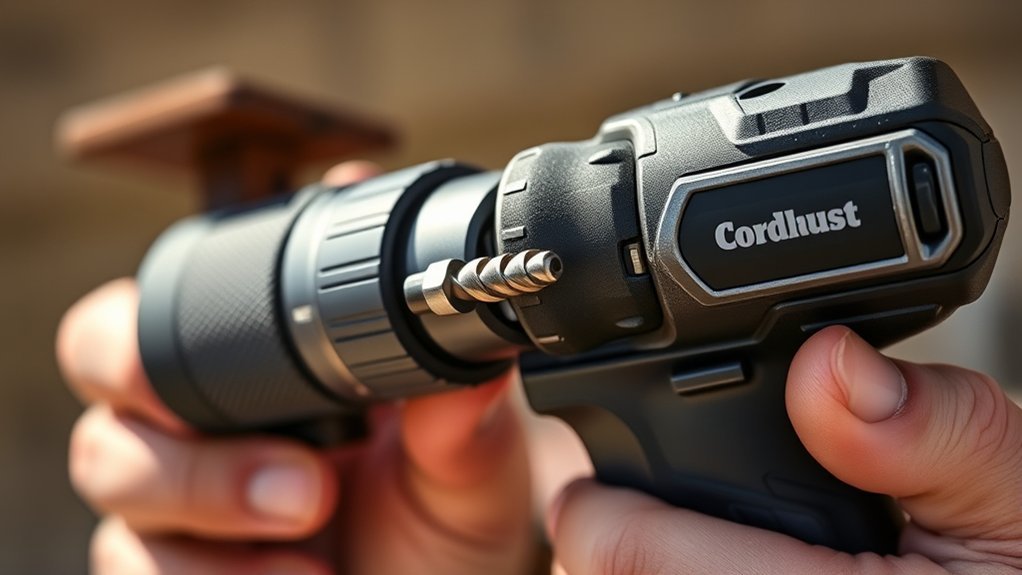
Before you insert a drill bit, you need to identify your drill’s chuck type, as it determines the proper method for securing the bit. Different drill types feature distinct chuck mechanisms, primarily keyless or keyed chucks.
Keyless chucks allow you to tighten or loosen the bit by hand, using a sleeve that you rotate. Keyed chucks require a chuck key to engage the gear teeth, guaranteeing a firmer grip on the bit.
Keyless chucks tighten by hand, while keyed chucks use a key for a stronger bit grip.
Additionally, some drills use SDS chucks, designed for hammer drills, which secure bits with a specialized locking system. Recognizing your drill’s chuck mechanism helps you select the correct insertion process and guarantees safety and efficiency.
Verify your drill’s manual or inspect the chuck to confirm its type before proceeding.
Choose the Right Drill Bit for Your Project
Once you’ve identified your drill’s chuck type, selecting the appropriate drill bit for your project is the next step. Different drill bit types are designed for specific project materials, guaranteeing efficiency and clean results. Using the right bit reduces wear and prevents damage.
| Drill Bit Type | Suitable Materials | Best Use Case |
|---|---|---|
| Twist Bit | Wood, Plastic, Metal | General-purpose drilling |
| Masonry Bit | Brick, Concrete | Drilling into masonry |
| Spade Bit | Softwood | Large holes in wood |
| Forstner Bit | Hardwood | Precise, flat-bottom holes |
Match your project materials with the correct drill bit type to optimize performance and durability. This guarantees your drilling task is both effective and safe.
Loosen the Chuck to Prepare for Inserting the Bit
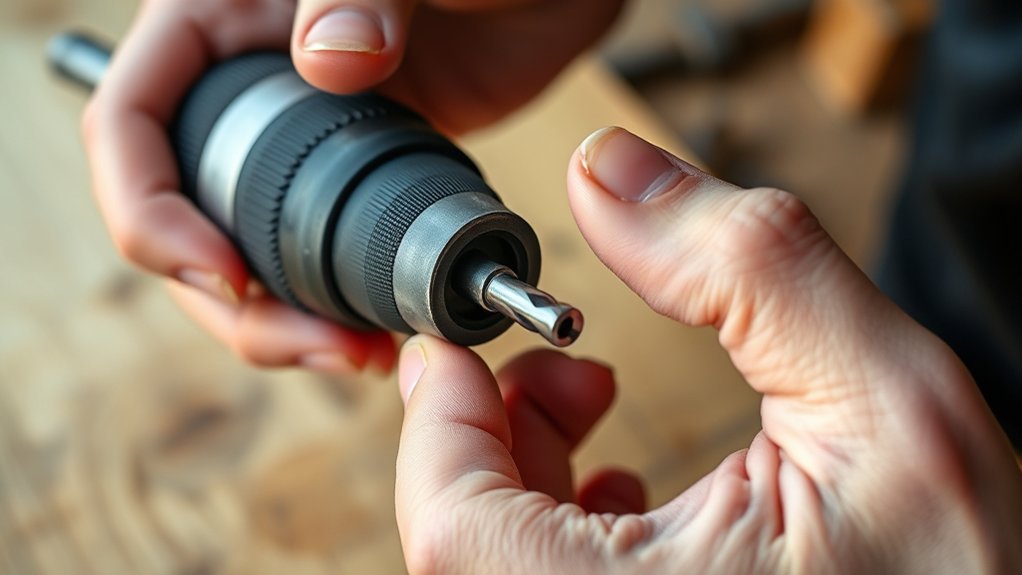
Start by turning the chuck counterclockwise to open its jaws and create enough space for the drill bit. Depending on the chuck type, keyed or keyless, you’ll either use a chuck key or your hand to rotate it.
Keyed chucks require the key to engage the gear teeth, guaranteeing precise loosening, while keyless chucks loosen by hand, offering quicker adjustments. Make certain the chuck opens wide enough to accommodate the bit size you selected.
Confirm the bit diameter fits within the chuck’s capacity to avoid damage or improper grip. Loosening the chuck fully is essential; it prevents binding and allows smooth insertion of the drill bit. Proper chuck adjustment guarantees the bit will be securely held during operation, enhancing safety and performance.
Insert the Drill Bit Securely Into the Chuck
Although the chuck is loosened, you need to insert the drill bit straight into the center of the chuck jaws to verify proper alignment. Depending on your drill’s chuck type, keyed, keyless, or SDS, you must ascertain the bit size matches the chuck’s capacity.
For keyed and keyless chucks, select a drill bit with a shank diameter compatible with the chuck’s maximum and minimum bit sizes. Insert the bit fully into the jaws, so the shank is seated evenly and firmly, avoiding angled placement that can cause wobbling or damage.
For SDS chucks, align the bit’s grooves with the chuck’s locking mechanism before insertion. Proper insertion verifies stable rotation, ideal performance, and prevents slippage during operation.
Tighten the Chuck to Lock the Drill Bit in Place
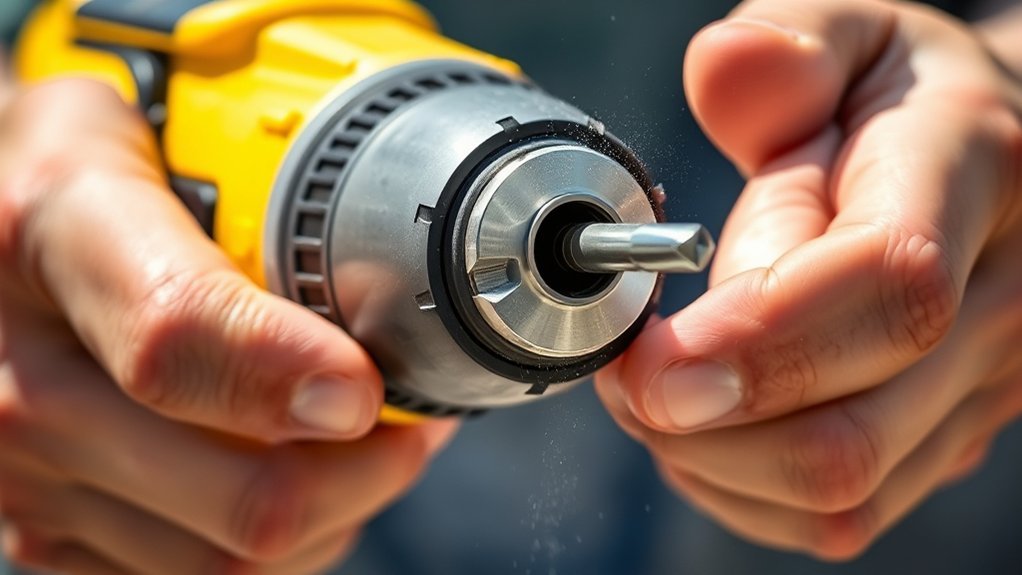
Secure the drill bit by firmly tightening the chuck, ensuring it grips the shank without slipping during use. Depending on your drill’s chuck type, keyed, keyless, or SDS, apply the appropriate tightening technique.
For keyed chucks, insert the chuck key into the gear teeth and rotate clockwise until the bit is immobile. With keyless chucks, hold the drill handle and rotate the chuck sleeve clockwise by hand, applying steady pressure to lock the bit.
For SDS chucks, push and twist the bit into the slot until it snaps securely. Avoid overtightening, which can damage the bit or chuck. Proper tightening guarantees stability, prevents slippage, and enhances drilling accuracy and safety.
Always confirm the chuck engages evenly around the bit’s shank before proceeding to use your drill.
Test the Drill Bit to Make Sure It’s Installed Correctly
How can you guarantee your drill bit is properly installed before use? First, visually inspect the bit alignment within the chuck. Verify the bit is centered and sits straight without any wobble. Misalignment can cause uneven drilling and damage.
Next, power the drill on at a low speed to test functionality. Hold the drill securely and observe the bit’s rotation; it should spin smoothly without vibration or noise. If you notice any irregular movement or slipping, stop immediately and retighten the chuck.
Confirming proper bit alignment and smooth operation minimizes risks and maximizes drilling accuracy. Performing these checks each time you install a bit verifies safe, effective tool use and prolongs the lifespan of both the drill and drill bits.
How to Remove and Replace Drill Bits Safely
To remove and replace drill bits safely, start by releasing the chuck to free the old bit. Carefully pull out the worn bit, then insert the new one straight into the chuck.
Finally, secure the new bit by tightening the chuck firmly before use.
Unlocking The Chuck
The chuck is the component that holds the drill bit firmly in place, and releasing it properly is essential for safe bit removal and replacement. To disengage the chuck, first identify your drill’s chuck type: keyless or keyed.
For keyless chucks, grip the collar firmly and rotate it counterclockwise to loosen the jaws. Keyed chucks require inserting the chuck key into the gear teeth and turning it counterclockwise to open the jaws.
Always verify the drill is powered off before disengaging. Regular chuck maintenance, including cleaning debris and lubricating moving parts, prevents jamming and guarantees smooth operation.
Proper disengaging techniques and maintenance extend chuck life and maintain drill performance, allowing you to swap bits efficiently and safely.
Removing The Old Bit
Start by verifying the drill is completely powered off and unplugged or its battery removed. This essential safety precaution prevents accidental activation while removing the old bit.
Next, firmly grip the chuck and rotate it counterclockwise to loosen its jaws. Avoid common mistakes such as applying excessive force, which can damage the chuck or bit. If the chuck is stuck, use the appropriate chuck key or tool designed for your drill model.
Once loosened, carefully pull the drill bit straight out to prevent bending or injury. Always wear protective gloves to shield your hands from sharp edges.
Following these steps precisely minimizes risks and guarantees safe, efficient removal of the drill bit, preparing your tool for the next installation phase.
Securing The New Bit
Grip the chuck firmly and rotate it clockwise to open the jaws just enough to insert the new drill bit. Slide the bit into the chuck, making certain the shank sits fully and straight within the jaws.
Once positioned, rotate the chuck counterclockwise to tighten the jaws around the bit. Apply consistent chuck grip pressure to prevent slippage, which is essential for bit stability during operation. Avoid overtightening, as this can damage the chuck or bit.
After tightening, manually pull the bit to confirm it’s securely fastened. For keyed chucks, use the chuck key to tighten evenly at multiple points. For keyless chucks, make certain of a snug grip by hand.
Proper chuck grip and bit stability reduce wobbling, enhancing drilling accuracy and safety.
Conclusion
Now that you know how to insert and secure your drill bit properly, you’re set for efficient drilling. Did you know that using the correct drill bit and securing it tightly can improve drilling accuracy by up to 30%? Always double-check the chuck type and bit fit before starting.
By following these steps, you’ll guarantee safety and precision in every project. Keep your drill bits sharp and replace them when worn for peak performance.
Mastering how to put a drill bit in a drill ensures not only accuracy but also extends the life of your tools. Proper installation is key to successful drilling every time.