Imagine you’re mounting a shelf and your drill bit tears through the plasterboard, leaving a messy hole that can’t hold anchors properly.
Using the right drill bit for plasterboard makes all the difference—not just for neatness, but for structural integrity.
You’ll want to understand which bit types work best for plasterboard and why some common choices might actually cause damage.
Knowing this can save you time and frustration on any project involving drywall.
Why the Right Drill Bit Prevents Plasterboard Damage

Because plasterboard is fragile and prone to crumbling, using the right drill bit is crucial to avoid damage. When you select an inappropriate bit, you risk creating oversized holes or causing cracks, complicating plasterboard repair.
The correct drill bit guarantees clean, precise holes that maintain the board’s integrity and simplify mounting fixtures. To maintain performance and protect the plasterboard, regularly inspect and sharpen your drill bits.
Proper drill bit maintenance prevents dull edges that could tear or crumble the surface, reducing repair needs. By choosing and caring for the right drill bit, you minimize damage and streamline your plasterboard work, assuring a professional finish without unnecessary repairs or material waste.
Types of Drill Bits for Plasterboard: Which One to Use?
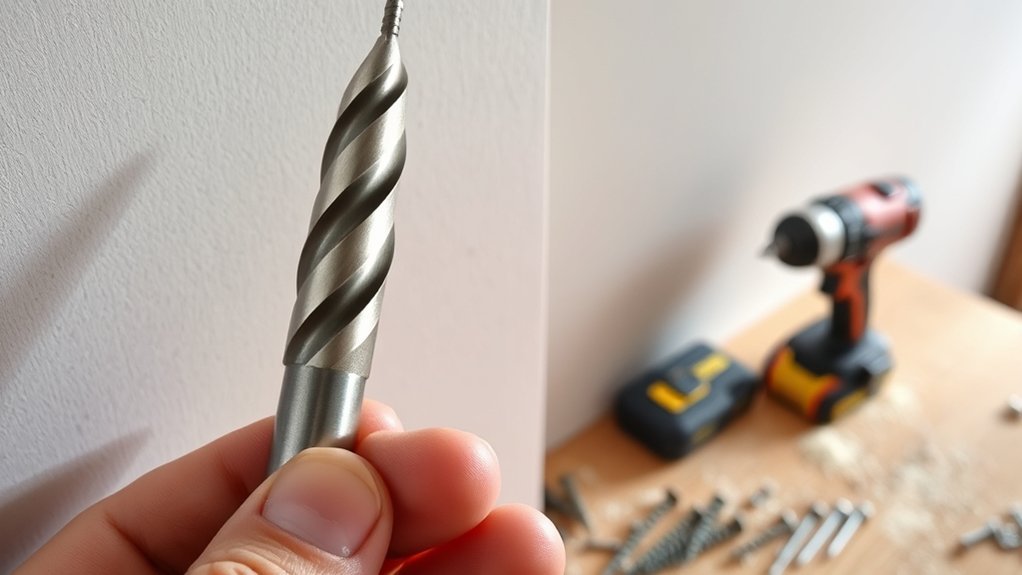
Which drill bit suits plasterboard best depends on your specific task and the fixture you’re installing. To avoid damage and guarantee secure mounting with drywall screws, consider these options:
- Brad Point Bits – Ideal for clean, precise holes; their sharp tip prevents wandering.
- Twist Drill Bits – Common and versatile, but use a low drill speed to avoid damaging plasterboard.
- Spade Bits – Suitable for larger holes; control drill speed carefully to prevent tearing.
- Plasterboard Bits – Specifically designed for drywall, featuring wide flutes for dust removal and smooth cutting.
Match the bit type to your screw size and fixture weight. Always adjust drill speed; slower speeds reduce the risk of surface cracking and improve hole quality for drywall screws.
When Should You Use Masonry or Multi-Purpose Bits?
While plasterboard bits and standard drill bits handle most drywall tasks effectively, situations arise where masonry or multi-purpose bits become necessary. You’ll need masonry bit usage when drilling into plasterboard backed by brick, concrete, or stone.
These bits have a carbide tip designed to penetrate hard, abrasive materials without dulling quickly. On the other hand, multi-purpose bits offer versatility, allowing you to switch between drywall, wood, metal, and masonry without changing tools.
Carbide tips tackle tough materials, while multi-purpose bits smoothly handle drywall, wood, metal, and masonry tasks.
Their hybrid design combines features of different bit types for efficient drilling in mixed-material environments. Use multi-purpose bits when your project involves varied substrates behind plasterboard or when you want to streamline your toolkit.
Both bit types guarantee clean holes and reduce wear, but choose based on the material hardness and your specific drilling needs.
Choosing the Right Drill Bit Size for Plasterboard
You need to select a drill bit diameter that matches the anchor size precisely to guarantee a secure fit in plasterboard. Using a bit that’s too large will weaken the hold, while one that’s too small can damage the board during insertion.
Always check the anchor manufacturer’s recommendations to choose the best drill bit size.
Optimal Drill Bit Diameter
Selecting the right drill bit diameter is essential for secure and clean holes in plasterboard. To determine the ideal bit size, focus on these diameter considerations:
- Measure the anchor or fixture diameter accurately before drilling.
- Choose a drill bit slightly smaller than the anchor for a tight fit.
- Avoid oversized bits that can weaken the plasterboard’s grip.
- Consider the plasterboard thickness; thinner boards may require smaller diameters to prevent damage.
Matching Bit To Anchor
Matching the drill bit to the anchor guarantees a secure hold and prevents plasterboard damage. When selecting a drill bit, consider the anchor type: plastic expansion, metal toggle, or self-drilling anchors each require specific hole sizes.
Use a drill bit diameter that matches the anchor’s outer dimension for a snug fit. Pay attention to drill bit materials; high-speed steel (HSS) bits are suitable for plasterboard, providing durability without excessive heat buildup.
Carbide-tipped bits offer longer life but are generally unnecessary for soft plasterboard. Avoid oversizing the hole, as it reduces anchor grip, risking failure. Conversely, undersized holes can crack plasterboard or deform anchors.
How Self-Drilling Bits Speed Up Plasterboard Work
Many professionals find that self-drilling bits dramatically reduce the time required for plasterboard installation. You’ll notice significant self drilling benefits that translate into efficiency gains on every job. Here’s how these bits speed up your work:
- Eliminate pre-drilling: Self-drilling bits cut and screw in one step, saving you from switching tools.
- Consistent hole size: They create uniform holes that fit anchors perfectly, minimizing adjustments.
- Reduced bit slipping: Their sharp, threaded tips grip plasterboard firmly, preventing damage and rework.
- Faster fastening: By combining drilling and fastening, you complete each fixture faster with less effort.
Using self-drilling bits optimizes your workflow, letting you finish plasterboard tasks more quickly and accurately.
Tips for Drilling Clean Holes in Plasterboard
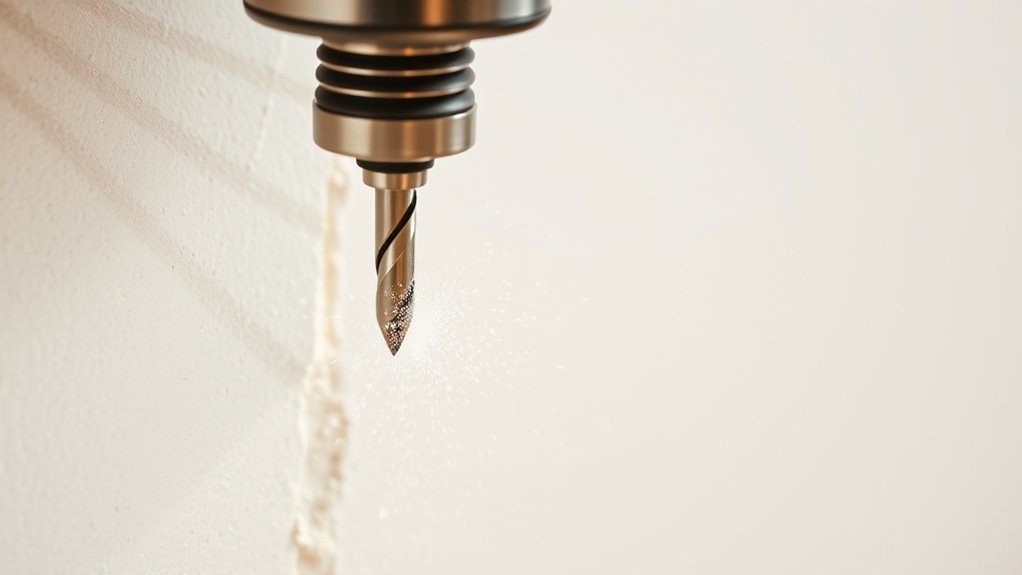
When you drill into plasterboard, maintaining steady pressure and using the right bit speed can prevent tearing and guarantee clean, precise holes. Employ drilling techniques like starting with a pilot hole and backing the board with tape to improve hole finishing. Avoid excessive force to keep edges neat and reduce dust.
Use sharp, appropriate drill bits designed for plasterboard to optimize results.
| Step | Action | Result |
|---|---|---|
| 1 | Select correct bit size | Proper hole diameter |
| 2 | Apply painter’s tape | Minimized surface tearing |
| 3 | Drill at moderate speed | Controlled penetration |
| 4 | Use steady pressure | Clean edges |
| 5 | Remove drill smoothly | Smooth hole finishing |
These precise drilling techniques guarantee professional-quality plasterboard holes.
Common Drilling Mistakes to Avoid With Plasterboard
Although drilling into plasterboard seems straightforward, overlooking common errors can compromise your work’s quality and safety. To avoid overdrilling issues and misalignment problems, you need to follow these key guidelines:
- Control drill depth: Use a depth stop or tape on the bit to prevent overdrilling, which weakens the plasterboard’s structural integrity.
- Mark accurately: Measure and mark hole positions carefully to avoid misalignment problems that can cause mounting failures.
- Use the right bit: Select a drill bit designed for plasterboard to guarantee clean holes without damaging the surface.
- Apply steady pressure: Avoid forcing the drill; apply consistent, moderate pressure to prevent cracking or uneven holes.
Conclusion
So, go ahead—grab that random drill bit and hope for the best. Or, you could actually pick the right one designed for plasterboard, like a brad point or plasterboard bit, and avoid turning your wall into Swiss cheese.
Remember, precision isn’t just for surgeons; it saves your plasterboard from becoming a disaster zone. Choose wisely, drill steadily, and keep your walls intact.
Because guesswork isn’t exactly a recommended building code, always use the proper drill bit for plasterboard to ensure a clean, secure hole every time.