Think of your DeWalt drill as the engine and the drill bit as its fuel—without a proper connection, it won’t perform.
Knowing how to put a drill bit into a DeWalt drill is essential to ensure it works efficiently and safely. You need to guarantee the bit fits securely and aligns perfectly within the chuck to avoid wobbling or damage.
Before you start, consider which chuck type you have and how to loosen it effectively.
Mastering these steps sets the foundation for efficient and safe drilling—let’s explore how to get it right.
How to Choose the Right Drill Bit for Your DeWalt Drill
Before you insert a drill bit into your DeWalt drill, you need to select the right type based on the material and task. Identify the drill bit types suitable for your project: twist bits for wood and metal, masonry bits for concrete or brick, and spade bits for large wood holes.
Consider drill bit materials to guarantee durability and performance; high-speed steel (HSS) bits work well for wood and soft metals, while cobalt bits handle harder metals. Carbide-tipped bits excel in masonry tasks due to their toughness.
Match the drill bit diameter to your screw or hole size requirements. Choosing the proper drill bit type and material optimizes efficiency and prolongs bit life, preventing damage to both your DeWalt drill and the workpiece.
How to Loosen the Chuck on Your DeWalt Drill
Selecting the right drill bit guarantees your DeWalt drill operates at peak performance, but you need to loosen the chuck properly to insert that bit. To loosen the chuck, hold the drill firmly, then rotate the chuck sleeve counterclockwise.
For keyed chucks, insert the chuck key into the gear teeth and turn it counterclockwise. Proper chuck maintenance guarantees smooth operation and extends tool life. Practicing drill safety by disconnecting power before adjustments prevents accidents.
| Step | Action |
|---|---|
| 1 | Disconnect drill from power |
| 2 | Hold drill body firmly |
| 3 | Rotate chuck sleeve or use key |
| 4 | Insert or remove drill bit |
Follow these steps precisely for efficient and safe chuck loosening.
How to Identify Your DeWalt Drill’s Chuck Type
You’ll find two main chuck types on DeWalt drills: keyless and keyed. To identify yours, look for a smooth, hand-tightened collar for keyless, or a gear with a separate key for keyed chucks.
Recognizing this helps you choose the correct method to insert and secure your drill bit.
Key Chuck Types
Identifying your DeWalt drill’s chuck type is essential for correctly installing drill bits and guaranteeing peak performance. The two key chuck types you’ll encounter are keyed and keyless.
Keyed chucks use a small gear-equipped key to tighten the chuck jaws around the bit, offering a secure grip ideal for heavy-duty tasks. Keyless chucks, on the other hand, rely on a hand-tightened sleeve, allowing quick bit changes without additional tools.
Understanding your drill’s chuck design helps you select the right method and tools for bit installation. Each chuck type has distinct torque capabilities and maintenance needs, so recognizing the design guarantees you avoid damage and maintain operational efficiency.
Always verify your drill’s chuck type before proceeding to avoid improper bit installation.
Visual Identification Tips
Knowing whether your DeWalt drill has a keyed or keyless chuck helps determine how to install and secure your drill bit properly. Use visual cues and color coding to identify the chuck type quickly.
Keyed chucks typically have a gear-like outer ring with teeth and require a separate key for tightening. Keyless chucks feature smooth, hand-tightened sleeves and often display bright yellow or black color coding on the collar.
Look for these signs:
- Presence of a chuck key hole indicates a keyed chuck
- Smooth, twistable collar without holes signals keyless design
- Yellow or black color coding often marks keyless chucks
- Gear teeth along the chuck’s perimeter suggest it’s keyed
Recognizing these visual cues guarantees you select the correct method to insert and secure your drill bit safely.
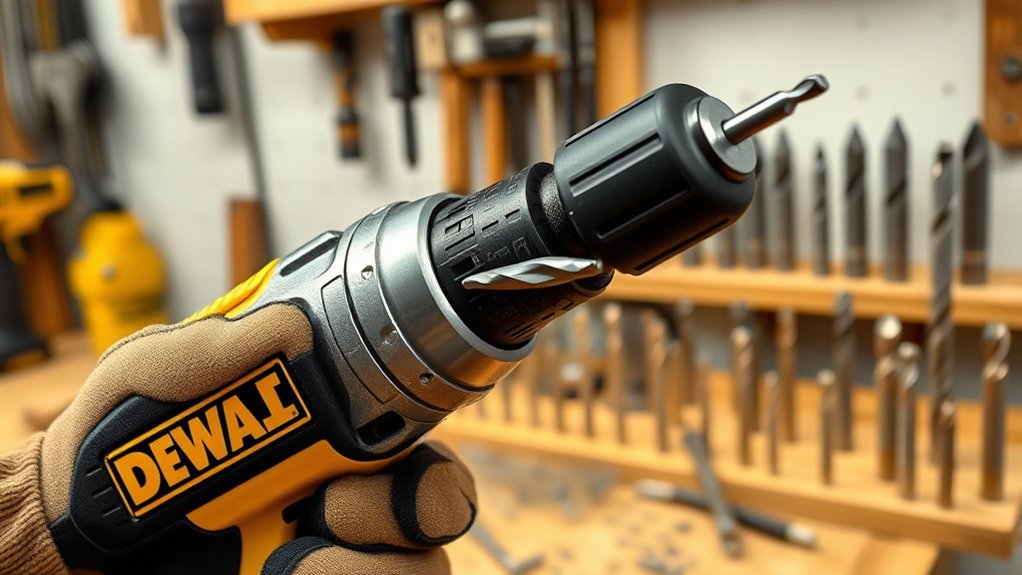
How to Insert and Align the Drill Bit Correctly
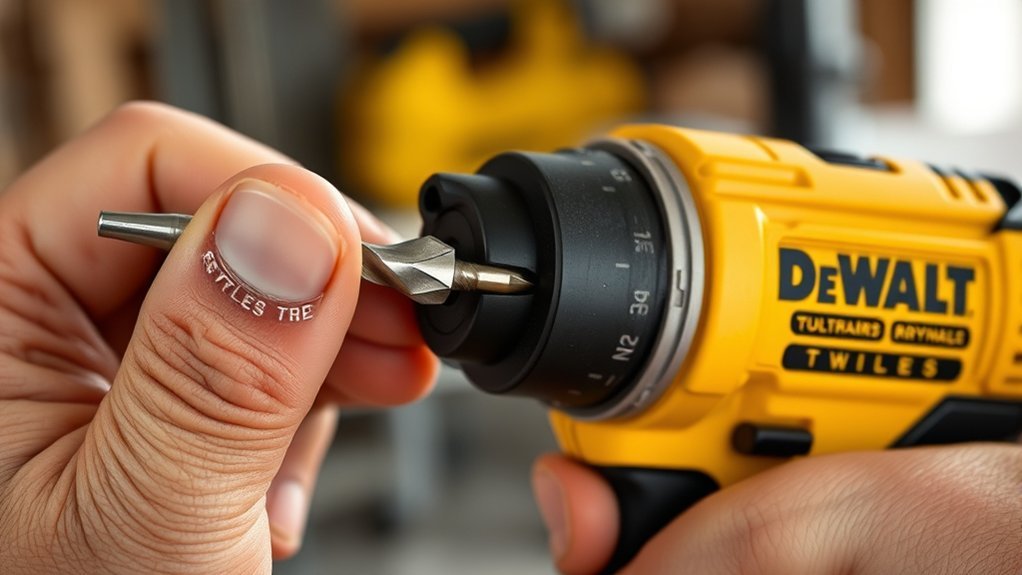
Start by loosening the drill chuck using the key or by hand, depending on your Dewalt model. Once loosened, hold the drill bit near its base and begin bit insertion into the chuck’s opening.
Verify the bit’s shank is straight and free of debris for proper engagement. Focus on precise bit alignment. Insert the bit so it sits centered within the chuck jaws without tilting. Misaligned bits can cause wobbling or damage during use.
Push the bit in firmly until it stops, confirming it’s seated evenly. Avoid forcing the bit at an angle, as this compromises alignment and performance. Maintaining correct bit insertion and alignment sets the foundation for secure chuck tightening and efficient drilling.
How to Tighten the Chuck to Secure the Drill Bit
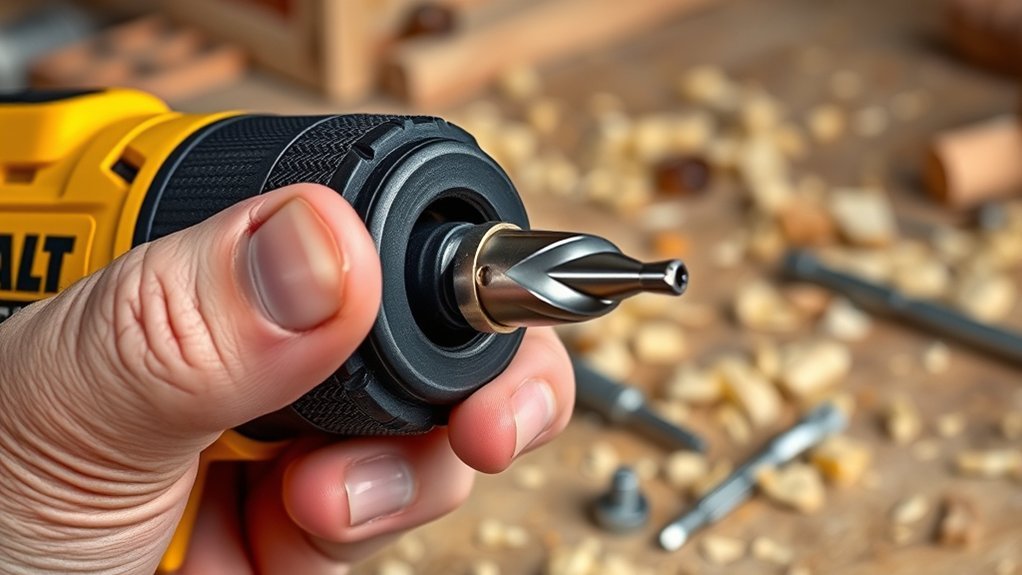
Grip the chuck firmly and rotate it clockwise to tighten it around the drill bit. Verify the bit is fully seated and straight to avoid slippage. Proper tightening guarantees effective torque transfer and safety during operation.
Remember these chuck maintenance tips for peak performance:
- Regularly clean the chuck to remove dust and debris.
- Lubricate the chuck mechanism occasionally to prevent stiffness.
- Inspect the jaws for wear that might affect grip.
- Confirm drill bit compatibility to avoid damaging both tool and bit.
Use your hand or the provided chuck key (if applicable) for a secure fit. Avoid overtightening, which can cause premature wear or damage. Consistent chuck care extends tool life and enhances drilling accuracy.
How to Test Your DeWalt Drill Bit Installation
After tightening the chuck securely around the drill bit, you need to verify the installation before applying full power. Start the drill at low speed and observe for wobbling or slipping. If the bit remains steady, it’s correctly installed.
Regular drill bit maintenance guarantees longevity and reliable performance, so inspect bits for wear or damage before use. Proper drill bit storage also prevents deformation, affecting fit.
| Test Step | What to Check | Action if Failed |
|---|---|---|
| Visual Inspection | Bit alignment | Reinstall or replace bit |
| Low-Speed Rotation | Wobble or slip | Retighten chuck |
| Trial Drill | Smooth penetration | Adjust pressure or bit |
Perform these checks consistently for safe, effective drilling.
Tips for Changing Drill Bits Quickly and Safely
Changing drill bits quickly and safely hinges on preparing your workspace and tools methodically. Before swapping bits, always unplug or remove the battery from your Dewalt drill to follow safety precautions.
Keep your drill bits organized and within reach to facilitate quick changes without fumbling. Use the correct keyless chuck grip or chuck key firmly to prevent slippage during installation. Here are essential tips to streamline the process:
Wear safety goggles and gloves to protect from debris and sharp edges.
Clean the chuck and drill bit shank to guarantee secure fitting.
Apply consistent force when tightening the chuck to avoid damaging the bit.
Store bits in a labeled case for easy identification and access.
Implementing these practices guarantees efficient bit changes while minimizing injury risks.
Troubleshooting Drill Bit Insertion Issues
If your drill bit won’t insert smoothly, check for common alignment issues that prevent proper seating. You’ll also need to address any jammed chuck problems by loosening it carefully before reinserting the bit.
Finally, verify that the bit size matches the chuck capacity to guarantee a secure fit.
Common Bit Alignment Problems
Several factors can cause common bit alignment problems when inserting a drill bit into your Dewalt drill. These issues often lead to bit wobble and inefficient drilling. To guarantee proper alignment, check for the following:
- Misaligned jaws inside the chuck preventing a secure grip
- Dirt or debris lodged in the chuck causing uneven clamping pressure
- Incorrect bit size that doesn’t fit snugly in the chuck
- Worn or damaged jaws reducing the chuck’s ability to hold the bit straight
Addressing these problems promptly will help maintain accuracy and prevent premature wear on your drill and bits. Always clean the chuck and inspect jaws before inserting a new bit.
Proper alignment minimizes bit wobble, guaranteeing safer, more efficient drilling.
Overcoming Jammed Chuck Issues
When your Dewalt drill’s chuck jams, it can prevent you from inserting or removing drill bits smoothly. Common jamming causes include debris buildup, rust, or worn internal components.
Begin by cleaning the chuck thoroughly; use compressed air to remove dust and a cloth with a light lubricant for rust prevention. Avoid excess lubrication, which can attract more debris.
Next, manually rotate the chuck sleeve back and forth to loosen any stuck parts. If the chuck remains jammed, apply penetrating oil to the internal mechanism and allow it to sit before trying again.
Regular chuck maintenance, including cleaning, lubricating, and inspecting for wear, helps prevent jamming and guarantees smooth bit changes. Addressing these issues promptly keeps your drill functioning efficiently and extends its lifespan.
Ensuring Proper Bit Size
Correct drill bit size plays a critical role in ensuring smooth insertion and ideal performance with your Dewalt drill. Using an incompatible bit size can cause difficulty in securing the bit or damage the chuck.
To troubleshoot drill bit insertion issues, focus on bit compatibility and selecting appropriate drill bit types.
- Verify the shank diameter matches your Dewalt drill’s chuck capacity.
- Choose drill bit types designed for your material and drill model.
- Avoid bits that are too large or too small, as they may slip or jam.
- Inspect the bit for any deformation that could hinder insertion.
Conclusion
Now that you know how to properly insert and secure a drill bit into your DeWalt drill, you’re ready to tackle any project with precision.
Don’t underestimate the power of a correctly tightened chuck—it’s like the heart of your drill, keeping every bit steady as a rock. Always double-check alignment and test at low speed to avoid costly mistakes.
With these steps, changing bits will be quick, safe, and foolproof every time. Mastering how to put a drill bit into a DeWalt drill ensures your work is efficient and accurate every time you pick up the tool.