Sharpening a Forstner drill bit is like tuning a fine instrument—precision matters. If you want clean, accurate holes, you can’t rely on a dull edge.
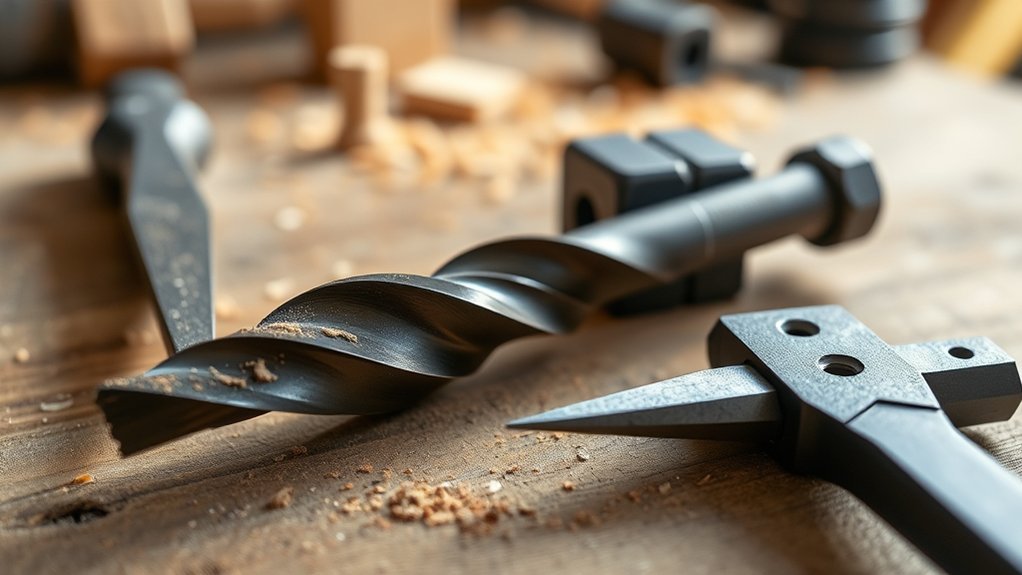
Sharpening a Forstner drill bit requires the right tools and a steady hand to restore those flat cutting edges and the outer rim without altering their geometry.
Before you start, it’s essential to understand exactly when and how to sharpen for the best results. Proper technique ensures your drill bit performs efficiently and lasts longer.
Taking the time to sharpen correctly will save you frustration and improve your woodworking projects.
How Can You Tell When Your Forstner Bit Needs Sharpening?
How do you know when your Forstner bit requires sharpening? You’ll notice diminished bit performance characterized by slower cutting speed, increased effort, and rougher hole edges.
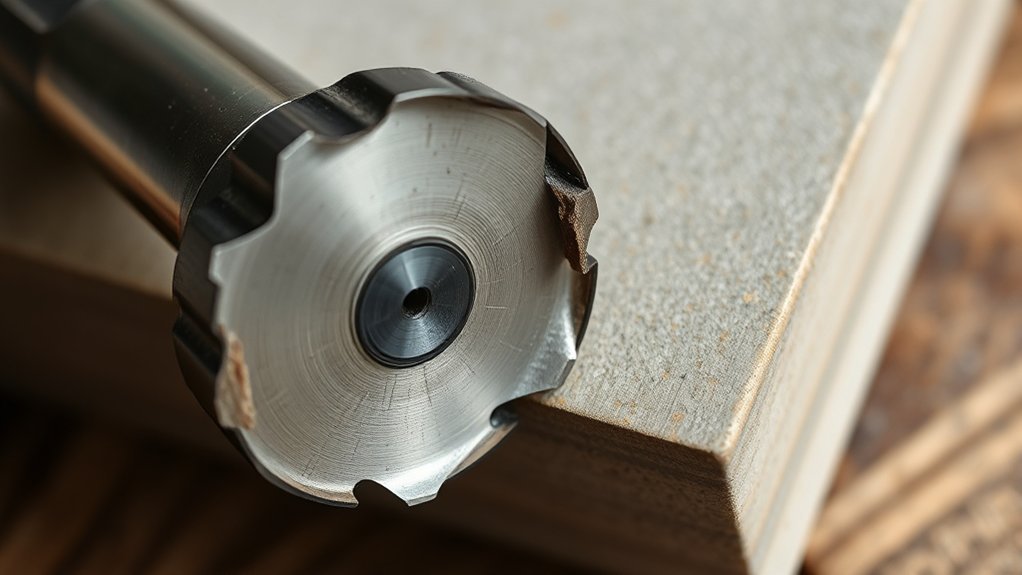
Inspect the cutting edges closely under good light; dull or rounded edges indicate wear. Also, check the spur tips and radial edges for chips or nicks that compromise precision.
Sharp edges produce clean, smooth holes with minimal tear-out. When performance drops, apply proper sharpening techniques to restore the bit’s geometry. This includes carefully honing the cutting edges and spur tips using fine diamond files or stones.
Maintaining sharp edges ensures clean holes; hone cutting edges and spur tips to restore optimal performance.
Accurate sharpening maintains the original angles and dimensions for peak cutting efficiency. Monitoring performance and edge condition regularly helps you determine precisely when sharpening is necessary to guarantee consistent, high-quality drilling results.
Should You Replace or Sharpen Your Forstner Bit?
When should you decide to replace your Forstner bit instead of sharpening it? If the bit exhibits deep damage like severe chipping, warping, or uneven wear beyond the cutting edges, replacement options become more practical than sharpening techniques.
Sharpening can restore bits with minor dullness or slight edge rounding, but it won’t fix structural defects or compromised geometry. Additionally, if the bit’s carbide tips are broken or missing, replacement is necessary since sharpening won’t restore lost material.
Evaluate cost-effectiveness: sometimes investing in a new bit saves time and guarantees precision. Use sharpening techniques primarily for routine maintenance to prolong tool life. Ultimately, your decision should balance the bit’s condition, expected performance after sharpening, and available replacement options.
Tools You’ll Need to Sharpen Your Forstner Bit
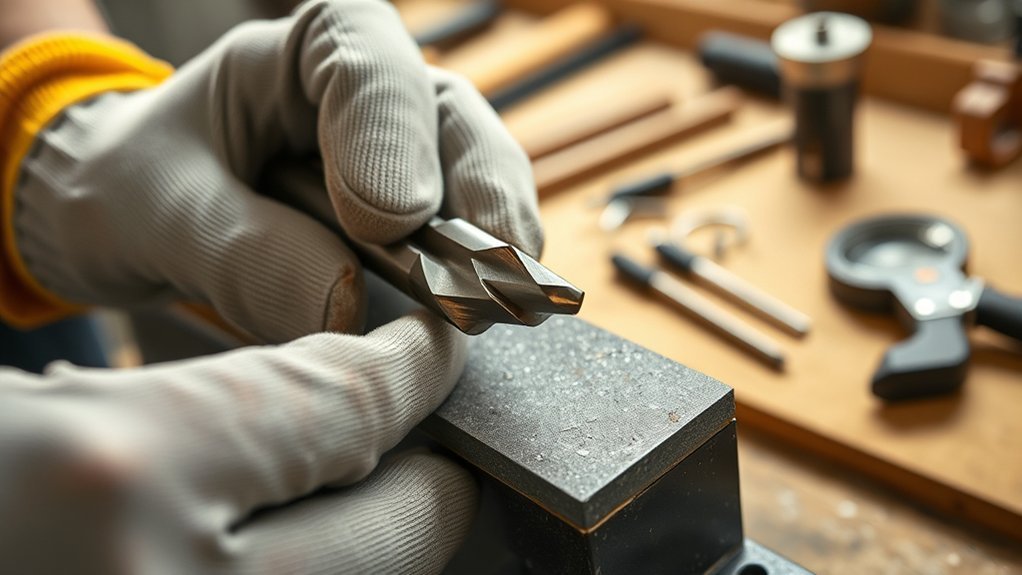
Before you begin sharpening your Forstner bit, gather the essential tools to guarantee accuracy and safety throughout the process. You’ll need a set of fine diamond files or a small, precise sharpening stone designed specifically for metal edges.
Gather fine diamond files or a precise sharpening stone before sharpening your Forstner bit for accuracy and safety.
A magnifying glass or jeweler’s loupe is vital to inspect the cutting edges closely and make certain consistent bevel angles. Additionally, use a clamp or vise to secure the bit firmly, preventing movement during sharpening.
A soft brush or cloth will help remove metal filings afterward. These sharpening tools allow you to maintain the bit’s geometry accurately, extending its lifespan.
Following proper maintenance tips, such as cleaning and storing the bit correctly, complements your sharpening efforts and promotes peak drilling performance over time.
How to Sharpen Your Forstner Bit’s Cutting Edges Step-by-Step
Securing your Forstner bit firmly in a vise sets the foundation for accurate sharpening of the cutting edges. Begin by using a fine diamond file or sharpening stone to gently hone the outer rim, maintaining the original bevel angle.
Next, focus on the flat cutting edges, applying light, even strokes to restore sharpness without altering the geometry. Use consistent sharpening techniques to avoid uneven surfaces, essential for effective bit maintenance.
| Step | Action |
|---|---|
| 1 | Secure bit in vise |
| 2 | Hone outer rim bevel angle |
| 3 | Sharpen flat cutting edges |
| 4 | Inspect and repeat if needed |
Following this process guarantees precision and prolongs your Forstner bit’s cutting performance.
Avoid These Common Sharpening Mistakes
Although sharpening your Forstner bit can boost its performance, overlooking key techniques often leads to damaging the cutting edges or altering the bit’s geometry. One of the common pitfalls is applying uneven pressure during grinding, which can create asymmetrical edges and reduce cutting efficiency.
Avoid overheating the bit by grinding intermittently; excessive heat can ruin the tempering. Another mistake is neglecting to maintain the original bevel angle, which is critical for clean cuts.
Using improper sharpening techniques, like removing too much material or ignoring the spur edges, diminishes the bit’s ability to score wood accurately. Always use a fine-grit stone or wheel and steady hand movements to preserve the bit’s precise geometry and sharpness for peak drilling performance.
How to Keep Your Forstner Bit Sharp Longer
To keep your Forstner bit sharp longer, store it in a protective case or on a rack that prevents contact with other tools, which can cause dulling.
Clean the bit regularly to remove resin and debris that build up during use, as these residues accelerate wear. Consistent maintenance and proper storage reduce the frequency of sharpening and extend the bit’s cutting efficiency.
Proper Storage Techniques
When you store your Forstner drill bit properly, you prevent damage to its cutting edges and maintain its sharpness for longer periods. Use dedicated storage containers designed to hold drill bits securely, preventing contact that could dull or chip the edges.
Opt for cases with individual slots or foam inserts to immobilize the bit and avoid mechanical impact. Additionally, control humidity levels within your storage environment to prevent corrosion, which can degrade the bit’s cutting performance.
Silica gel packets or desiccant pouches inside the container effectively absorb moisture. Store the bits in a cool, dry place, away from temperature fluctuations that promote condensation.
Regular Cleaning Practices
Maintaining cleanliness on your Forstner drill bit after every use greatly extends its sharpness and cutting performance. To guarantee effective bit maintenance, apply precise cleaning techniques immediately after drilling.
Use a soft brush to remove wood chips and dust from the cutting edges and center spur. For resin or pitch buildup, gently apply a solvent-soaked cloth or use a nylon brush to dissolve residues without damaging the carbide tips. Avoid harsh abrasives that can dull the cutting surfaces.
After cleaning, dry the bit thoroughly to prevent corrosion. Regularly inspect the bit for wear or damage during cleaning to address issues promptly.
Consistent, methodical cleaning techniques reduce friction and heat buildup during operation, preserving your Forstner bit’s sharpness and extending its service life.
How to Test Your Forstner Bit After Sharpening?
How can you be confident your Forstner bit is properly sharpened and ready for use? After applying precise sharpening techniques, you need to verify the bit’s cutting efficiency through systematic testing methods.
Start by drilling into a piece of scrap wood, observing the bit’s behavior closely. Look for:
Start by drilling into scrap wood and closely observe the bit’s cutting behavior for optimal results
- Clean, smooth cuts without excessive force or wandering
- Minimal burning or tear-out on the wood surface
- Consistent chip ejection indicating sharp cutting edges
If the bit struggles, produces rough holes, or requires undue pressure, it needs further sharpening. Testing your Forstner bit this way guarantees excellent performance and prolongs its lifespan, making your woodworking projects more accurate and efficient.
Always conduct these tests in a controlled setting before moving on to final materials.
Conclusion
Sharpening your Forstner bit is like tuning a fine instrument—precision and care bring out its best performance. By maintaining the original bevel angles and using the right tools, you guarantee clean, accurate cuts every time.
Keep your bit sharp to save time and effort on your projects. With consistent attention and proper technique, your Forstner bit will stay a reliable extension of your craftsmanship, delivering smooth, professional results.
Regular maintenance and careful sharpening ensure that your Forstner drill bit remains efficient and effective. This not only prolongs the life of the bit but also enhances the quality of your woodworking projects.
In conclusion, sharpening a Forstner drill bit properly is essential for achieving precise, clean cuts and maintaining the tool’s optimal performance.