If you don’t have snap ring pliers on hand, removing a snap ring without pliers can feel tricky but is far from impossible. You’ll need to rely on alternative tools like small screwdrivers or picks to carefully pry or compress the ring.
The key is to apply steady, controlled pressure without deforming the ring or damaging the surrounding parts. Understanding the right technique can save you time and prevent costly mistakes.
So let’s explore how to do this effectively. With patience and the right approach, you can remove a snap ring safely even without specialized tools.
What Is a Snap Ring and Why Is It Hard to Remove?
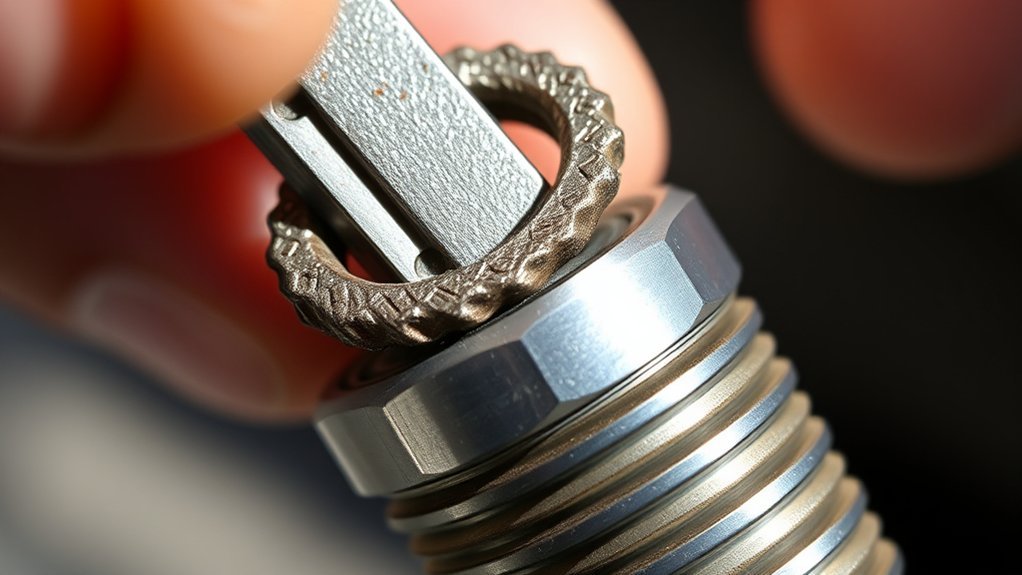
A snap ring is a circular metal fastener designed to fit into a groove on a shaft or inside a bore, securing components in place. The snap ring definition highlights its role as a retaining ring that prevents axial movement, ensuring mechanical stability.
You’ll find snap rings commonly used in automotive and industrial assemblies. Removal challenges arise because snap rings are tightly seated in their grooves, requiring precise manipulation to avoid deformation or damage. Their spring-like tension maintains a firm grip, making manual extraction difficult without proper tools.
Additionally, limited access to the ring’s edges complicates removal. Understanding these removal challenges prepares you to approach snap ring extraction methodically, minimizing the risk of harming surrounding components or the snap ring itself during the process.
Alternative Tools for Removing Snap Rings
When you don’t have snap ring pliers on hand, several alternative tools can help you remove snap rings effectively. Employing alternative removal methods requires careful tool selection and sometimes minor tool modifications to guarantee safety and efficiency. Consider these options:
Without snap ring pliers, select and modify common tools carefully to remove snap rings safely and efficiently.
- Needle-nose pliers with modified tips for better grip.
- Small flathead screwdrivers adjusted by grinding the tip thinner.
- Tweezers with strong tension capable of compressing or expanding the ring.
- Dental picks or precision hooks adapted to engage the snap ring’s holes.
Each tool demands a steady hand and precise angle application to avoid ring deformation. Tool modifications often involve reshaping tips or enhancing grip surfaces. By methodically applying these alternatives, you can remove snap rings safely without specialized pliers.
Using a Flathead Screwdriver to Pry Off Snap Rings
When using a flathead screwdriver to pry off snap rings, select one with a tip size that fits snugly into the ring’s groove to maintain control. Apply steady, controlled pressure at the edge of the snap ring to lift it evenly without bending or distorting the part.
Take care to avoid slipping, which can damage surrounding components or the snap ring itself.
Choosing The Right Screwdriver
Several types of flathead screwdrivers can effectively pry off snap rings, but selecting one with the appropriate blade width and stiffness is crucial. You want a blade narrow enough to fit under the snap ring yet sturdy enough to prevent bending. Consider these factors:
- Blade width: Choose a size slightly smaller than the snap ring groove for precise engagement.
- Blade stiffness: Opt for hardened steel blades to resist deformation during prying.
- Handle materials: Select handles made from non-slip rubber or textured plastic for a secure grip and better torque control.
- Screwdriver types: Prefer industrial-grade or mechanic’s flatheads over general-purpose types for durability and strength.
This combination guarantees you safely and efficiently pry off snap rings without damaging components.
Proper Pry Technique
Start by positioning the flathead screwdriver tip securely beneath the snap ring’s edge, ensuring it fits snugly into the groove without slipping. Apply the proper leverage technique by gently rocking the screwdriver handle away from the snap ring, respecting the snap ring orientation to avoid deformation. Maintain steady pressure, allowing the ring to lift incrementally.
Use controlled, small prying motions rather than forceful jerks to preserve tool and part integrity.
| Step | Action | Note |
|---|---|---|
| 1 | Insert screwdriver tip | Fit securely in snap ring groove |
| 2 | Confirm snap ring orientation | Identify correct prying direction |
| 3 | Apply leverage technique | Rock handle slowly and steadily |
| 4 | Remove snap ring | Lift ring incrementally without twisting |
Preventing Damage To Parts
Mastering the proper pry technique lays the foundation for preventing damage to surrounding parts while removing snap rings with a flathead screwdriver. Understanding snap ring materials and removal techniques is essential to avoid deformation or scratching.
To protect components during removal:
- Select a screwdriver tip matching the snap ring groove size to minimize slipping.
- Apply gradual, controlled pressure to pry the ring outward, avoiding sudden force.
- Position the tool between the snap ring and adjacent parts carefully to prevent gouging.
- Support the assembly firmly to restrict movement and absorb unintended torque.
How to Remove Snap Rings Without Needle-Nose Pliers
Although needle-nose pliers are the standard tool for removing snap rings, you can effectively extract them using alternative methods when these pliers are unavailable. First, identify the snap ring type internal or external as this affects removal technique.
For internal snap rings used in bore applications, gently compress the ring using flathead screwdrivers placed opposite each other to control expansion. For external snap rings, which are common in shaft applications, carefully pry the ring outward using a flathead screwdriver or a small chisel at the ring’s gap.
Always apply steady, controlled pressure to avoid deforming the ring or damaging surrounding components. Understanding snap ring applications and types guarantees you select the correct prying points and angles, maintaining the integrity of both the snap ring and the assembly during removal.
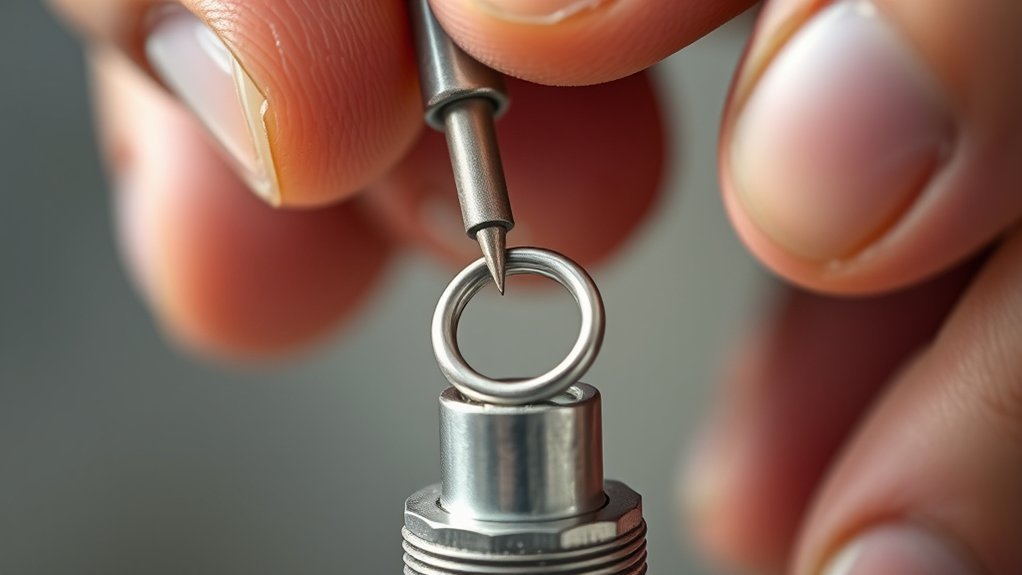
Using a Small Pick or Hook to Lift Snap Rings
Select a small pick or hook with a fine, sturdy tip to avoid damaging the snap ring or surrounding components. Position the tool carefully under the ring’s edge, applying steady, controlled pressure to lift it gradually.
Use deliberate movements to prevent the ring from snapping back or deforming during removal.
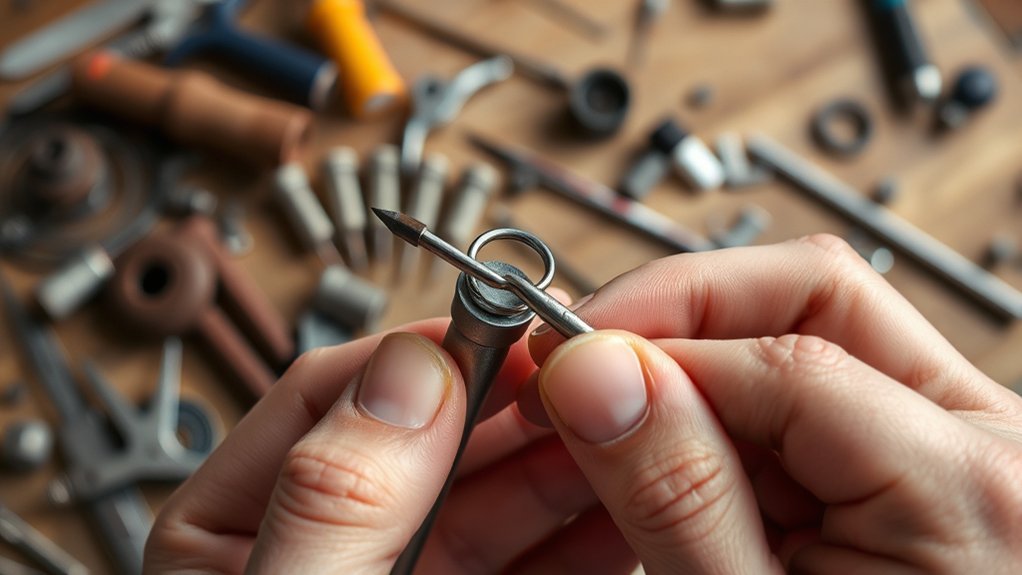
Choosing The Right Tool
When you don’t have snap ring pliers, using a small pick or hook can provide the necessary leverage to lift the ring carefully from its groove. To select the right tool alternative for various snap ring types, consider these steps:
- Identify the snap ring type, internal or external, as each requires different lifting angles.
- Choose a pick or hook with a fine, sturdy tip to fit the snap ring’s groove precisely.
- Verify the tool’s handle offers a secure grip for controlled manipulation.
- Avoid overly flexible or blunt tools that may slip or damage the ring.
Techniques For Safe Removal
Two key techniques guarantee you safely remove a snap ring using a small pick or hook: controlled leverage and steady angle application. First, insert the pick’s tip under the snap ring’s edge carefully, making certain you follow safety precautions to avoid slippage or injury.
Apply gentle, controlled leverage by lifting incrementally rather than forcing the ring off abruptly. Maintain a consistent angle, typically around 30 to 45 degrees, to prevent deformation of the snap ring or surrounding components.
Effective techniques also include stabilizing the workpiece to avoid sudden movements. Remember, working slowly and methodically reduces risk and enhances precision.
Loosening a Snap Ring by Gentle Tapping
Tap the snap ring gently around its circumference to loosen its grip. Use a small hammer or a similarly light tool to apply gentle tapping, ensuring not to deform the ring. Follow these steps:
Gently tap around the snap ring’s edge with a light tool to safely loosen its grip without deformation.
- Position the snap ring on a stable surface.
- Lightly tap at evenly spaced points along the ring’s edge.
- Rotate the ring slightly between taps to distribute force evenly.
- Observe the ring’s movement; continue until it loosens enough for removal.
This method relies on controlled, gentle tapping to break the static friction holding the snap ring in place. Avoid heavy blows, which could damage the ring or workpiece. By methodically tapping, you reduce the risk of deformation and prepare the snap ring for safe removal without pliers.
How to Keep Your Snap Ring and Workpiece Steady Without Special Tools
After loosening the snap ring by gentle tapping, maintaining stability of both the ring and workpiece is critical for safe and effective removal. To guarantee snap ring stability, position the workpiece securely on a flat, non-slip surface.
Use clamps or weighted objects to provide firm workpiece support, preventing any movement during extraction. If clamps aren’t available, nest the workpiece in a vise with protective padding to avoid damage.
Steady the snap ring by gently pressing it with a tool such as a flathead screwdriver, ensuring it doesn’t shift or snap unexpectedly. Throughout the process, avoid excessive force that could compromise stability.
Dealing With Rusted or Stuck Snap Rings
When snap rings become rusted or stuck, they demand careful treatment to prevent damage to both the ring and the surrounding components. Start by addressing rust removal:
- Apply a penetrating oil directly to the snap ring and allow it to soak for 10–15 minutes.
- Use a small wire brush or abrasive pad to gently remove surface rust without deforming the ring.
- After rust removal, apply snap ring lubrication to reduce friction during extraction.
- Carefully leverage the snap ring with a flathead screwdriver or similar tool, working incrementally around the ring to avoid bending it.
Following this methodical approach guarantees you free the snap ring without compromising its integrity or that of the workpiece. Always prioritize rust removal and lubrication before attempting removal.
How to Prevent Damage When Removing Snap Rings Without Pliers
Removing rust and lubricating the snap ring sets the foundation for a safer extraction process, especially when you don’t have pliers on hand. To prevent damage, carefully select removal techniques that minimize force and avoid deforming the snap ring or its groove.
Use a small flathead screwdriver or a sturdy pick to gently pry the ring, applying gradual pressure at multiple points rather than forcing a single spot. Support the surrounding components to prevent unintended movement or breakage.
Work methodically, ensuring the snap ring maintains its shape for potential reuse. Avoid excessive twisting or bending, as this compromises the ring’s integrity. Finally, always wear safety goggles to protect against sudden snap ring release.
Following these precise removal techniques preserves both the snap ring and the assembly.
Conclusion
Removing a snap ring without pliers requires patience and precision, much like carefully lifting a fragile leaf from a branch. By using alternative tools such as flathead screwdrivers or picks, applying penetrating oil, and working methodically, you can avoid damaging both the ring and the workpiece.
Keep your movements controlled and steady, and always maintain proper positioning to guarantee a clean, efficient removal. With careful technique, you can successfully complete the task even when specialized tools aren’t available.
In conclusion, mastering how to remove a snap ring without pliers ensures you can handle this task effectively under any circumstances.