If you’re aiming to remove rivets with pliers, you’ll need to approach the task methodically to avoid damaging your materials or tools.
Using pliers to remove rivets requires selecting the right type for sufficient grip and control. Not all rivets respond well to pliers, so understanding both the rivet’s construction and how it interacts with your tool is essential.
Improper technique can complicate removal greatly, so it’s important to proceed carefully.
Let’s explore the precise steps and precautions that can make this process efficient and safe.
Safe Step-by-Step Rivet Removal With Pliers
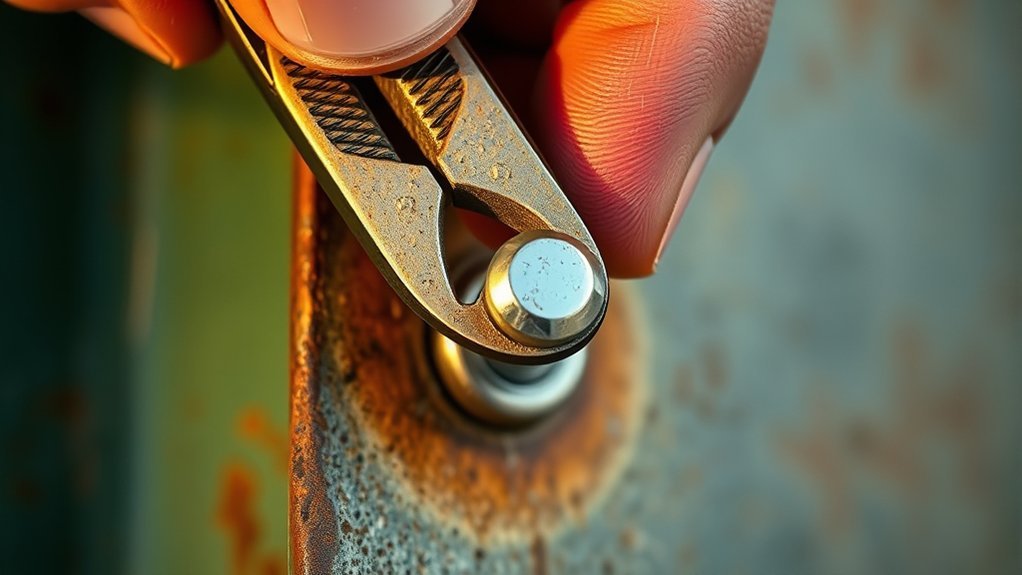
To safely remove rivets with pliers, start by securing the workpiece to prevent movement. This guarantees stability and reduces the risk of injury or damage.
Next, select pliers with a firm grip and appropriate jaw size for the rivet head. Position the pliers so the jaws fully engage the rivet, applying even pressure.
Use controlled twisting motions to loosen the rivet, avoiding excessive force that might deform surrounding material. Focus on consistent grip strength, a key plier handling tip that prevents slippage.
Once loosened, gently pull the rivet out without bending it. These rivet removal techniques emphasize precision and control, minimizing damage and enhancing safety.
Following this methodical approach will guarantee effective and efficient rivet extraction using pliers.
Types of Rivets: Which Ones Can You Remove With Pliers?
Which types of rivets can you effectively remove with pliers? Primarily, you’ll find pliers useful for certain rivets based on their construction and accessibility. Here’s a quick breakdown:
Pliers work best for removing certain rivets, depending on their design and how accessible they are.
- Pop Rivets: These are generally easier to remove with pliers, especially if the mandrel is exposed or partially protruding. You can grip and twist or pull to extract them.
- Solid Rivets: These are much harder to remove with pliers alone because they’re tightly compressed. Typically, you’d need to drill them out, but if the head is damaged or loose, pliers might grip enough for removal.
- Semi-Tubular Rivets: If accessible, pliers can sometimes deform the rivet tail to loosen it.
Pliers and Tools Needed for Removing Rivets
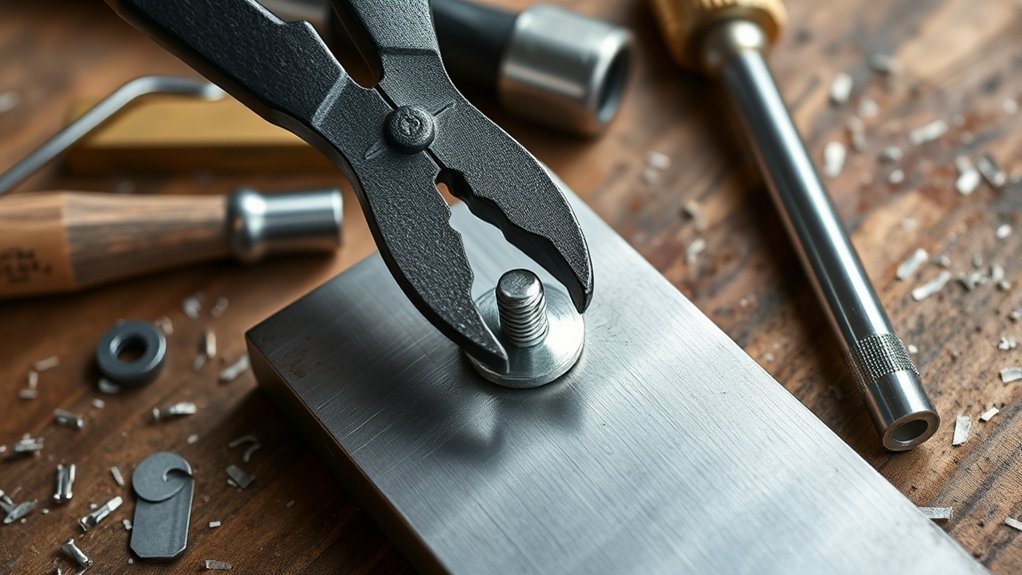
Although pliers can handle certain rivet types, removing rivets often requires specialized tools to guarantee efficiency and prevent damage. When considering pliers types, needle-nose pliers offer precision for small rivets, while locking pliers provide firm grip for stubborn fasteners.
However, tools comparison reveals that rivet removal pliers or a rivet drill bit are often superior for clean extraction. Standard pliers may slip or deform rivets, increasing removal difficulty. For flush or blind rivets, dedicated rivet removal tools minimize material distortion.
You should evaluate the rivet’s size and type before selecting your tool. Combining pliers with other specialized devices optimizes control and reduces effort. Understanding the strengths and limitations of each tool type guarantees you select the most effective method for your rivet removal task.
How to Avoid Damage When Removing Rivets With Pliers
Three key practices help you avoid damage when removing rivets with pliers: applying controlled pressure, selecting the right plier type, and positioning the tool accurately. To guarantee rivet damage prevention, you must use careful grip techniques that prevent deformation or surface marring.
- Apply Controlled Pressure: Squeeze the pliers gradually to avoid excessive force that could crush or distort the rivet head.
- Select Appropriate Pliers: Use needle-nose or locking pliers designed for precision to maintain a firm but gentle hold.
- Position Tool Precisely: Align the plier jaws squarely around the rivet shank or head to distribute force evenly, minimizing stress on adjacent materials.
Cleaning and Choosing Replacement Rivets After Removal
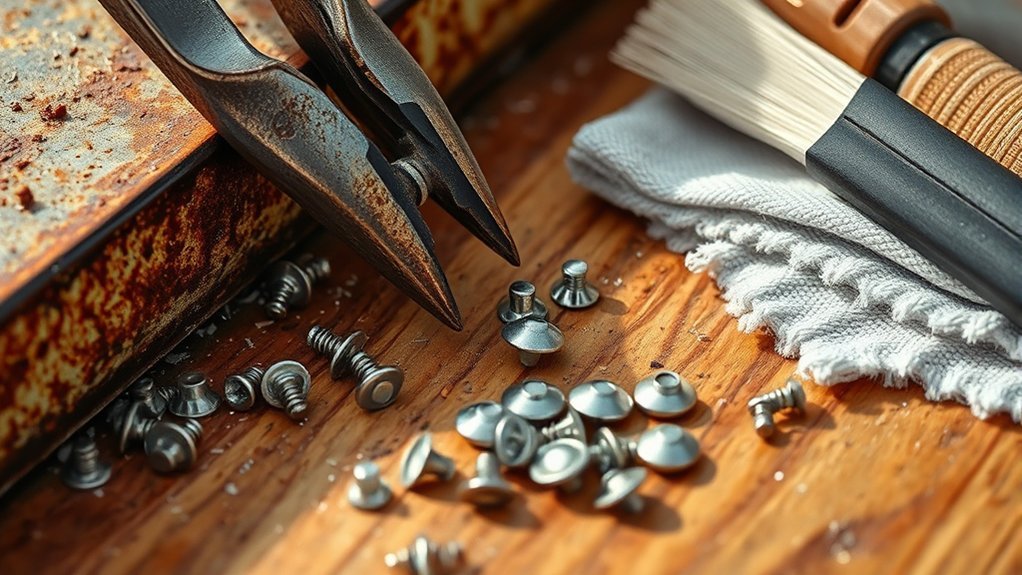
After you remove rivets, you’ll need to clean the surrounding area thoroughly to confirm proper adhesion and fit for replacements. Use appropriate cleaning techniques, such as wire brushing or solvent wiping, to remove debris and oxidation.
When selecting replacement materials, consider rivet type, strength, and compatibility with the base materials.
| Replacement Material | Application Suitability |
|---|---|
| Aluminum | Lightweight, corrosion-resistant |
| Steel | High strength, structural use |
| Stainless Steel | Corrosion resistance, outdoor |
| Copper | Electrical, aesthetic purposes |
| Plastic | Non-conductive, light load |
Choosing the correct replacement rivet guarantees durability and performance. Match rivet size precisely to the hole to maintain structural integrity.
Conclusion
Removing rivets with pliers demands precision and care to avoid damaging your workpiece. Studies show that improper rivet removal can cause up to 40% material deformation, underscoring the need for controlled pressure and proper tool selection.
By securing the workpiece and choosing the right pliers, you minimize risks and guarantee efficient extraction. When rivets resist, specialized removal tools can save time and maintain structural integrity.
Stay methodical for the best results when removing rivets with pliers.