You might have heard that removing micro bead extensions without pliers is nearly impossible, but is that really the case? With the right approach and tools, you can safely loosen and slide the beads off without causing damage. The key lies in softening the beads and applying controlled pressure carefully.
Before you proceed, understanding the correct technique can prevent hair breakage and save you a trip to the salon. By gently warming the beads, you can make them more pliable.
Then, using your fingers or a small comb, you can carefully slide the beads down the hair shaft. Patience is essential during this process to avoid pulling or tugging.
Taking your time will ensure your natural hair stays healthy and intact.
What Are Micro Bead Extensions and Why Remove Them Gently?
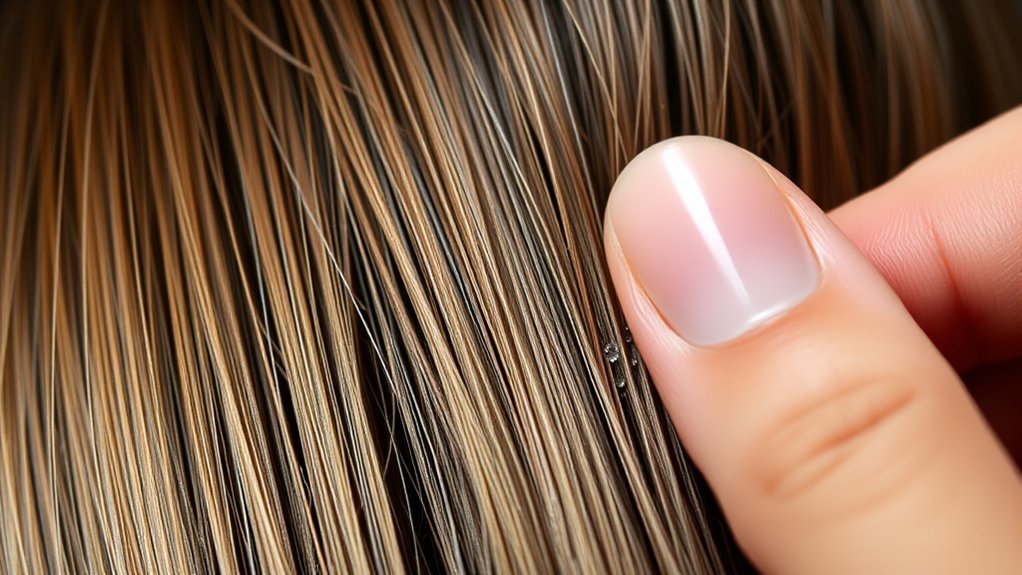
Micro bead extensions are small, lightweight strands of hair attached using tiny metal beads that clamp onto your natural hair. Understanding micro bead basics is vital before removal. These beads hold the extensions securely without heat or glue, minimizing damage during application.
However, when it’s time to remove them, gentle removal is critical to protect your hair’s integrity. If you pull or tug harshly, you risk breakage and scalp irritation. Instead, focus on loosening the beads carefully to slide the extensions off smoothly.
Tools Needed to Remove Micro Bead Extensions Without Pliers
Removing bead extensions without pliers requires the right tools to secure safety and efficiency. To master alternative removal techniques, you’ll need a fine-tooth comb, a rat-tail comb for sectioning, and a pair of small, rounded-tip scissors for trimming any damaged extension strands.
Additionally, a gentle lubricant like silicone-based hair serum helps ease bead movement, minimizing hair stress. You should also prepare a soft towel and a spray bottle with water or detangling solution to keep hair manageable throughout the process.
These specialized tools secure effective extension care by preventing breakage and scalp irritation. Using these precise instruments allows you to carefully manipulate the beads, facilitating a smooth removal without pliers, preserving your natural hair’s health while maintaining the integrity of the extensions.
When to Seek Professional Help or Try DIY Removal
Having the right tools can make the removal process smoother, but knowing when to handle the task yourself or consult a professional is equally important. If you’re confident in using DIY removal techniques and your micro beads are loose or accessible, you can attempt removal at home carefully to avoid hair damage.
However, if the beads are tightly clamped, embedded near the scalp, or if you experience discomfort, seeking professional assistance is advisable. Experts have specialized tools and experience to remove extensions safely without compromising your natural hair. Additionally, professional help minimizes the risk of breakage or scalp irritation.
Always assess your comfort level and the condition of your extensions before deciding, prioritizing hair health over convenience in your removal approach.
How to Soften and Loosen Micro Beads at Home
Although the process may seem intricate, you can effectively soften and loosen the beads at home using specific techniques and products designed to reduce their grip. Begin by applying warm hair oils such as coconut or olive oil directly onto the micro beads and surrounding hair. These oils act as natural lubricants, easing bead tension.
For enhanced results, use home remedies like a warm towel wrap to promote penetration and soften the metal beads. Allow the oils to sit for 20–30 minutes to maximize loosening. Avoid excessive pulling; instead, gently massage the beads to distribute the oils evenly.
This preparatory step is essential before attempting removal, as it reduces hair stress and minimizes damage. Consistent use of these methods will make subsequent detachment safer and more manageable.
Step-by-Step Removal of Micro Bead Extensions Without Pliers

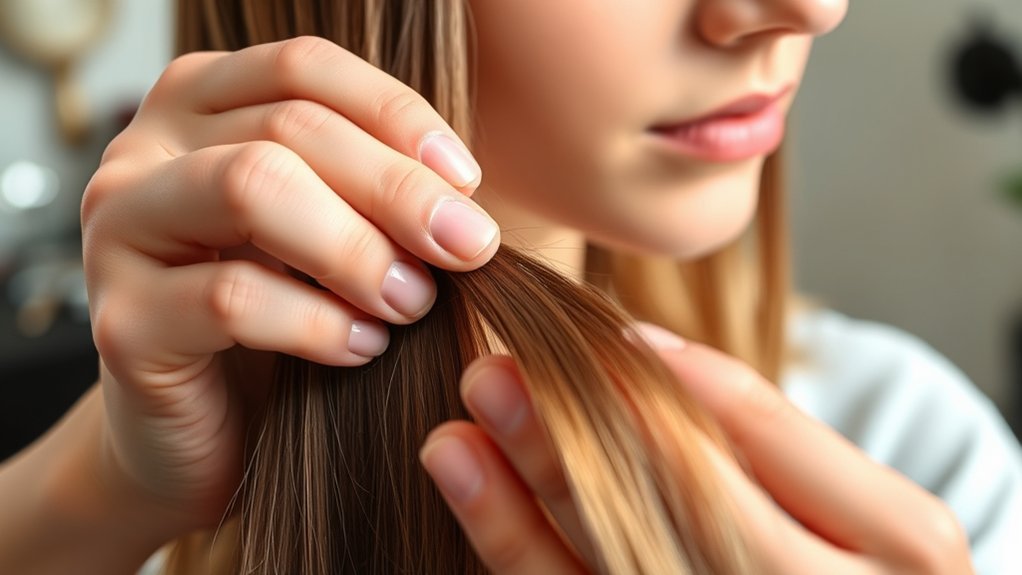
Since you’ve softened the micro beads thoroughly, you can now proceed with their removal without pliers by gently sliding each bead down the hair shaft. Begin by holding the extension strand near the bead and carefully pushing the bead toward the ends of your hair.
Use your thumb and forefinger to apply steady, controlled pressure, avoiding any tugging that could cause damage. If a bead resists, reapply your softening treatment before continuing.
Apply gentle, steady pressure with your thumb and forefinger; reapply softener if beads resist removal.
This removal technique prioritizes extension care by minimizing stress on your natural hair and the extension bonds. Work methodically through each bead, ensuring you maintain a gentle touch to prevent breakage.
Once all beads are slid off, detangle your hair gently and follow up with appropriate conditioning to maintain your hair’s health after removal.
Protect Your Hair During Micro Bead Extension Removal
To protect your hair during micro bead extension removal, you need to prioritize gentle hair care and use safe removal techniques. Avoid tugging or pulling on the beads, as this can cause breakage and damage your natural strands.
Instead, carefully loosen the beads and work methodically to preserve your hair’s integrity throughout the process.
Gentle Hair Care
Proper care during micro bead extension removal is essential to prevent damage to your natural hair. You’ll want to focus on gentle cleansing and nourishing treatments that strengthen and protect your strands throughout the process. Avoid harsh shampoos or vigorous scrubbing that can weaken your hair.
To maintain hair health, follow these guidelines:
Use sulfate-free, gentle cleansing products
Apply deep conditioning or protein-rich nourishing treatments
Avoid excessive heat styling before and after removal
Detangle hair softly with a wide-tooth comb
Keep hair moisturized with leave-in conditioners or oils
Safe Removal Techniques
Maintaining the health of your natural hair doesn’t stop at gentle care. It extends to how you remove your micro bead extensions. You must use safe techniques to prevent breakage and scalp irritation.
Avoid pulling or tugging; instead, apply a gentle method that loosens the beads without force. Warm oil can help lubricate the beads, making removal smoother.
| Step | Description |
|---|---|
| 1. Section Hair | Divide hair into manageable sections |
| 2. Apply Lubricant | Use warm oil to soften micro beads |
| 3. Gently Slide Beads | Slowly move beads down the hair shaft |
| 4. Detangle | Use a wide-tooth comb for knot removal |
| 5. Condition | Deep condition to restore moisture |
Following these safe techniques guarantees your hair stays healthy during removal.
Common Challenges Removing Micro Bead Extensions Without Pliers
Without specialized pliers, you’ll likely face issues with bead slippage, which can make the removal process frustrating and ineffective. This increases the risk of hair damage, as improper handling may cause breakage or tangling.
Additionally, removing micro bead extensions manually tends to be considerably more time-consuming, requiring patience and precision to avoid harm.
Slippage Without Proper Tools
Although you might be tempted to remove micro bead extensions by hand, doing so without the specialized pliers often leads to slippage and damage. Slippage causes mainly arise from insufficient grip and uneven pressure application, making the bead difficult to compress or release properly.
Using gentle techniques without proper tools increases the risk of the bead sliding along the hair shaft or snapping the extension bond. To minimize these issues, consider the following:
Avoid pulling or twisting beads without a firm grip. Use your fingertips cautiously to prevent bead movement. Work in small sections to maintain control. Apply consistent, gentle pressure to loosen beads. Keep hair dry and detangled to reduce bead resistance.
Proper tools guarantee precision; without them, slippage is almost inevitable.
Hair Damage Risks
When you remove micro bead extensions without the proper pliers, you risk causing significant hair damage due to uncontrolled force and improper bead compression. This can lead to excessive hair breakage as you might tug or pull on your natural strands instead of gently releasing the beads.
Without the correct tool to carefully open the micro rings, you increase the chance of extension fallout, where extensions detach prematurely, leaving your hair uneven and vulnerable. To minimize these risks, always use specialized micro bead removal pliers designed to apply precise pressure on the beads, ensuring a smooth release.
Attempting removal without them compromises hair integrity and can result in costly damage that requires professional repair or regrowth time.
Time-Consuming Removal Process
If you don’t use the proper pliers, removing micro bead extensions quickly becomes a tedious and painstaking task. The time investment and patience required escalate considerably, as you manually manipulate each bead to avoid hair damage.
Without specialized tools, you’ll face these challenges:
- Difficulty in securely gripping and opening beads
- Increased risk of tugging or pulling on natural hair
- Prolonged removal sessions causing discomfort
- Inability to efficiently loosen tight beads
- Greater likelihood of incomplete bead removal
To manage the time-consuming removal process effectively, allocate ample time, work methodically, and maintain steady hands. Recognize that without pliers, the procedure demands heightened precision and endurance, emphasizing why professional tools are essential for safe, efficient bead extraction.
Troubleshooting Removal Problems Safely
Since removing micro bead extensions can sometimes present unexpected challenges, you need to approach troubleshooting with care to protect your natural hair. If you experience removal anxiety due to stubborn beads, avoid pulling or forcing them out, which risks breakage.
Instead, gently massage warm oil or a silicone-based lubricant around the beads to loosen the grip. Use a fine-tooth comb to carefully slide the beads off, maintaining steady, gentle pressure. If certain beads remain resistant, consider professional assistance or explore extension alternatives that allow easier removal in the future.
Always prioritize gentle techniques over aggressive manipulation to safeguard your hair’s integrity. Staying patient and methodical during removal will minimize damage and promote a safer shift back to your natural hair.
Tips to Keep Your Hair Healthy After Removing Extensions
After carefully removing micro bead extensions, focus on restoring your hair’s health to prevent damage and promote regrowth. Prioritize post removal care to strengthen weakened strands and replenish moisture.
Incorporate targeted hair nourishment routines to support scalp health and enhance elasticity. Here are key tips to maintain your hair’s integrity:
- Use sulfate-free, hydrating shampoos to avoid further dryness.
- Apply deep conditioning treatments weekly to restore protein and moisture balance.
- Limit heat styling tools to reduce breakage risk.
- Massage your scalp regularly to stimulate blood circulation and promote follicle health.
- Trim split ends promptly to prevent damage from spreading.
Conclusion
Removing micro bead extensions without pliers might seem tricky, but with patience and the right technique, it’s entirely doable. Coincidentally, the very oils you use to nourish your hair can also soften those stubborn beads, making removal gentler and safer.
By following these steps carefully, you’ll protect your natural hair’s integrity while avoiding damage. Remember, a calm approach and proper care turn a challenging task into a smooth, professional experience.
In conclusion, removing micro bead extensions without pliers requires time and gentle handling, but it ensures your hair stays healthy and intact throughout the process.