When you need to change the drill bit on your Ryobi drill, the first step is identifying whether you have a keyless or keyed chuck, as each requires a slightly different approach.
You’ll want to make certain the drill is powered off before loosening the chuck to avoid injury. Properly loosening and tightening the chuck guarantees the bit stays secure during use.
Next, you’ll learn the precise steps to safely and efficiently swap out your drill bit.
How to Identify Your Ryobi Drill’s Chuck Type
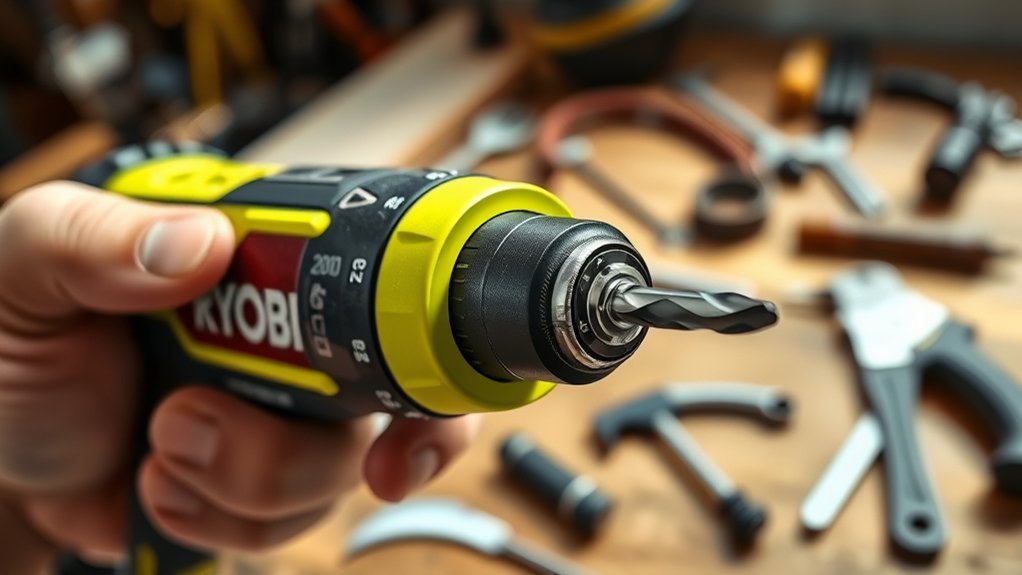
How can you quickly determine the type of chuck on your Ryobi drill? First, consult the drill specifications found in your user manual or on Ryobi’s official website. These details often list the chuck types compatible with your model.
Next, visually inspect the chuck itself. If it has a tightening collar you can turn by hand, you’re dealing with a keyless chuck. If you see a small hole on the chuck’s side for inserting a chuck key, it’s a keyed chuck.
Note the chuck size, usually measured in millimeters or inches, as listed in the drill specifications; this guarantees compatibility with drill bits. Identifying your chuck type accurately helps you select the correct method for changing bits safely and efficiently.
Tips for Changing Bits on Keyless vs. Keyed Chucks
When changing bits on a keyless chuck, you’ll simply rotate the collar to loosen or tighten the grip on the bit.
For a keyed chuck, use the chuck key to engage the gears and securely clamp or release the bit. Make sure to apply firm, even pressure to prevent slipping during both methods.
Keyless Chuck Adjustment
Two common types of drill chucks, keyless and keyed, require different approaches to changing bits. Keyless chucks offer convenience through hand-tightened chuck mechanisms, eliminating the need for separate tools.
To adjust a keyless chuck, grip the chuck sleeve firmly and rotate it counterclockwise to open the jaws. Insert the new bit fully, then rotate the sleeve clockwise to secure it. The keyless advantages include faster bit changes and less risk of losing a chuck key.
Keep these tips in mind:
- Confirm the chuck is fully loosened before bit insertion
- Hold the drill steady to maintain alignment
- Tighten the chuck firmly to prevent slippage
- Avoid overtightening to protect the mechanism
- Inspect jaws for wear to guarantee a secure grip
Mastering this confirms efficient, reliable bit changes on Ryobi drills.
Keyed Chuck Operation
Operate a keyed chuck by inserting the chuck key into the corresponding hole and turning it counterclockwise to loosen the jaws. Once loosened, insert the drill bit fully into the chuck.
Turn the chuck key clockwise to tighten the jaws securely around the bit, guaranteeing it’s centered and stable. Always remove the chuck key immediately after tightening to prevent accidents.
Compared to keyless chucks, keyed chucks provide a firmer grip, essential for heavy-duty drilling tasks.
For proper drill maintenance, regularly clean the chuck and apply a light lubricant to the gear teeth of the keyed chuck. This prevents rust and guarantees smooth operation.
Knowing how to properly operate a keyed chuck enhances both safety and efficiency during bit changes on your Ryobi drill.
Tools Needed to Change a Ryobi Drill Bit
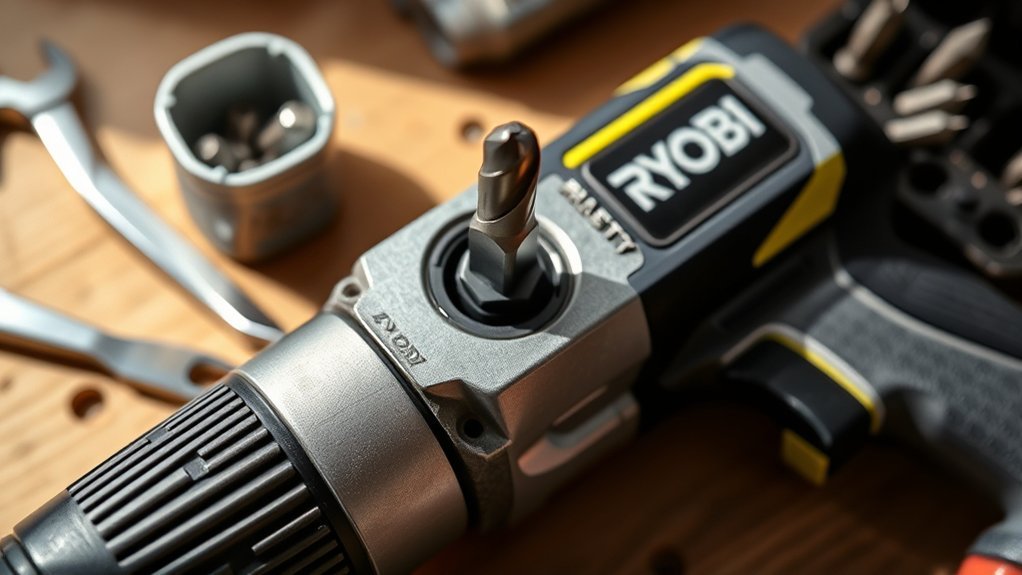
To change a Ryobi drill bit safely and efficiently, you’ll need a few essential tools, including the correct wrench or chuck key. Always wear safety glasses and gloves to protect yourself during the process.
Additionally, optional accessories like magnetic bit holders can improve handling and speed up bit changes.
Essential Tools Overview
Changing a Ryobi drill bit requires a few essential tools to guarantee safety and efficiency. Before you begin, familiarize yourself with the drill bit types and drill bit materials suitable for your project, as this influences the tools you’ll need.
Here’s a concise list of what to have on hand:
- Hex key or chuck key (for keyed chucks)
- Adjustable wrench or pliers (if needed for tight chucks)
- Replacement drill bits compatible with Ryobi drills
- Soft cloth or rag (to clean the chuck and bit)
- Lubricant or light oil (to ease removal and insertion)
Using these tools correctly assures you can change bits swiftly while preserving your Ryobi drill’s integrity and performance.
Safety Equipment Required
Although swapping out drill bits might seem straightforward, you should always wear proper safety equipment to protect yourself from potential hazards like flying debris or accidental slips. At minimum, equip yourself with safety goggles to shield your eyes and hearing protection to reduce noise exposure, especially in noisy environments.
| Equipment | Purpose | Recommendation |
|---|---|---|
| Safety Goggles | Protect eyes from debris | ANSI Z87.1 certified |
| Hearing Protection | Reduce noise exposure | Earplugs or earmuffs |
| Work Gloves | Improve grip and protect hands | Use snug-fitting gloves |
Using this equipment guarantees a safer environment when changing your Ryobi drill bit. Don’t skip these precautions to avoid injury.
Optional Accessories Benefits
When you want to streamline the process of swapping out your Ryobi drill bit, using optional accessories can make a significant difference. These tools guarantee better grip, precision, and safety while accommodating various drill bit types.
Selecting accessories with proper accessory compatibility assures smooth operation and prevents damage to the chuck or bits.
Consider incorporating the following accessories:
- Keyless chuck adapters for quick bit changes
- Magnetic bit holders to secure small drill bit types
- Torque limiters to avoid over-tightening
- Bit extension bars for hard-to-reach areas
- Chuck tightening wrenches for enhanced grip on standard chucks
How to Loosen the Chuck on Your Ryobi Drill
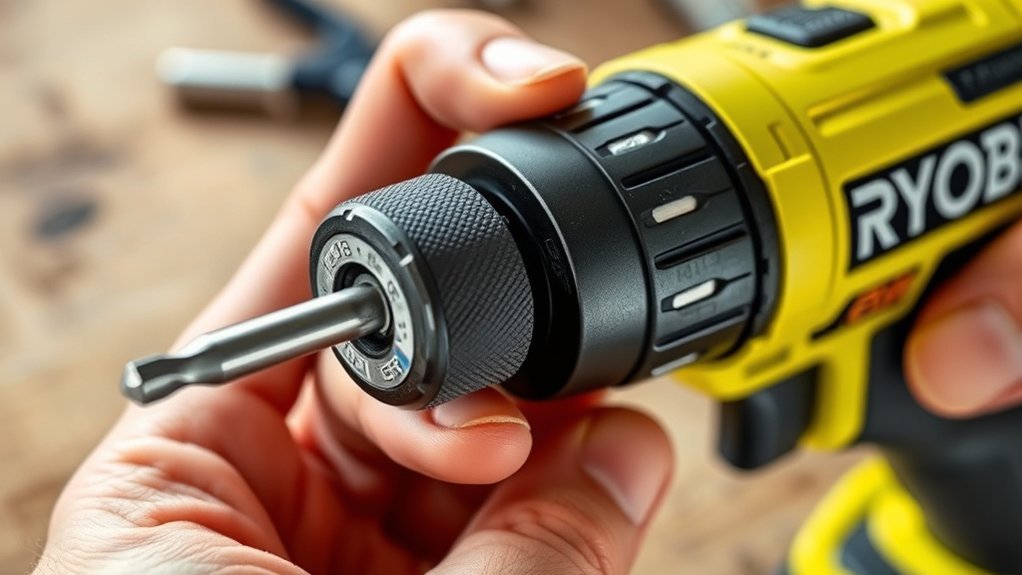
To loosen the chuck on your Ryobi drill, start by firmly gripping the chuck sleeve with one hand while holding the drill body with the other. Rotate the chuck sleeve counterclockwise to release the drill bit. If it’s tight, apply steady force without jerking, preventing damage.
This step is essential for maintenance tips and guarantees smooth operation when changing bits. Proper chuck loosening complements your technique in choosing drill bits suited for different tasks.
| Step | Action Description |
|---|---|
| 1 | Hold chuck sleeve firmly |
| 2 | Stabilize drill body |
| 3 | Rotate chuck counterclockwise |
| 4 | Apply steady force if tight |
| 5 | Stop once chuck loosens |
Following these steps guarantees safe, efficient chuck handling and prolongs tool life.
How to Insert and Secure a New Ryobi Drill Bit
Once you’ve loosened the chuck on your Ryobi drill, you can insert the new drill bit. First, select the appropriate drill bit type based on your material and task. Verify bit size compatibility with the chuck to avoid slipping or damage.
After loosening your Ryobi drill’s chuck, choose and verify the correct drill bit size for safe, effective use.
Hold the drill bit by its shank, never the cutting edge, to prevent injury. Insert the bit straight into the chuck, pushing it as far as it will go for maximum stability. Finally, check that the bit is centered and aligned properly before moving on to tighten the chuck.
- Confirm drill bit type matches your project needs
- Verify bit size fits the chuck’s capacity
- Grasp the shank securely without touching the tip
- Insert the bit straight, avoiding angles
- Position the bit fully inside the chuck for stability
How to Tighten the Chuck to Lock the Drill Bit
Grip the chuck firmly and rotate it clockwise to tighten around the drill bit. Depending on your Ryobi model, you may encounter different chuck types, such as keyless or keyed chucks.
For keyless chucks, hand-tighten by turning the outer sleeve until the bit is secured without wobbling. With keyed chucks, use the chuck key to engage teeth and tighten evenly.
Verify the bit is centered and straight to prevent slippage during operation. Proper tightening is essential for drill maintenance, as a loose bit can cause damage to both the bit and the drill.
After tightening, give the bit a gentle tug to confirm it’s securely locked. This step guarantees safety and peak performance for your Ryobi drill.
Maintain Your Ryobi Drill Bits for Longer Life
Extend the life of your Ryobi drill bits by regularly cleaning and inspecting them for wear or damage. Proper maintenance prevents dullness and breakage, ensuring efficient performance.
Follow these bit storage and maintenance tips to keep your bits in prime condition:
- Wipe bits clean after each use to remove debris and prevent rust.
- Inspect the cutting edges for chips or dullness; sharpen as needed.
- Store bits in a dedicated case or organizer to avoid damage and loss.
- Avoid overheating by drilling at appropriate speeds and using lubricant if necessary.
- Rotate bits regularly if you have multiple, preventing uneven wear.
How to Fix Common Problems When Changing Ryobi Drill Bits
Although changing Ryobi drill bits is generally straightforward, you may encounter issues like stuck bits, stripped chucks, or difficulty aligning the bit properly. Addressing these requires understanding bit compatibility issues and following proper drill maintenance tips.
| Problem | Cause | Solution |
|---|---|---|
| Stuck bit | Debris or rust in chuck | Apply penetrating oil; twist gently |
| Stripped chuck | Over-tightening or wear | Replace chuck; avoid excessive force |
| Misalignment | Incorrect bit size or fit | Confirm bit compatibility; realign |
| Difficulty loosening | Chuck mechanism jammed | Clean and lubricate chuck regularly |
Conclusion
Now that you know how to change your Ryobi drill bit properly, you’re ready to tackle any project without missing a beat. Remember, a securely tightened chuck is the backbone of safe and efficient drilling—don’t let your bit slip through the cracks.
With regular maintenance and careful handling, your drill will stay in top shape, making every job smooth sailing. Stay sharp and always double-check your work before powering up.
Mastering the process on how to change drill bit on Ryobi ensures your tool performs at its best every time you use it.