When your DeWalt drill bit gets stuck, you need a clear, effective approach to remove drill bit from DeWalt without damaging the tool.
Start by safely disconnecting power and identifying the chuck type—keyed or keyless.
Applying the right technique and tools can make all the difference, especially if the bit has seized due to debris or corrosion.
Understanding these steps guarantees you won’t worsen the problem, but there’s more to weigh before you act.
How To Tell If Your DeWalt Drill Bit Is Stuck
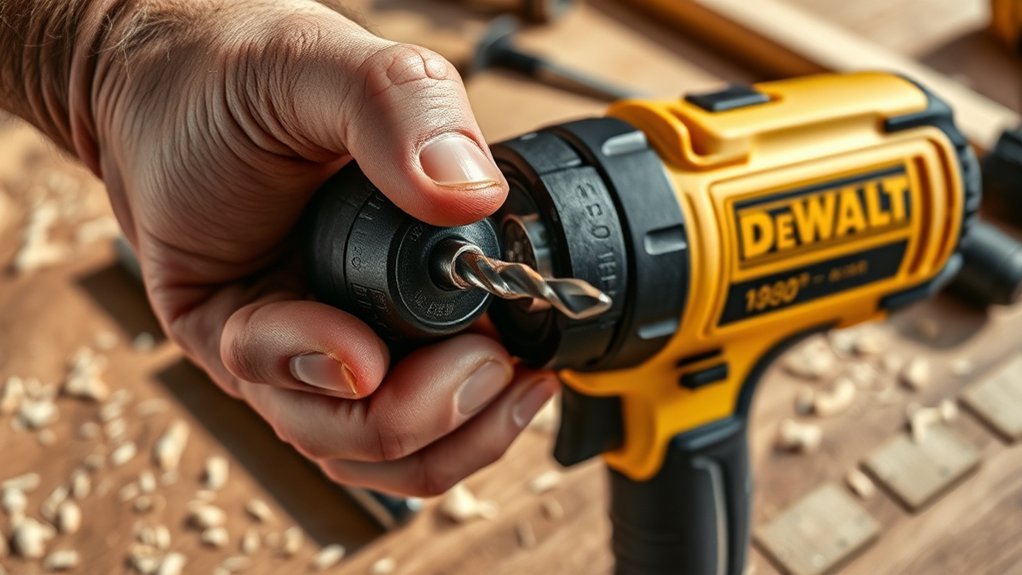
How can you quickly determine if your DeWalt drill bit is stuck? First, check for signs of malfunction such as resistance when you manually try to rotate the drill bit or if the drill motor struggles without effective bit movement.
Another clear indicator is if the drill bit fails to engage the material despite power application, suggesting improper drill bit compatibility or jamming. Inspect the bit’s alignment and guarantee it matches the chuck size and material type.
If the drill bit won’t loosen or rotate freely, it’s likely stuck. Additionally, unusual noises or overheating during operation are technical signs of malfunction. Recognizing these symptoms early helps you avoid further damage and prepares you to safely proceed with removal steps.
How To Loosen A Stuck Drill Bit In Your DeWalt Drill
First, identify the type of locking mechanism your DeWalt drill uses to guarantee proper handling. Next, apply a suitable lubricant to reduce friction around the bit and chuck interface.
Finally, use the correct wrench technique to carefully loosen and remove the stuck drill bit without damaging the tool.
Identify Locking Mechanism
Before attempting to loosen a stuck drill bit in your DeWalt drill, you need to identify the specific locking mechanism it uses. DeWalt drills commonly feature two primary locking types: keyless chucks and keyed chucks.
Keyless chuck designs allow you to tighten or loosen the bit by hand, using a twist mechanism. In contrast, keyed chucks require a chuck key to engage the gear teeth for secure tightening or loosening.
Inspect your drill’s chuck closely; if it has gear teeth around the collar, it’s likely a keyed chuck. If it lacks teeth and turns by hand with resistance, it’s keyless.
Recognizing the correct locking type is essential to apply the appropriate loosening technique without damaging the chuck or drill bit.
Apply Proper Lubrication
Once you’ve identified whether your DeWalt drill uses a keyed or keyless chuck, the next step is to apply proper lubrication to free the stuck drill bit. Proper lubrication techniques reduce friction and corrosion, easing bit removal without damaging the chuck.
Use penetrating oil or a light machine oil, applying sparingly around the chuck’s jaws. Allow it to penetrate for 10–15 minutes before attempting removal.
| Lubricant Type | Benefits of Lubrication |
|---|---|
| Penetrating Oil | Breaks down rust, loosens stuck parts |
| Light Machine Oil | Reduces friction, smooths movement |
| Silicone Spray | Prevents future corrosion, long-lasting |
Following these steps guarantees smooth operation and extends the life of your DeWalt drill’s chuck.
Use Correct Wrench Technique
Two specific wrench techniques can effectively loosen a stuck drill bit in your DeWalt drill without damaging the chuck or bit. First, secure the wrench grip firmly around the chuck’s flats to maximize contact and prevent slippage. Apply steady torque in the counterclockwise direction to initiate loosening. Avoid sudden force, which can strip the chuck or break the bit.
Second, if the first method fails, use a longer wrench handle to increase torque application leverage. This allows controlled but stronger force to break the bond. Throughout, maintain consistent wrench grip pressure and avoid twisting the drill body itself.
Tools That Help Remove A Jammed Drill Bit Safely
Although removing a jammed drill bit can be challenging, using the right tools greatly reduces the risk of damage to your Dewalt drill and enhances safety. First, gather essential tools: an adjustable wrench to grip the chuck securely, locking pliers for extra leverage, and a hex key or Allen wrench if your chuck uses set screws.
Always follow safety precautions by unplugging the drill or removing its battery before starting. Use the adjustable wrench to hold the chuck firmly, then apply steady force with the locking pliers to twist the drill bit free.
Avoid using excessive force that might strip the chuck or break the bit. These tools, combined with proper technique, guarantee a safe and efficient removal of a jammed drill bit.
How To Fix A DeWalt Drill Chuck That Won’t Release
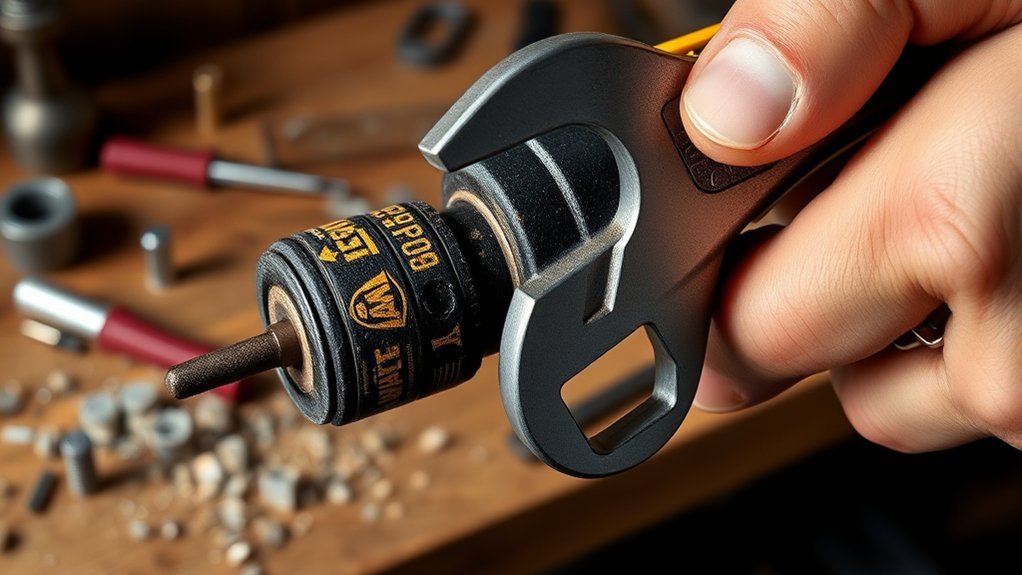
If you’ve used tools like locking pliers or an adjustable wrench to remove a jammed drill bit but the Dewalt drill chuck still won’t release, you’ll need to troubleshoot the chuck mechanism itself. Different drill chuck types, such as keyless and keyed, require specific troubleshooting techniques to address their unique locking systems.
Start by inspecting the chuck for debris or damage, then proceed with these steps:
- Manually rotate the chuck sleeve to check for mechanical binding.
- Clean the chuck interior with compressed air to remove dirt or metal shavings.
- Verify the internal jaws move freely and aren’t worn or stuck.
- Test the drill’s spindle rotation to confirm it’s not causing the chuck seizure.
Following these precise steps will help you identify and fix the root cause of a Dewalt drill chuck that won’t release.
When To Use Lubricants Or Heat To Free A Stuck Bit
When you encounter a drill bit that remains firmly lodged despite mechanical attempts to release it, applying lubricants or controlled heat can effectively break the bond. Start by selecting appropriate lubricant types, such as penetrating oils or light machine oils, which reduce friction and loosen rust or debris causing the bit to stick.
Apply the lubricant directly to the chuck and bit interface, allowing it to penetrate for 10–15 minutes before attempting removal. If lubrication fails, proceed with heat application carefully: use a heat gun or a soldering iron to warm the chuck around the stuck bit, expanding metal parts and breaking corrosion bonds.
Avoid excessive heat to prevent damage. Alternate between lubricant application and heat as needed, ensuring safe handling and gradual loosening until the bit can be safely extracted.
How To Avoid Damaging Your DeWalt Drill During Bit Removal
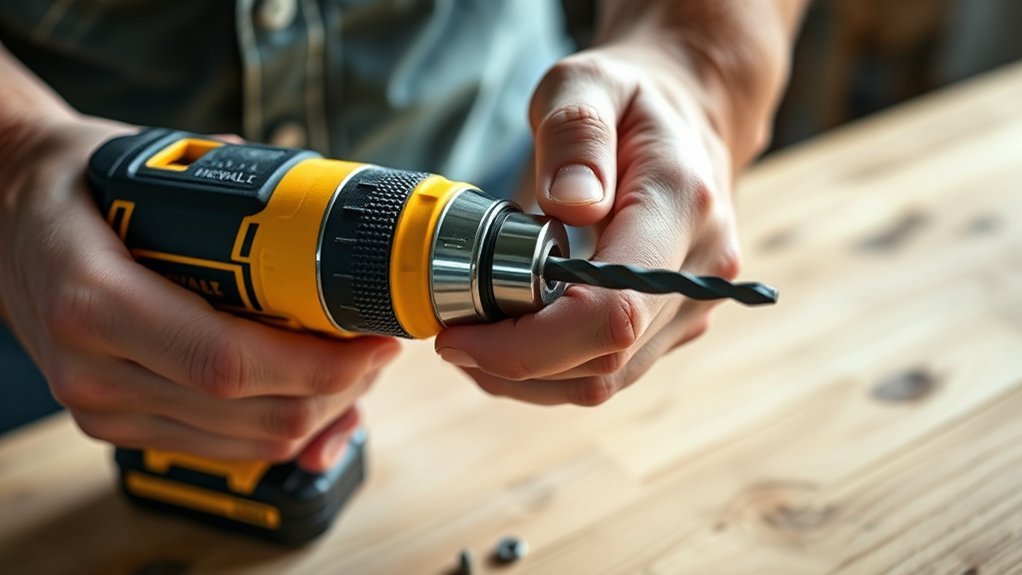
To protect your DeWalt drill during bit removal, you must apply steady, controlled force and avoid sudden twists or excessive pressure on the chuck. Proper chuck care is essential in drill maintenance to prevent wear or damage.
Here’s how to avoid harming your drill:
Always power off and unplug the drill before removing the bit. Use the correct key or hand-tightening method for your chuck type. Clean the chuck regularly to remove debris and guarantee smooth operation. Avoid forcing the bit if it resists; apply gentle back-and-forth motion to loosen it.
Following these steps preserves the chuck’s integrity and guarantees long-term drill performance. Proper handling during bit removal prevents costly repairs and maintains your DeWalt’s reliability.
How To Prevent Drill Bits From Getting Stuck In Your DeWalt Drill
Maintaining proper chuck care and controlled bit removal techniques helps reduce the risk of drill bits getting stuck in your DeWalt drill. Prioritize regular drill bit maintenance by inspecting bits for wear and debris.
Apply consistent pressure when inserting or removing bits to avoid jamming. Lubricate the chuck mechanism lightly to guarantee smooth operation without buildup.
Use the table below as a quick reference for key prevention steps:
| Task | Method | Frequency |
|---|---|---|
| Drill Bit Maintenance | Clean, inspect, replace | Before each use |
| Drill Chuck Care | Light lubrication | Monthly |
| Bit Insertion/Removal | Controlled, steady force | Every bit change |
Following these steps guarantees peak performance and longevity of your drill, minimizing stuck bit incidents through proper drill chuck care and maintenance.
How To Clean And Maintain Your DeWalt Drill Chuck
To keep your DeWalt drill chuck functioning smoothly, regularly remove debris and dust from the mechanism. Apply appropriate lubrication to prevent rust and guarantee easy bit changes.
Also, inspect the chuck for signs of wear to address issues before they affect performance.
Lubricating The Drill Chuck
A well-lubricated drill chuck guarantees smooth operation and extends the lifespan of your DeWalt drill. Proper drill lubrication is essential for chuck maintenance, preventing wear and corrosion.
To lubricate the chuck effectively, follow these steps:
Apply a few drops of light machine oil or specialized drill lubricant to the chuck’s moving parts. Rotate the chuck several times to evenly distribute the lubricant within the mechanism. Wipe away any excess lubricant to avoid attracting dust or debris.
Perform lubrication periodically, especially after heavy use or exposure to moisture.
This precise approach confirms the chuck operates with minimal friction and maintains reliable grip on drill bits, enhancing overall performance. Regular lubrication is a critical part of your DeWalt drill’s maintenance routine.
Removing Debris And Dust
Proper lubrication keeps your DeWalt drill chuck operating smoothly, but debris and dust can still accumulate inside, hindering its performance. For effective drill maintenance, start by removing the drill bit and loosening the chuck jaws fully.
Use compressed air to blow out dust and particles from the chuck’s interior and teeth. Next, apply a small brush, preferably nylon, to dislodge stubborn debris within the chuck mechanism. Avoid using water or solvents that could cause rust.
After cleaning, wipe the chuck surfaces with a clean, dry cloth to remove any residual dust. Regular chuck cleaning prevents wear and guarantees precise bit gripping. Incorporate this step into your drill maintenance routine to maintain ideal chuck function and prolong your DeWalt’s service life.
Inspecting For Wear
Wear indicators on your DeWalt drill chuck help you determine when maintenance or replacement is necessary. During drill maintenance, inspect these indicators carefully to avoid performance issues or damage.
Start by visually examining the jaws for uneven wear or deformation. Check the chuck body for cracks or corrosion that could impair function. Confirm the spindle rotates smoothly without excessive play or grinding noises.
Finally, test the tightness of the chuck mechanism to verify it securely grips the drill bit. Addressing these factors promptly will extend the tool’s lifespan and maintain peak operation.
Inspect jaws for wear patterns and damage
Examine chuck body for structural integrity
Verify smooth, play-free spindle rotation
Test chuck tightness under load conditions
Signs You Need Professional Help Or Replacement Parts
If your drill bit refuses to release despite following standard removal steps, it indicates internal damage or a malfunction that requires professional intervention. Look for signs of damage such as stripped chuck jaws, worn-out teeth, or a seized spindle.
These issues prevent proper gripping and releasing, making DIY removal ineffective. You should also check for unusual noises or excessive resistance during operation, which signal internal component failure.
When you encounter these signs of damage, avoid forcing the tool to prevent further harm. Instead, consult a certified technician who can assess the problem accurately and suggest appropriate replacement options.
Investing in genuine Dewalt parts guarantees compatibility and restores peak function. Prompt professional help maintains safety and prolongs your drill’s service life.
Conclusion
To remove a stuck drill bit from your DeWalt drill, first unplug the drill or remove the battery to ensure safety. Next, apply a lubricant such as WD-40 to the chuck and allow it some time to penetrate and loosen any debris or rust.
Use the appropriate tools to grip the chuck firmly and twist it carefully to release the bit. Avoid using excessive force, as this can cause damage to the drill or chuck components.
If the bit remains stuck despite these efforts, consider seeking professional assistance to prevent further damage. Regular maintenance, including cleaning the chuck and avoiding bit jamming, is essential.
By following these steps and maintaining your tool, you can ensure smooth operation and extend the lifespan of your equipment. Proper care is key when you need to remove a drill bit from your DeWalt.