You might think releasing a drill bit from a drill is just a quick twist, but stuck bits often require more than that simple move.
If you’ve tried loosening the chuck without success, understanding the exact type of chuck and the right method to apply can save you frustration and potential damage.
Let’s explore practical steps and troubleshooting techniques that guarantee you can safely and efficiently free your drill bit.
These methods will help you handle both keyless and keyed chucks with confidence.
By following these tips, you’ll avoid common mistakes and keep your drill in good working condition while removing stubborn drill bits.
Quick Steps to Release a Jammed Drill Bit
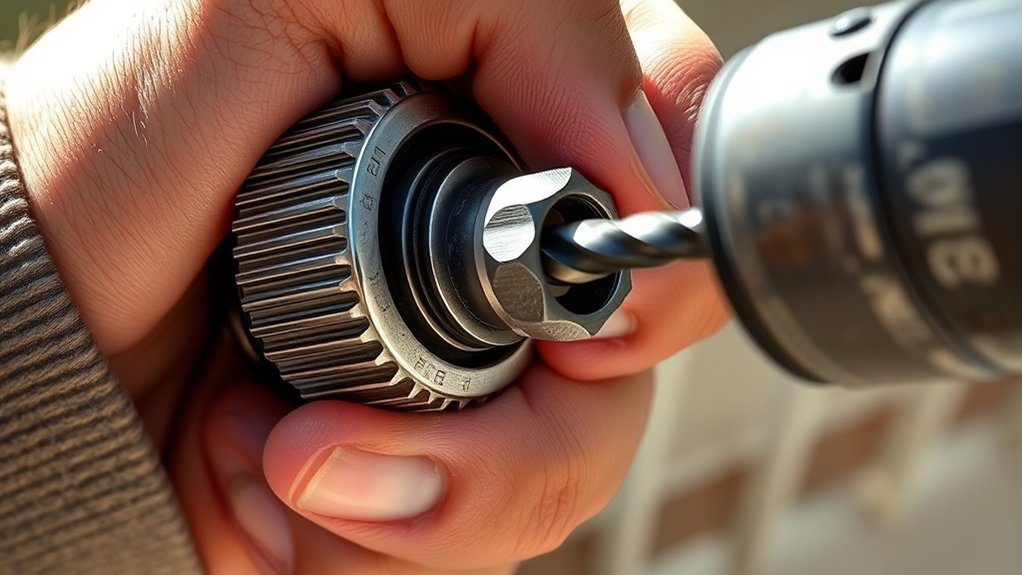
When a drill bit jams, you need to act quickly to prevent damage to both the bit and the drill. First, disconnect the drill from its power source to guarantee safety. Next, gently reverse the drill’s rotation to loosen the bit.
Avoid forcing it, as excessive torque can cause breakage. Apply bit lubrication around the bit’s shank to reduce friction and facilitate removal. If the bit remains stuck, lightly tap the drill’s chuck with a rubber mallet to dislodge debris.
After removal, perform routine drill maintenance by cleaning the chuck and inspecting the bit for wear. Proper lubrication and maintenance prevent future jams, assuring smooth operation and prolonging the tool’s lifespan. These steps help you efficiently release a jammed drill bit without causing further damage.
Essential Tools for Removing Stuck Drill Bits
Loosening a jammed drill bit often requires more than just reversing the drill’s rotation or applying lubrication. You’ll need essential tools like a pair of locking pliers to grip the bit securely and apply controlled torque without slipping.
A hex wrench or Allen key is useful if your drill features a chuck with set screws. Always wear safety goggles and gloves as safety precautions to protect against sudden bit release or metal shards.
Additionally, a small hammer can help gently tap the bit free if it’s corroded or tightly wedged. Remember, proper maintenance, including regular cleaning and lubrication of the chuck, reduces the likelihood of bits becoming stuck, minimizing the need for forceful removal techniques.
Using the right tools methodically guarantees efficient and safe bit extraction.
Use a Chuck Key to Loosen the Drill Bit
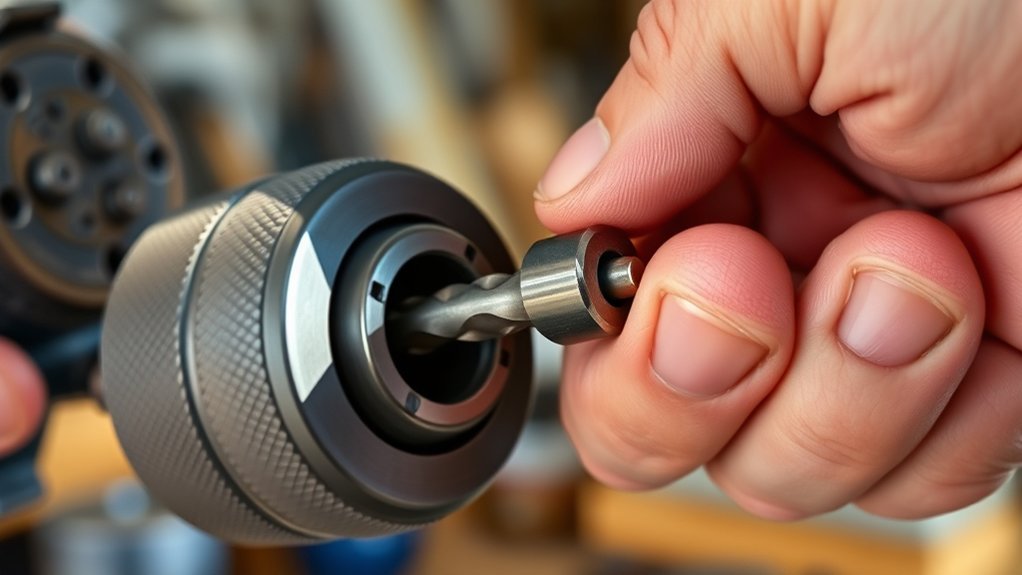
A chuck key provides the necessary leverage to securely grip and turn the drill’s chuck, allowing you to loosen a tightly held drill bit. First, insert the key into the chuck’s gear teeth. Turn counterclockwise with steady force to loosen the jaws gripping the bit.
Proper chuck maintenance guarantees smooth operation and prevents damage. Verify bit compatibility before inserting to avoid excessive tightening. After loosening, carefully remove the bit.
| Step | Action | Note |
|---|---|---|
| 1 | Insert chuck key | Engage gear teeth fully |
| 2 | Turn counterclockwise | Apply steady force |
| 3 | Remove bit | Check bit compatibility |
Following these steps preserves chuck longevity and guarantees safe bit release.
Release a Drill Bit From a Keyless Chuck
To release a drill bit from a keyless chuck, first identify the chuck’s outer sleeve and gripping jaws. Firmly grip the chuck and rotate the outer sleeve counterclockwise to loosen the jaws.
Once loosened, carefully remove the drill bit to avoid injury.
Identify Keyless Chuck Components
Before releasing a drill bit from a keyless chuck, you need to understand its main components: the outer sleeve, the inner jaws, and the spindle. The outer sleeve is the part you grip and rotate to operate the chuck locking system, which secures or releases the drill bit.
Inside, the inner jaws move radially to clamp or free the bit when you twist the sleeve. The spindle connects the chuck to the drill motor and transmits torque. Keyless chuck mechanisms rely on the interaction between these parts to hold the bit tightly without additional tools.
Knowing these components helps you manipulate the chuck correctly and safely. Familiarity with the chuck locking system guarantees you apply proper force and direction to disengage the jaws from the drill bit efficiently.
Grip And Rotate Chuck
Grip the outer sleeve of the keyless chuck firmly with one hand while stabilizing the drill body with the other. Keyless chuck types rely on friction and a threaded mechanism to secure the drill bit, so your grip technique is essential.
Rotate the outer sleeve counterclockwise using steady, controlled force to loosen the jaws gripping the bit. Avoid abrupt or excessive pressure, which can damage the chuck components or strip threads.
Your fingers should apply torque evenly around the chuck sleeve to maintain control and prevent slippage. Once the sleeve rotates sufficiently, the jaws will retract, releasing the drill bit.
This method contrasts with keyed chucks, which require a chuck key, making grip technique the primary control factor in keyless chuck operation.
Remove Drill Bit Safely
Three key steps guarantee you remove a drill bit safely from a keyless chuck. Prioritize bit safety and chuck maintenance to secure tool longevity and personal protection. Follow these precise actions:
- Power off the drill and unplug it to prevent accidental activation.
- Firmly grip the chuck with one hand while twisting it counterclockwise with the other to loosen the jaws.
- Once loosened, carefully pull the drill bit straight out, avoiding twisting motions that could damage the bit or chuck.
- Inspect the chuck for debris or wear; clean and lubricate as needed to maintain smooth operation and secure future bit safety.
Advanced Methods When a Drill Bit Won’t Budge
When a drill bit refuses to loosen using basic techniques, you’ll need to employ advanced methods that target the root causes of the problem. Start by ensuring proper drill maintenance; apply penetrating oil to the chuck and let it sit for 10–15 minutes to dissolve rust or debris.
Use a wrench or pliers for added torque on the chuck collar, but avoid excessive force that could damage the drill. Next, verify bit compatibility. Incorrect shank sizes or worn bits can cause jamming.
If your drill has a keyed chuck, use the key to apply even pressure while turning. For stubborn bits, gently tap the chuck with a rubber mallet to break adhesion. Always wear safety glasses during these steps to protect from slipping tools or debris.
Identify Why Your Drill Bit Is Stuck
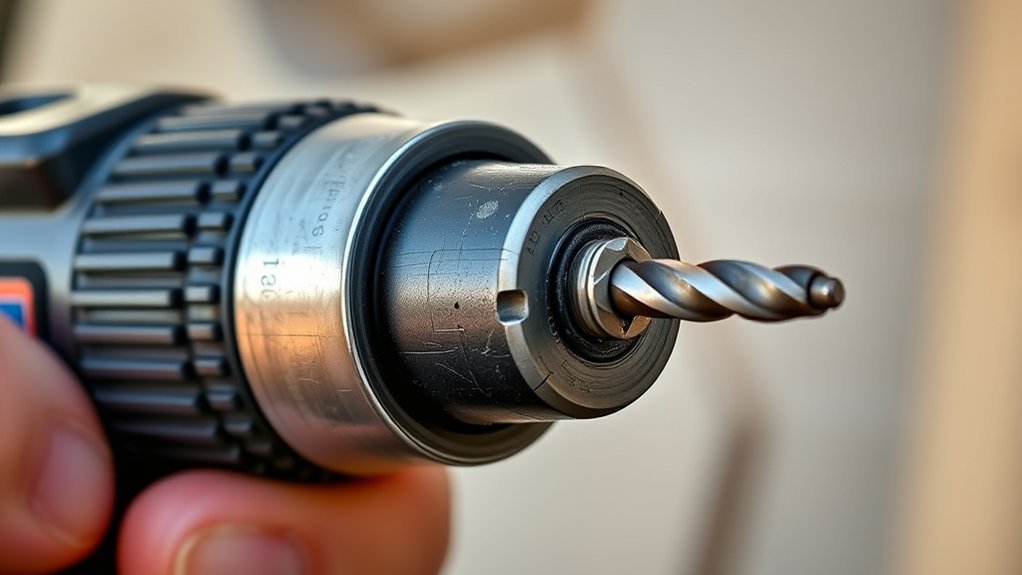
You need to determine the exact cause of the drill bit being stuck before attempting removal. Common issues include debris buildup, material binding, or bit damage.
Recognize signs like increased resistance or unusual noises to diagnose the problem accurately.
Common Causes Of Stuck Bits
Although stuck drill bits can be frustrating, understanding the underlying causes helps you address the issue efficiently. Proper bit maintenance and drill lubrication are essential to prevent jamming.
Here are common causes:
- Debris accumulation: Material shavings can compact around the bit, increasing friction and causing it to seize.
- Insufficient lubrication: Lack of drill lubrication raises heat and wear, making the bit bind tightly.
- Over-tightened chuck: Excessive chuck pressure can trap the bit, complicating removal.
- Worn or damaged bit: A dull or deformed bit generates more resistance, increasing the chance of getting stuck.
Signs Of Bit Jam
Several clear signs indicate your drill bit is jammed, allowing you to diagnose the problem quickly. First, you may notice bit overheating. Excessive heat buildup signals the bit is stuck and struggling to rotate. This can cause discoloration or a burning smell.
Second, if you feel excessive torque resistance or the drill suddenly stalls, it’s a strong sign the bit is caught in the material. You might also hear unusual grinding or screeching noises indicating friction beyond normal operation.
Additionally, the drill’s motor may strain or slow down, reflecting the increased load. Recognizing these signs early helps you stop drilling promptly and prevents damage to the bit and drill. Identifying bit overheating and torque issues guarantees you approach the release method safely and effectively.
Tips to Prevent Drill Bits From Getting Stuck
When operating a drill, preventing the bit from getting stuck requires careful attention to speed, pressure, and lubrication. Implement these key steps for effective preventive maintenance:
- Match drill speed to material hardness. Slower speeds reduce heat buildup and bit binding.
- Apply consistent, moderate pressure. Excessive force can cause the bit to jam.
- Regularly use drill bit lubrication to minimize friction and heat.
- Clear debris frequently to prevent clogging and guarantee smooth bit rotation.
When to Replace Your Drill Chuck
You should replace your drill chuck if you notice consistent slipping, difficulty in tightening, or visible wear that compromises its grip. These are primary chuck replacement signs indicating that drill chuck maintenance alone won’t restore peak function.
Regular inspection is crucial; check for damaged jaws, corrosion, or uneven wear that affects bit retention. If your drill bit frequently slips despite proper tightening, the chuck’s internal mechanism may be compromised.
Additionally, if the chuck won’t open or close smoothly, it signals internal damage or debris buildup beyond cleaning. Addressing these signs promptly prevents damage to your drill and work materials.
Replace the chuck with a compatible model following manufacturer specifications to guarantee secure bit holding and consistent performance during operation.
Conclusion
Releasing a drill bit can feel like opening a stubborn safe, but with the right steps, you’ll get it free efficiently. Always disconnect power first to ensure safety.
Next, use the appropriate method—keyed or keyless—to loosen the bit. If it’s stuck, apply lubricant and gentle taps before trying again.
Understanding why the bit jammed helps prevent future issues. Follow these precise techniques, and you’ll maintain your drill’s performance without frustration when you need to release a drill bit from a drill.