Imagine holding a drill, ready to tackle your next project, only to realize the drill bit needs changing. You can’t just pull it out and push a new one in without the right technique. Knowing how to safely and efficiently swap drill bits saves time and prevents damage to both the tool and your workpiece.
Before you pick up that chuck key or twist the collar, there are essential steps you need to master first. Following the proper method ensures your drill operates smoothly and extends the life of your bits.
Let’s explore how to change a drill bit correctly and confidently.
Gather Tools Needed to Change a Drill Bit
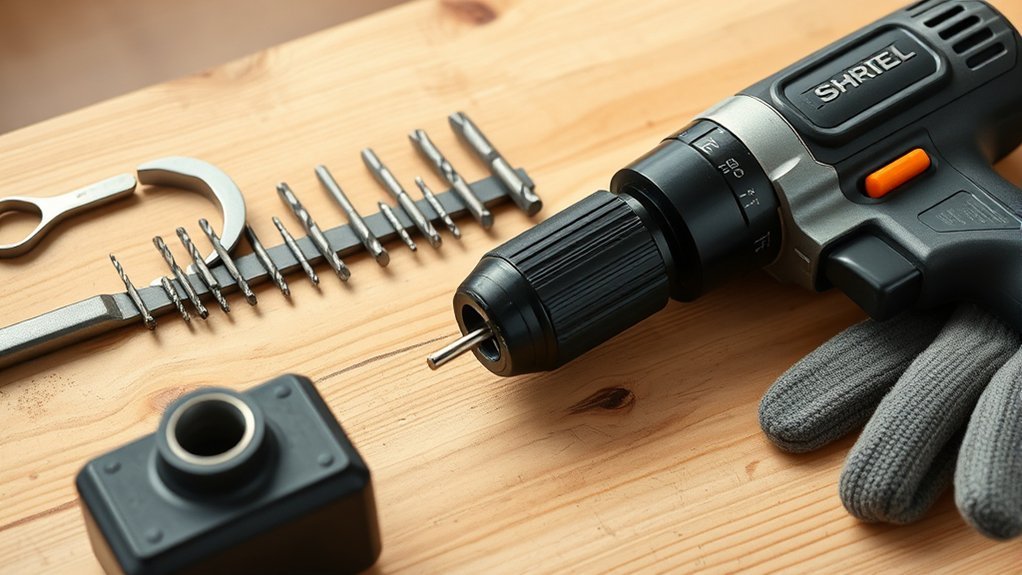
Before you change a drill bit, gather the essential tools to guarantee a smooth process. First, identify the drill type you’re using, such as corded, cordless, or hammer drill, as this affects the chuck mechanism and compatible bits.
Next, select the correct drill bit based on your material, whether wood, metal, or masonry. Bit materials vary: high-speed steel suits wood and soft metals, cobalt excels with hardened metals, and carbide tips handle concrete.
You’ll need a chuck key for keyed chucks or your hand if it’s a keyless chuck. Additionally, keep pliers handy to grip stubborn bits safely. Having these tools ready guarantees efficiency and prevents damage to your drill or bit materials during the swap.
This preparation sets the foundation for a precise, secure bit installation.
Loosen Any Type of Drill Chuck Easily
First, identify whether your drill has a keyed, keyless, or SDS chuck to choose the right loosening method. Use the appropriate chuck key or your hand grip to apply steady counterclockwise force. Applying the correct technique guarantees you loosen the chuck efficiently without damaging the tool.
Identify Your Chuck Type
How do you determine which chuck type your drill uses? Understanding chuck types is essential for drill compatibility and proper bit changes. Inspect your drill’s chuck closely to identify its mechanism.
Keyed Chucks: Feature a gear-like ring; require a chuck key to tighten or loosen.
Keyless Chucks: Allow hand tightening without tools; ideal for quick bit swaps.
SDS Chucks: Designed for hammer drills; use a specialized bit shank and locking system.
Knowing your chuck type guarantees you select the right tools and techniques to loosen or tighten the chuck efficiently. This knowledge prevents damage and assures peak performance when changing drill bits.
Always verify compatibility between your drill and the bit to maintain safety and functionality.
Use Proper Chuck Keys
Select the proper chuck key to loosen or tighten your drill’s chuck effectively. Different chuck key types exist to match specific chuck designs, including three-jaw, two-jaw, and keyless chucks with keyed adaptors.
Identifying your drill’s chuck key type guarantees precise engagement with the chuck’s gear teeth, preventing slippage or damage. Suitable chuck key usage involves inserting the key firmly into the chuck’s gear hole and applying controlled torque. Avoid forcing the key to prevent stripping the teeth.
Using the correct chuck key type enhances grip and maintains chuck integrity during bit changes. Always store your chuck key near the drill to avoid misplacement. Mastering chuck key usage allows you to loosen any type of drill chuck easily and maintain peak tool performance.
Apply Correct Loosening Technique
Properly engaging the chuck key sets the foundation for applying the correct loosening technique. Ascertain full chuck engagement by inserting the key into the designated hole and seating it firmly.
To loosen the drill chuck effectively, turn the chuck key counterclockwise using controlled force. Apply steady pressure to avoid slipping or damaging gear teeth. Use these guidelines to master the loosen technique:
Align the chuck key teeth precisely with the chuck’s gear teeth for maximum grip. Maintain consistent pressure while turning to prevent stripping the chuck mechanism. If the chuck resists, apply penetrating oil and allow it to settle before retrying.
Following these steps guarantees efficient chuck disengagement, facilitating quick, safe drill bit changes every time.
Remove the Old Drill Bit Safely
Before removing the drill bit, make sure the drill is powered off to prevent accidental starts. Loosen the chuck securely to release the bit without applying excessive force. Carefully extract the bit to avoid injury or damage to the tool.
Power Off The Drill
To safely remove the old drill bit, start by unplugging the drill or removing its battery to guarantee no accidental activation. This essential safety precaution prevents the drill from powering on unexpectedly, protecting you from injury and equipment damage during drill maintenance.
Before handling the drill bit, make certain you:
- Double-check that the drill is completely powered off and disconnected from any power source.
- Wear protective gloves to avoid cuts from sharp edges on the bit.
- Place the drill on a stable surface to prevent slipping or dropping.
Following these steps helps maintain a secure working environment and prolongs the life of your drill. Always prioritize power disconnection as the first step in any bit removal process for effective and safe drill maintenance.
Loosen The Chuck
Grip the chuck firmly and turn it counterclockwise to loosen its hold on the drill bit. Depending on your drill model, you may need to use the chuck key or your hand if it’s a keyless chuck.
Proper chuck maintenance guarantees smooth operation and prevents damage to the drill bit and chuck mechanism. When loosening, apply steady pressure; avoid forcing it to prevent stripping the chuck or damaging delicate drill bit types like masonry or titanium-coated bits.
Consistent maintenance, including cleaning and lubrication, extends chuck life and maintains grip strength. Loosening the chuck properly prepares you to safely remove the old bit without risking slippage or injury. Always verify the chuck is fully loosened before proceeding to remove or replace drill bits.
Remove Bit Carefully
Once the chuck is fully loosened, carefully pull the drill bit straight out to avoid bending or damaging it. This step demands attention to safety precautions, especially since drill bit types vary in fragility and application. Avoid twisting or applying lateral force, which can warp the bit or compromise its effectiveness.
Keep these points in mind:
- Use gloves to protect your hands from sharp edges or debris.
- Identify the drill bit type before removal to handle it appropriately (e.g., masonry bits require more care).
- Store the removed bit in a safe place to prevent injury or loss.
Following these guidelines guarantees you remove the old drill bit safely without damaging the tool or risking injury.
Insert and Secure the New Drill Bit
Although the chuck may appear simple, securing the new drill bit requires careful alignment and tightening. First, select the appropriate drill bit type for your task, considering material and diameter. Insert the bit straight into the chuck jaws, ensuring it sits evenly to prevent wobbling.
Follow safety precautions by wearing protective gloves and keeping fingers clear of the rotating parts. Use the chuck key or hand-tighten the collar, depending on your drill model, to firmly clamp the bit in place.
Proper alignment avoids slippage and damage to both the bit and workpiece. Remember, different drill bit types may require varying insertion depths; consult the manufacturer’s guidelines for ideal positioning.
Taking these steps guarantees a secure fit, ready for safe, effective drilling.
Ensure Your Drill Bit Is Tight and Ready
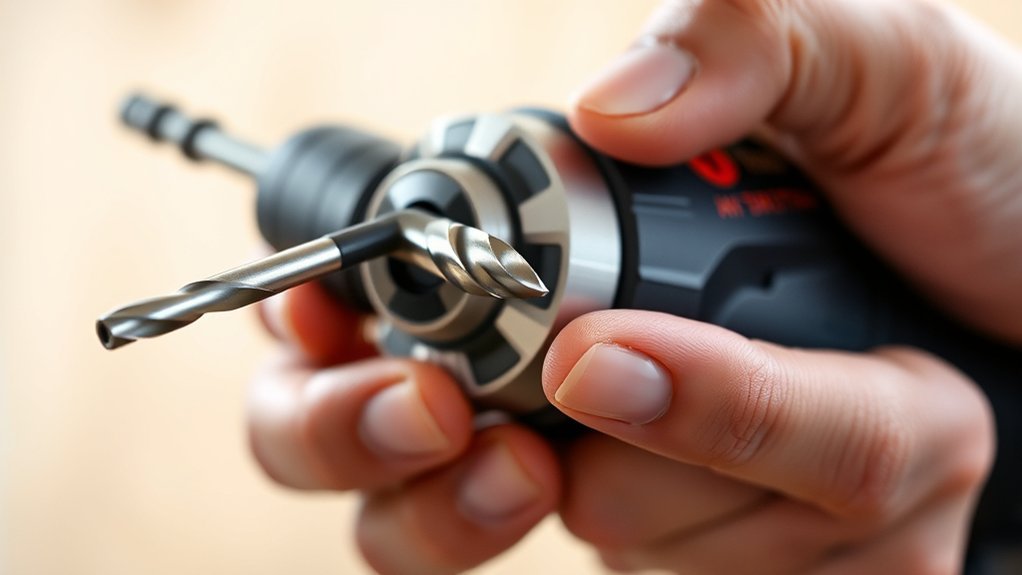
Before you begin drilling, double-check that the drill bit is firmly tightened to prevent any movement during operation. Proper drill bit maintenance is essential for both performance and drill safety. A loose bit can cause wobbling, inaccurate holes, and potential injury.
To verify your drill bit is tight and ready:
Use the chuck key or hand-tighten the chuck securely, depending on your drill type. Inspect the bit for wear or damage before installation; replace if necessary. Test the bit’s stability by gently trying to wiggle it; it should feel solid.
Following these steps guarantees consistent drilling precision and reduces the risk of accidents. Maintaining a secure drill bit setup protects your workpiece, your tool, and yourself, reinforcing safe and efficient operation every time.
Change Drill Bits on Cordless and Corded Drills
Start by identifying whether your drill is cordless or corded, as this affects the bit-changing process. For cordless drills, first remove the battery to guarantee safety. Then, hold the chuck and rotate it counterclockwise to loosen the current bit. Once loose, pull the bit out.
Insert the new bit, pushing it firmly into the chuck. Tighten the chuck by rotating it clockwise until secure.
For corded drills, unplug the device before proceeding. Use a chuck key if your drill has one: insert it into the hole and turn counterclockwise to loosen the bit. Remove the bit, insert the new one, and tighten the chuck with the key by turning clockwise.
Always confirm the bit is secure before reconnecting power or battery to guarantee safe operation.
Avoid Common Mistakes When Changing Drill Bits
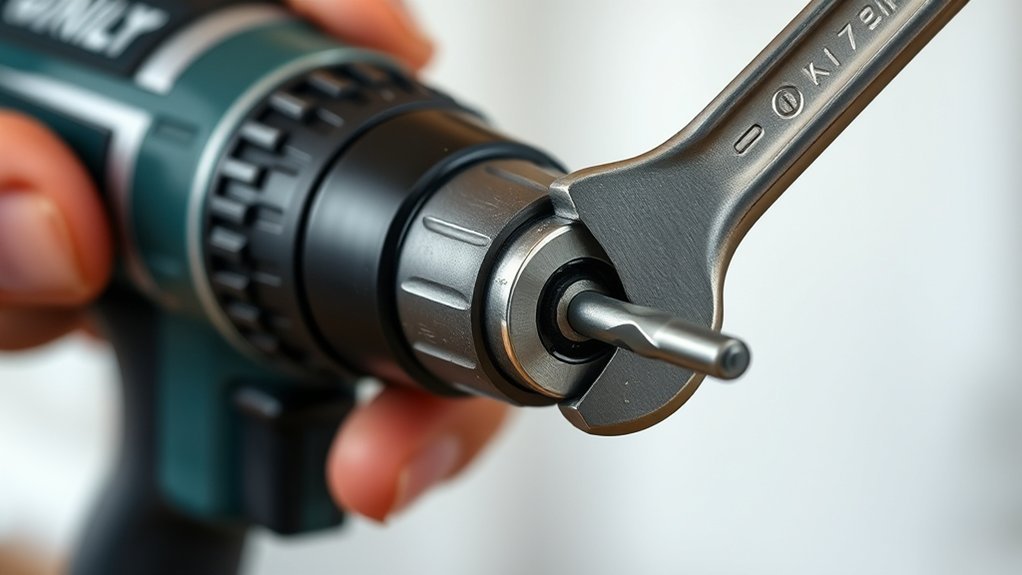
After properly loosening and securing drill bits on cordless or corded drills, you need to watch out for common mistakes that can compromise safety and performance. Avoid these common errors to maintain tool integrity and protect yourself:
- Failing to unplug or power off the drill before changing bits, ignoring basic safety precautions.
- Over-tightening the chuck, which can damage the drill or strip the bit shank.
- Using worn or incompatible bits without checking fit, leading to poor drilling accuracy and potential bit slippage.
Always follow manufacturer guidelines and inspect the bit and chuck before use. By adhering to these safety precautions, you minimize risk and guarantee ideal drilling results.
Following manufacturer guidelines and inspecting tools before use ensures safety and optimal drilling performance.
Staying vigilant about these errors enhances your workflow and prolongs your drill’s lifespan.
Identify the Right Drill Bit for Your Project
Selecting the right drill bit is essential for achieving precise results and preventing damage to both the material and your drill. Begin by evaluating your project requirements, considering the material type, hole diameter, and depth.
Different drill bit types serve specific purposes: twist bits excel in wood and metal, masonry bits handle concrete, and spade bits create larger holes in wood. For metal, cobalt or titanium-coated bits offer durability. Match the bit size to your fastener or hole specifications to guarantee accuracy.
Using an inappropriate drill bit type compromises efficiency and risks material damage. By thoroughly understanding drill bit types and aligning them with your project requirements, you optimize performance and extend tool lifespan. Always verify compatibility before proceeding to maintain precision and safety.
Maintain Your Drill Bits for Longer Life
Although drill bits are designed for durability, regular maintenance is essential to preserve their cutting efficiency and prevent premature wear. Proper drill bit care extends tool lifespan and guarantees consistent performance.
You should regularly inspect bits for damage and debris buildup. Employ effective sharpening techniques to restore cutting edges, using a bench grinder or specialized sharpening tool to maintain ideal geometry. Additionally, store bits in a dry environment to prevent corrosion.
Clean bits after each use to remove material residue and prevent dulling. Use appropriate sharpening angles tailored to bit type for precise edge restoration. Apply a light coating of oil to protect bits from rust during storage.
Consistent maintenance will keep your drill bits sharp, efficient, and ready for any project.
Conclusion
Changing a drill bit might seem tricky, but with the right steps, it’s straightforward and safe. Even if you worry about damaging your drill or bit, following the proper chuck loosening, bit removal, and secure tightening guarantees a reliable fit every time.
Remember to take a moment to power off and double-check your work. This simple step prevents accidents and keeps your drill performing at its best.
You’ve got this—just follow the process confidently and precisely. Mastering how to change a drill bit ensures your projects go smoothly every time.