When your drill bits start producing uneven holes or require extra pressure, it’s time to sharpen drill bits.
Maintaining the correct cutting angle—typically between 118° and 135°—is essential to guarantee efficient drilling and prevent damage.
Using tools like a bench grinder or diamond file, you can restore their edges precisely.
But before you jump in, understanding the proper technique and avoiding common mistakes is vital for achieving professional results.
How to Tell When Your Drill Bits Need Sharpening
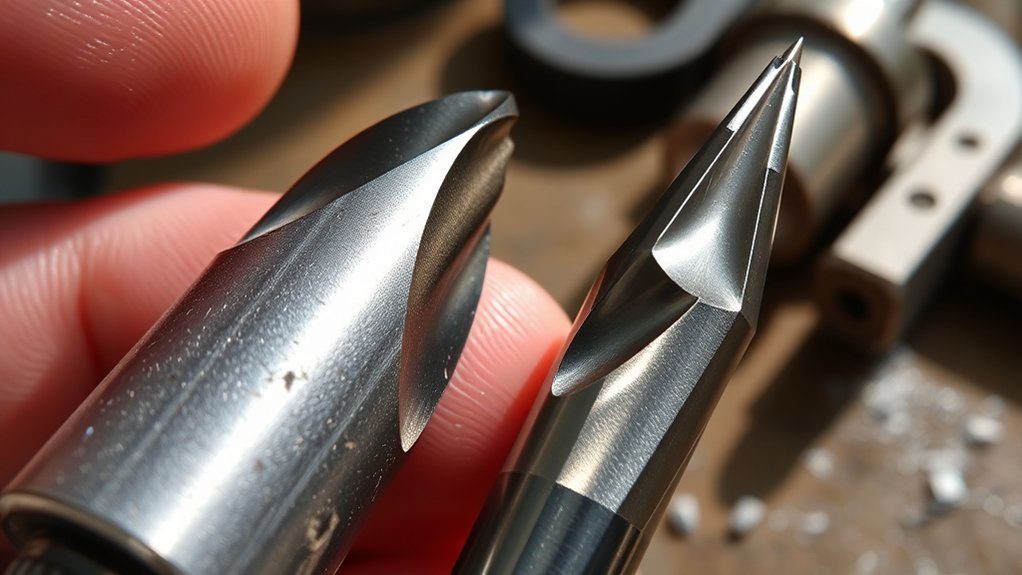
How can you determine when your drill bits need sharpening? Start by evaluating cutting performance: if your bits require excessive pressure, produce smoke, or generate irregular holes, it’s time for maintenance.
Visually inspect the cutting edges for dullness or rounded tips. Sharp bits exhibit crisp, symmetrical cutting lips. Also, monitor the drill bit maintenance schedule based on usage; high-frequency drilling demands more frequent sharpening to maintain efficiency and prevent material damage.
Pay attention to vibration or unusual noise during operation, indicating uneven cutting surfaces. Finally, measure the bit diameter against original specifications; wear reduces size, affecting precision.
Tools You’ll Need to Sharpen Drill Bits at Home
To sharpen your drill bits effectively at home, you’ll need specific equipment like a bench grinder or a specialized drill bit sharpener with adjustable guides. Don’t forget safety gear. Wear protective goggles and gloves to prevent injury from sparks and metal shards.
Taking proper precautions guarantees both precision in sharpening and your personal safety throughout the process.
Essential Sharpening Equipment
Sharpening drill bits requires specific tools that confirm accuracy and efficiency in restoring their cutting edges. To master sharpening techniques, you need equipment designed for precision and durability. Proper equipment maintenance guarantees consistent results and prolongs tool life.
| Tool | Purpose |
|---|---|
| Bench Grinder | Primary device for grinding and reshaping |
| Diamond File | Fine-tuning edges and removing burrs |
| Drill Bit Sharpener | Automated, confirms consistent angles |
| Magnifying Glass | Inspecting cutting edge for precision |
Each tool serves a vital role in achieving ideal sharpness. The bench grinder allows you to adjust bit angles precisely, while the diamond file helps maintain edge quality. A drill bit sharpener automates the process with consistent angles, and a magnifying glass aids in detailed inspection.
Maintaining these tools regularly is essential for effective sharpening techniques.
Safety Gear and Precautions
Before you begin using your bench grinder or diamond file, you need appropriate safety gear to protect yourself from sparks, debris, and sharp edges. First, always wear safety goggles to shield your eyes from flying metal fragments and fine particles generated during sharpening.
Next, put on protective gloves made of cut-resistant material to prevent injuries from sharp drill bit edges and accidental contact with abrasive surfaces. Additionally, make certain your workspace is well-ventilated to avoid inhaling dust.
Secure your drill bit firmly in a vise or clamp to maintain control and prevent slippage. Keep loose clothing and long hair away from rotating tools.
Keeping the Right Angle When Sharpening Drill Bits
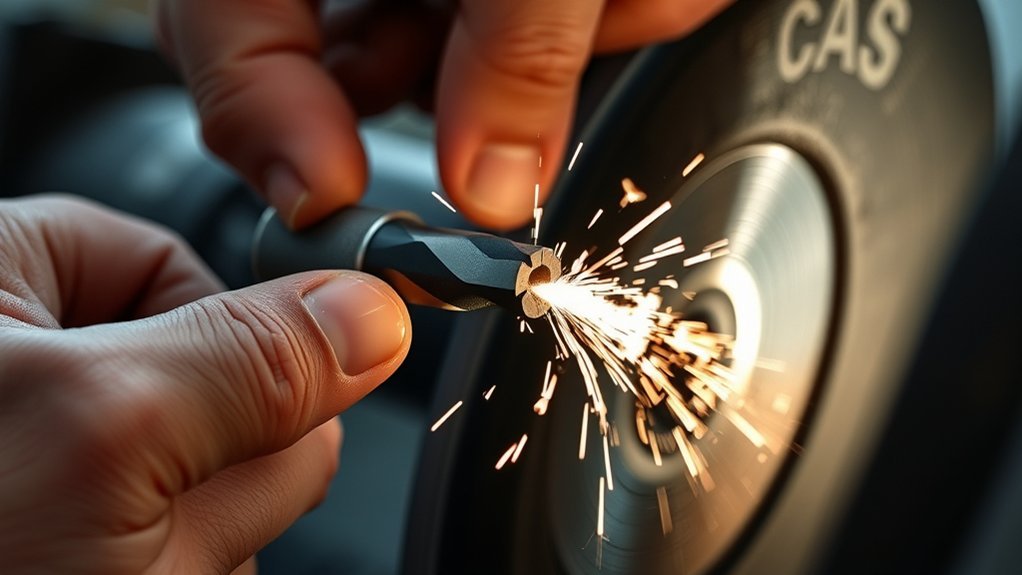
You need to maintain the correct drill bit angle, typically between 118 and 135 degrees, to guarantee efficient cutting and prevent overheating. Using angle guides helps you keep this precise bevel while sharpening on a grinding wheel.
Consistent pressure and steady hand positioning are essential to avoid uneven edges and preserve the bit’s geometry.
Understanding Drill Bit Angles
Although it may seem subtle, maintaining the correct drill bit angle is essential for efficient cutting and longevity of the bit. Different drill bit types require specific angles to optimize performance. For example, a 118° angle suits general-purpose bits, while a 135° angle is ideal for harder materials.
When sharpening, you must replicate these angles precisely using proper sharpening techniques to guarantee the bit cuts cleanly and reduces wear.
| Drill Bit Type | Typical Angle (°) |
|---|---|
| Standard Twist | 118 |
| Brad Point | 118 |
| Masonry | 135 |
| Split Point | 135 |
| Wood Auger | 90 |
Understanding these angles helps you maintain the correct geometry and enhance cutting efficiency.
Using Angle Guides
A reliable angle guide guarantees you maintain the precise cutting angle required when sharpening drill bits, preventing uneven edges and preserving the bit’s effectiveness.
When selecting angle guide types, consider fixed-angle jigs, adjustable guides, or universal sharpening tools, each designed to stabilize the bit at common angles such as 118° or 135°.
Using these guides assures consistent bevel geometry, which directly impacts drilling performance and bit longevity.
The primary angle guide benefits include enhanced accuracy, reduced sharpening time, and minimized risk of over-grinding.
By securing the drill bit in the correct orientation, you avoid manual errors that could compromise cutting efficiency.
Incorporating an angle guide into your sharpening routine allows you to replicate factory angles precisely, resulting in sharper, more durable drill bits every time.
Maintaining Consistent Pressure
Securing the drill bit with an angle guide sets the foundation, but maintaining consistent pressure during sharpening guarantees the angle remains accurate throughout the process. Your pressure application needs to be steady; uneven force can alter the cutting edge geometry, causing inefficiency or damage.
Employ a consistent technique by:
- Holding the bit firmly yet relaxed to avoid fatigue and sudden pressure spikes
- Applying uniform downward force against the grinding surface
- Moving the bit at a constant speed to prevent overheating and uneven wear
- Checking frequently to verify the angle remains true and the surface smooth
Sharpening Drill Bits With a Bench Grinder
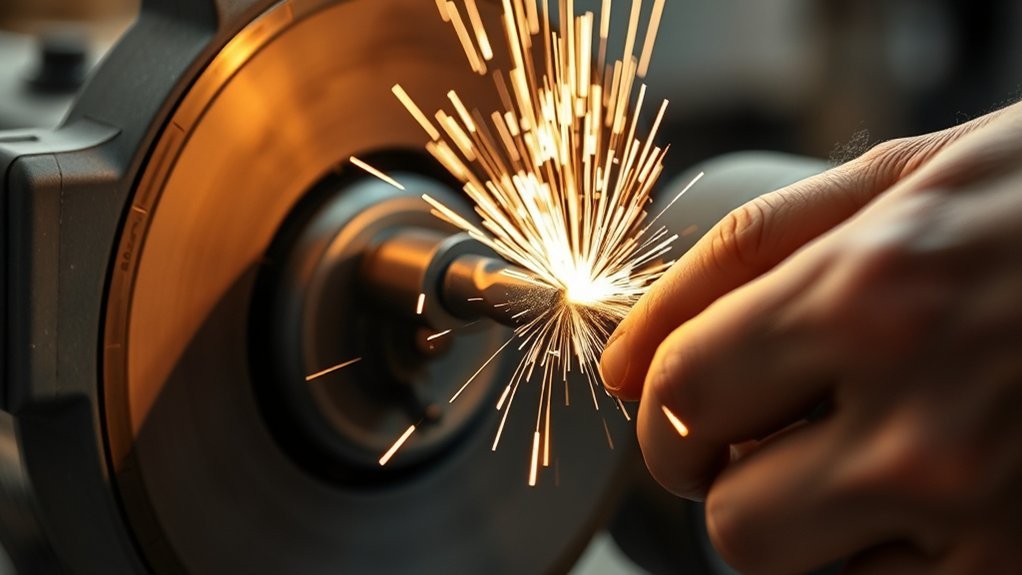
When you sharpen drill bits with a bench grinder, you must maintain the correct angle and steady hand to restore the cutting edges accurately. First, align the drill bit’s cutting edge to the grinder’s wheel at approximately 59 degrees, the ideal angle for standard bits.
Use consistent bench grinder techniques by gently pressing the bit against the wheel, avoiding overheating which can reduce sharpening efficiency. Rotate the bit slowly to evenly sharpen both cutting edges, ensuring symmetry for balanced cutting performance.
Frequently cool the bit in water to prevent heat damage. Keep your grip firm but controlled to maintain precision. Properly applied, these bench grinder techniques will extend your drill bit’s life and enhance cutting efficiency, reducing the need for frequent replacements.
How to Use a Drill Bit Sharpener
Moving from bench grinders to dedicated drill bit sharpeners offers a more controlled and user-friendly approach to restoring cutting edges. For effective drill bit maintenance, these sharpeners simplify consistent sharpening techniques.
To use one, first securely clamp the drill bit, guaranteeing alignment with the sharpening wheel. Next, activate the device and gently advance the bit, maintaining the original cutting angle.
Pay attention to:
- Even pressure application to avoid overheating
- Consistent feed rate for uniform edge restoration
- Proper bit alignment to preserve geometry
- Cooling intervals to prevent metal fatigue
Following these steps lets you restore sharpness precisely, extending bit life and improving cutting efficiency. Using a drill bit sharpener guarantees repeatable, accurate edge renewal without the skill demand of bench grinding.
How to Sharpen Drill Bits by Hand Without Power Tools
Sharpen drill bits by hand using a fine file or sharpening stone to carefully restore the cutting edges without relying on power tools. Begin by securing the drill bit firmly in a vise to maintain stability during hand sharpening.
Identify the cutting edges and the chisel point, ensuring you maintain their original angles to preserve drilling efficiency. With steady, even strokes, file each cutting edge symmetrically, applying consistent pressure to avoid uneven wear.
Rotate the bit slightly to sharpen the entire cutting surface, then use a sharpening stone to refine and smooth the edges, reducing burrs. Regular hand sharpening is essential for drill bit maintenance, prolonging tool life and ensuring precise, clean holes.
This meticulous process demands patience but results in reliable, sharp drill bits without specialized equipment.
Common Mistakes to Avoid When Sharpening Drill Bits
Although sharpening drill bits might seem straightforward, you’ll encounter common mistakes that can reduce their effectiveness and lifespan. Mastering common sharpening techniques requires attention to detail, especially considering different drill bit materials like high-speed steel or cobalt alloys.
Avoid these pitfalls:
- Overheating the bit by applying excessive pressure, which alters the temper and weakens the cutting edge.
- Inconsistent angle grinding that misaligns the cutting lips, leading to poor drilling accuracy.
- Neglecting to maintain symmetrical cutting edges, causing drill wander and inefficient chip removal.
- Using coarse abrasives too aggressively, which can create uneven surfaces and micro-cracks.
How to Test Drill Bits After Sharpening for Best Performance
How can you guarantee your freshly sharpened drill bits perform at their best? Start with systematic performance testing by drilling into a test material similar to your usual workpiece.
Observe cutting efficiency, speed, and heat generation. Excessive heat or slow penetration signals improper sharpening angles or dull edges.
Monitor cutting efficiency, speed, and heat to detect dull edges or incorrect sharpening angles early.
Measure the drill bit diameter post-sharpening to confirm it matches specifications, guaranteeing consistent hole sizes. Inspect the cutting lips and chisel edge under magnification for symmetry and sharpness, critical for balanced cutting forces.
Record results to track drill bit maintenance effectiveness over time. Consistent testing after each sharpening session prevents premature wear and maintains peak drilling precision.
This disciplined approach to performance testing guarantees your drill bits deliver reliable, accurate results in every project.
Extending Drill Bit Life Through Proper Care
When you consistently apply proper care techniques, your drill bits maintain their cutting efficiency and structural integrity much longer. Effective drill bit maintenance begins with routine cleaning to remove debris and prevent corrosion.
You should also regularly inspect for wear or damage, addressing any minor issues before they worsen. Proper storage is essential. Use a dedicated rack or case that keeps bits separated and protected from moisture.
Additionally, applying a light coating of oil after use helps prevent rust and preserves the metal surface. Focus on these key practices for extending drill bit life:
- Clean bits thoroughly after each use
- Inspect edges for chipping or dullness
- Store bits in a dry, organized, cushioned environment
- Apply anti-corrosive oil to metal surfaces
This disciplined approach guarantees your drill bits stay sharp, safe, and reliable over time.
Conclusion
Just like a master craftsman relies on a finely honed blade, your drill bits perform best when sharpened with care and precision. By maintaining the correct angle, applying steady pressure, and cooling properly, you’ll restore their edge to near-original sharpness.
Regular sharpening not only boosts performance but also extends their lifespan, saving you time and money. Treat your drill bits right, and they’ll reward you with clean, precise holes every time.
Your projects deserve nothing less than perfectly sharpened drill bits—keeping them sharp ensures efficiency and accuracy in every task.