You might not realize that changing the drill bit on your Dewalt Brushless drill requires precise alignment to avoid damaging the chuck or bit. Before you even loosen the chuck, it’s essential to disconnect the battery for safety.
Once you know the correct way to grip and turn the chuck, swapping bits becomes straightforward and secure.
But there are a few steps you’ll want to follow carefully to guarantee your new bit performs at its best. Taking the time to do it properly ensures both your tool and bit last longer and work efficiently.
Following these guidelines will help you change drill bits quickly and safely every time.
Choose the Right Drill Bit for Your Dewalt Brushless Drill
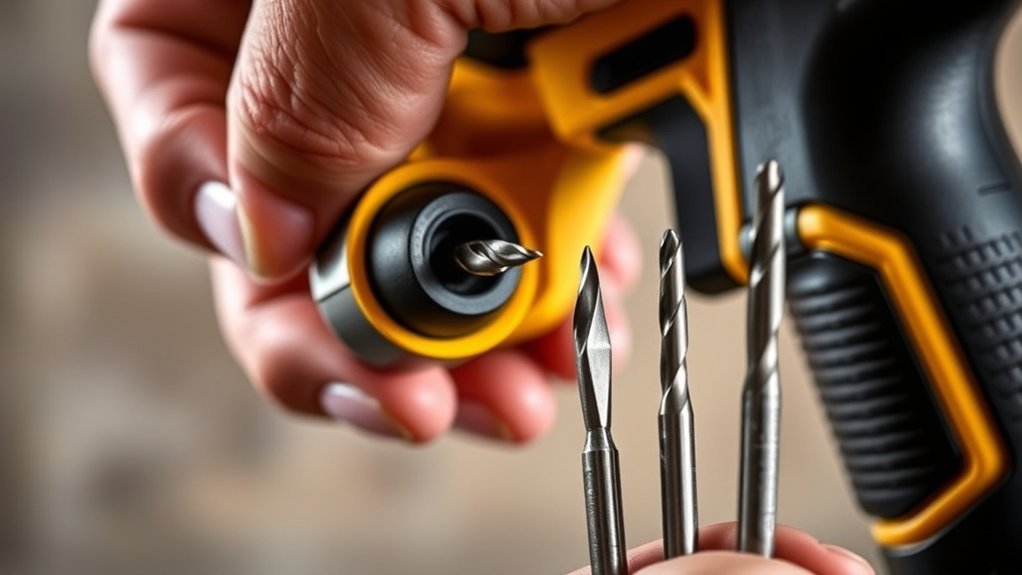
Before changing a drill bit, you need to select the right one for your Dewalt brushless drill to guarantee peak performance and avoid damage. Start by identifying the drill bit types suited for your task: twist bits for wood and metal, masonry bits for concrete, or spade bits for larger holes.
Next, consider bit material options: high-speed steel (HSS) offers versatility, cobalt alloys excel in durability for tough metals, and carbide-tipped bits provide superior hardness for masonry. Match the bit shank size to your drill’s chuck to confirm secure fitting.
Using the correct drill bit type and material optimizes cutting efficiency, reduces wear on your Dewalt brushless drill, and prevents overheating or bit breakage during operation. Select precisely to maintain tool longevity and work quality.
Prepare Your Dewalt Brushless Drill for a Bit Change
Selecting the proper drill bit sets the stage for a smooth bit change on your Dewalt brushless drill. Begin your drill preparation by disconnecting the battery to eliminate accidental startups. Engage the chuck lock if your model includes one, securing the chuck firmly.
Position your workspace on a stable surface with adequate lighting to enhance visibility. Wear safety glasses and gloves to adhere to essential safety measures, protecting your eyes and hands from potential debris or sharp edges.
Clean the chuck area from dust and residue using a dry cloth or compressed air, ensuring ideal grip during the bit change. Confirm the drill’s power switch is off before proceeding. These steps establish a controlled, safe environment, vital for efficient and hazard-free bit replacement.
Loosen the Chuck to Remove the Old Drill Bit
Locate the chuck at the front of your Dewalt brushless drill. Grip the chuck firmly and rotate it counterclockwise to loosen its hold on the drill bit.
Continue turning until the old drill bit can be easily removed.
Locate The Chuck
Start by identifying the chuck at the front end of your Dewalt brushless drill; this is the cylindrical component that holds the drill bit securely in place. Dewalt drills typically use keyless chucks, allowing easy bit changes without additional tools, though some models may feature keyed chucks.
Understanding your chuck type is essential for proper chuck maintenance and guaranteeing a secure grip on the drill bit. Inspect the chuck for dirt or debris that could impede operation.
Proper maintenance includes regular cleaning and occasional lubrication to prevent wear and guarantee smooth rotation. Once located and inspected, you’re ready to proceed with loosening the chuck for bit removal.
This precise identification step guarantees you handle the mechanism correctly and maintain your drill’s performance and longevity.
Rotate To Loosen
Grip the chuck firmly and turn it counterclockwise to loosen its hold on the drill bit. This rotate direction engages the internal chuck mechanism designed to clamp or release the bit securely.
As you rotate, the jaws inside the chuck retract, freeing the drill bit. Make certain to apply steady force; excessive speed or abrupt movements can damage the mechanism.
If your Dewalt brushless drill has a keyless chuck, your hand’s grip will suffice, but for keyed chucks, insert the chuck key into the gear teeth and turn it counterclockwise.
Continue rotating until the bit can be pulled out easily without resistance. This precise control over the chuck mechanism guarantees safe bit removal and prepares you for installing the new drill bit efficiently.
Remove the Old Drill Bit Safely and Easily
Before removing the old drill bit, make certain the drill is powered off and disconnected from any power source to prevent accidental activation. Following essential safety precautions guarantees you avoid injury during this process.
Grip the drill firmly with one hand to stabilize it. Use your other hand to carefully pull the loosened drill bit straight out of the chuck, applying steady, controlled force. Avoid twisting or jerking motions that could cause slippage or damage to the bit or chuck.
Proper handling is critical; always hold the bit by its shank to prevent cuts from the sharp edges. If the bit resists removal, double-check the chuck is fully loosened before attempting again. This method guarantees safe, efficient removal without compromising tool integrity.
Insert and Secure the New Drill Bit

Choose the correct drill bit size and type for your task before inserting it into the chuck. Make certain you position the bit straight and fully into the chuck jaws to guarantee proper alignment.
Finally, tighten the chuck securely using the key or by hand, depending on your model, to prevent the bit from slipping during use.
Selecting The Right Bit
Selecting the right drill bit guarantees peak performance and prevents damage to both the tool and material. First, identify the bit types suitable for your project, such as twist, spade, or masonry, each designed for specific tasks.
Next, consider bit materials like high-speed steel, cobalt, or carbide, which affect durability and cutting efficiency. Choose a bit that matches the hardness of your workpiece to avoid premature wear or breakage.
Remember these key points:
- Match bit types to your material for clean, precise holes
- Select bit materials based on strength and heat resistance
- Avoid using worn or damaged bits to maintain tool integrity
- Confirm compatibility with your Dewalt brushless drill’s chuck size
Following these guidelines guarantees ideal drilling performance and extends both your bit’s and drill’s lifespan.
Inserting Bit Correctly
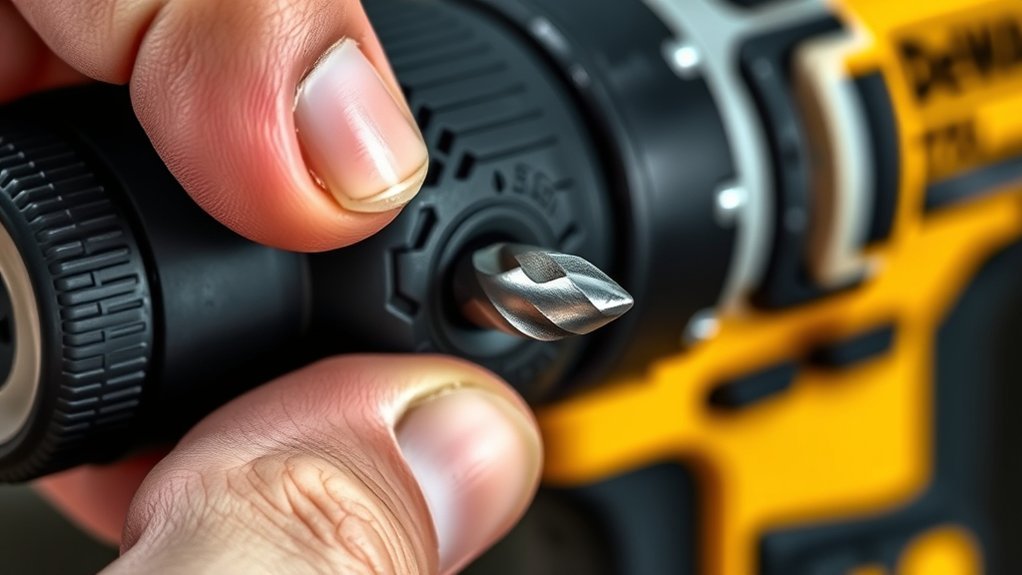
To insert and secure the new drill bit properly, start by loosening the chuck using the keyless mechanism or chuck key, depending on your Dewalt brushless drill model. Hold the drill firmly and insert the bit straight into the chuck, guaranteeing precise bit alignment within the jaws.
The bit must be centered to avoid wobbling during operation. Push the bit in until it reaches the internal stop, confirming full chuck engagement with the bit shank. Avoid inserting the bit at an angle, as this compromises grip and performance.
Once the bit is seated correctly, you’re ready to proceed to tightening. Proper insertion and alignment guarantee the drill operates efficiently and safely, maintaining maximum torque transmission and reducing wear on both bit and chuck components.
Tightening The Chuck Securely
After confirming the drill bit is properly inserted and aligned within the chuck, focus on tightening the chuck securely to prevent slippage during operation. Proper chuck maintenance guarantees a secure grip, enhancing both safety and efficiency. Use the following steps to tighten effectively:
Rotate the chuck sleeve clockwise firmly until resistance is felt. Use the drill’s keyless chuck mechanism to clamp the bit tightly. Double-check by manually pulling the bit to confirm no movement. Avoid overtightening which can damage the chuck or bit shank.
Maintaining a secure grip through precise chuck tightening minimizes bit wobble and improves drilling accuracy. Regularly inspect and clean the chuck to uphold ideal chuck maintenance and prolong tool lifespan.
Check Your New Drill Bit Installation
A properly installed drill bit guarantees peak performance and safety during operation. After securing the bit in the chuck, double-check the bit compatibility to confirm it matches your Dewalt brushless drill’s specifications.
Insert the bit fully, confirming it’s seated evenly without wobbling. Spin the chuck manually to detect any misalignment or looseness. Proper installation prevents damage to both the bit and your drill, supporting ideal drill maintenance.
Ensure the bit is fully seated and stable, spinning the chuck to check for alignment or looseness.
Verify the drill’s settings are appropriate for the new bit type. Material hardness, bit diameter, and intended use all matter. Performing this inspection reduces wear and extends tool lifespan.
Taking these precise steps confirms reliable performance and prevents operational hazards, keeping your Dewalt brushless drill functioning at its best.
Troubleshoot Common Issues When Changing Dewalt Drill Bits
Making sure your drill bit is properly installed helps avoid many issues, but you may still encounter common problems when changing bits on your Dewalt brushless drill. Use these troubleshooting tips to resolve them efficiently:
Bit slips during operation: Check if the chuck is fully tightened. Clean any debris inside the chuck.
Difficulty inserting or removing the bit: Apply a small amount of lubricant and make certain the chuck sleeve moves freely.
Chuck won’t tighten or loosen: Examine the chuck mechanism for damage or worn parts. Replace if necessary.
Drill won’t start after bit change: Confirm the battery is charged and properly seated. Reset the drill by removing and reinserting the battery.
Following these steps guarantees your drill remains reliable and safe during use.
Conclusion
Changing your Dewalt Brushless drill bit correctly guarantees efficient, safe operation. Did you know that using a properly secured bit reduces drill slippage by up to 70%, enhancing precision and tool longevity?
Always disconnect the battery before loosening the chuck. Fully seat the new bit, and tighten it firmly. Double-check the installation before reconnecting power to avoid accidents or damage.
Following these steps keeps your drill performing at its best, making every project smoother and safer. Proper technique is essential when you change drill bit on Dewalt Brushless models.