Think of drilling a ceramic pot like carving delicate ice; one wrong move, and it shatters.
You need the right type of drill bit for ceramic pot to handle its fragile surface—using a standard drill bit is like using a blunt chisel on glass.
Selecting the proper drill bit not only preserves the pot’s integrity but also guarantees a clean, precise hole.
The real question is: which type of drill bit will give you this balance of strength and finesse?
Why Ceramic Pots Need Special Drill Bits
Because ceramic pots are brittle and prone to cracking, you need special drill bits designed to handle their hardness and fragility. Standard bits can cause chips or fractures, compromising ceramic durability and ruining your pot.
These specialized bits feature sharper edges and often use materials like tungsten carbide to gently penetrate without excessive pressure. When drilling, applying steady, moderate speed and consistent cooling reduces heat buildup that weakens the ceramic surface.
Specialized tungsten carbide bits and steady, cooled drilling prevent ceramic damage and ensure precise penetration.
You should also focus on drill maintenance. Keep your bits sharp and clean to maintain cutting efficiency and avoid slipping. Proper care extends the lifespan of your drill bits and prevents damage to delicate ceramics.
Understanding these factors guarantees you drill precisely without sacrificing your pot’s integrity or your tool’s performance.
Best Drill Bits for Ceramic Pots
Selecting the right drill bit plays an essential role in successfully drilling ceramic pots without causing damage. Since ceramic pot designs vary in thickness and hardness, choosing drill bit materials suited for these characteristics is crucial.
Here are the best drill bits for ceramic pots:
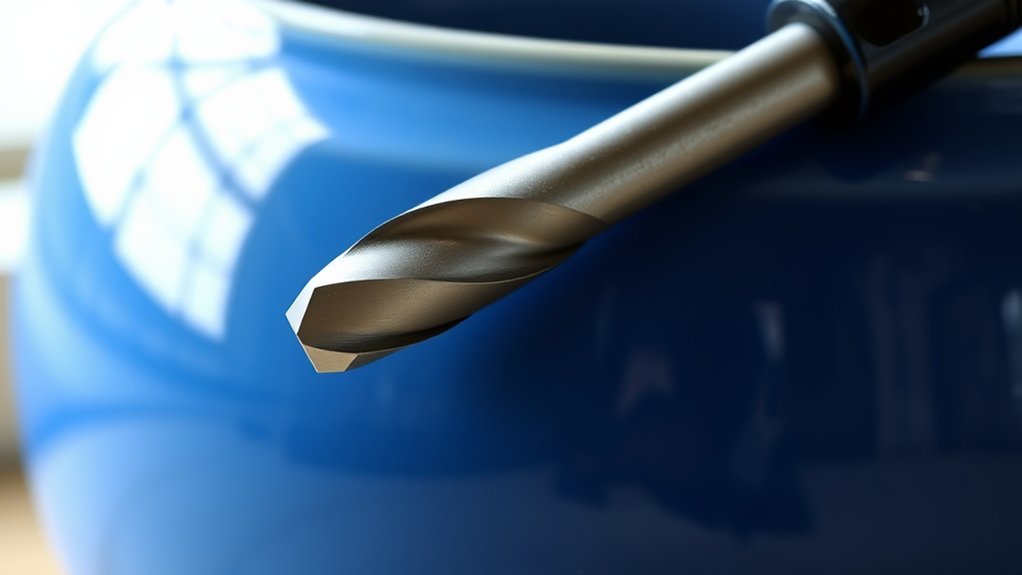
- Diamond-tipped bits Ideal for hard, glazed surfaces, providing precision and durability.
- Carbide-tipped bits Offer toughness and heat resistance for thicker ceramic walls.
- Masonry bits Suitable for unglazed or softer ceramic pots, ensuring clean cuts.
- Silicon carbide bits Effective on delicate ceramic designs, minimizing cracks.
How to Choose the Right Drill Bit Size for Ceramic Pots
Knowing which drill bit material suits your ceramic pot is only part of the equation; choosing the correct drill bit size is just as important to guarantee clean, accurate holes without cracking or damaging the pot.
Start by considering the ceramic pot types you’re working with, as thicker or denser ceramics require a different approach than thinner varieties. Match the drill bit size to the intended hole purpose. Too large a bit can cause stress fractures, while too small may not accommodate drainage or mounting hardware.
Use drill bit materials compatible with ceramics, like diamond-tipped or carbide bits, ensuring they come in sizes that fit your project needs. Always measure twice and select a drill bit size that balances precision with the pot’s structural integrity for best results.
Drilling Tips for Ceramic Pots: Using Guides and Cooling Techniques
When you start drilling into ceramic pots, using guides and cooling techniques can make a significant difference in preventing cracks and ensuring clean holes. To maintain ceramic pot safety and optimize your drill bit types’ effectiveness, follow these steps:
- Use a drill guide or clamp to stabilize the pot and keep the drill bit steady.
- Select a diamond-tipped or carbide-tipped drill bit designed for ceramics to reduce stress on the material.
- Apply water or a light lubricant continuously during drilling to cool the bit and ceramic surface.
- Drill at a slow, consistent speed to avoid overheating, which can cause cracks or breakage.
How to Drill Ceramic Pots Without Cracking Them
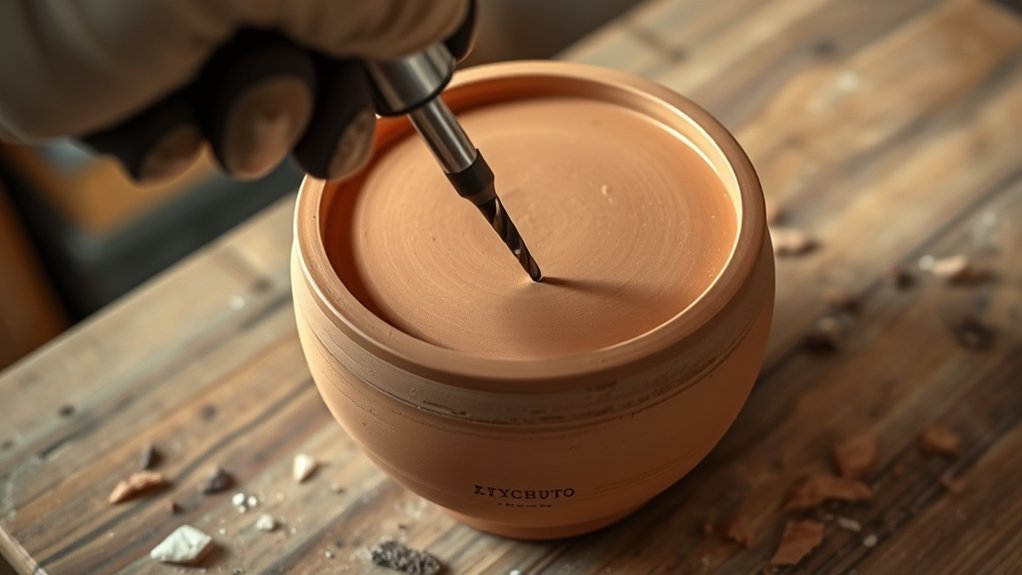
To drill ceramic pots without cracking them, you need to start by selecting the right drill bit designed for brittle materials. Next, prepare the pot surface by cleaning and marking the spot accurately to guarantee stability during drilling.
Finally, use steady, controlled drilling techniques with proper speed and cooling to prevent heat buildup and fractures.
Choosing The Right Drill Bit
Although ceramic pots are fragile, selecting the right drill bit can help you create clean holes without causing cracks. You need to focus on both drill bit materials and drill bit shapes to achieve the best results. Here’s what to take into account:
- Carbide-tipped bits: Ideal for hardness and durability on ceramic surfaces.
- Diamond-tipped bits: Provide precision and reduce chipping risks.
- Masonry bits: Sometimes effective but can cause fractures if used improperly.
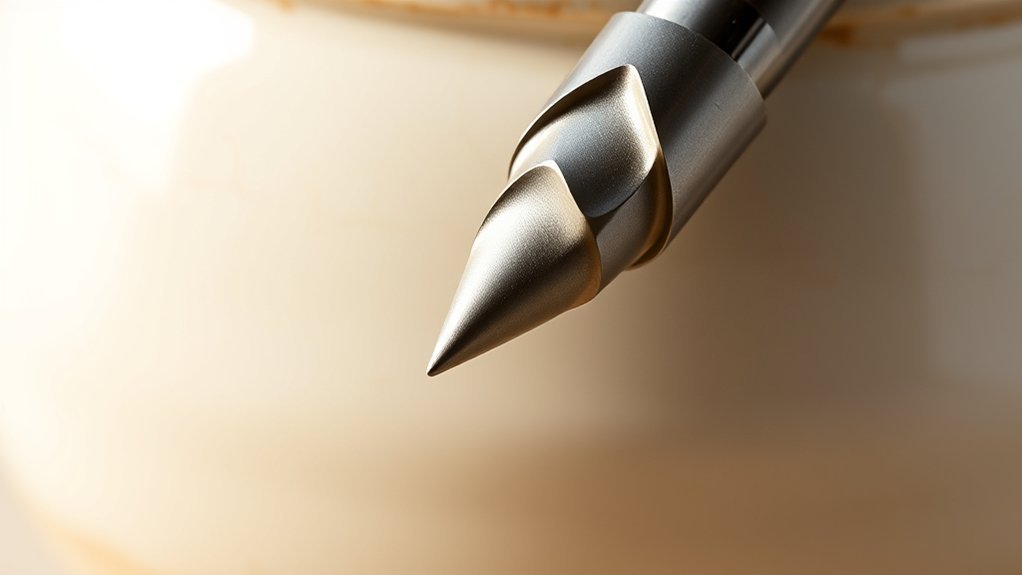
- Spear-shaped or spear-point bits: Designed to minimize slipping and surface damage.
Choosing a drill bit with appropriate materials and shapes guarantees controlled drilling pressure and cleaner entry points, reducing the chance of cracking your ceramic pot. Always match the drill bit type to your ceramic’s thickness and glaze for best results.
Preparing The Pot Surface
Preparing your ceramic pot surface properly is vital to prevent cracking during drilling. Start with thorough pot cleaning to remove dirt and residues that could interfere with drilling.
Next, dry the pot completely to avoid slipping. Surface preparation also involves marking the drilling spot carefully for accuracy.
| Step | Details |
|---|---|
| Pot Cleaning | Use mild soap and water |
| Drying | Air dry or use a soft cloth |
| Marking | Use a pencil or masking tape |
| Support | Place on a stable, cushioned base |
| Coolant Application | Apply water or oil while drilling |
Following these steps guarantees the surface is stable and reduces stress on the ceramic, minimizing the risk of cracks during drilling.
Drilling Techniques To Follow
Once you’ve cleaned, dried, and securely positioned your ceramic pot, you can focus on drilling with care to prevent cracks. Understanding ceramic properties and selecting the right drill bit materials are essential for success.
Follow these techniques:
- Use a drill bit made from carbide or diamond, as these materials handle the hardness and brittleness of ceramics effectively.
- Start drilling at a low speed to avoid overheating and reduce stress on the pot’s surface.
- Keep the drill bit and ceramic cool by applying water regularly; this prevents cracking due to heat buildup.
- Apply gentle, steady pressure. Don’t force the drill bit to accommodate the pot’s delicate structure and minimize fractures.
What to Do If Your Drill Bit Slips on Ceramic Pots
If your drill bit slips on a ceramic pot, you risk damaging both the pot and the bit, so you need to take immediate steps to stabilize the drill. First, stop drilling and reposition the bit. Use painter’s tape or a rubber pad on the pot surface to increase grip and prevent slipping.
Maintain steady pressure and a slow speed. Regular drill bit maintenance guarantees sharpness and effectiveness, reducing slip risks. Prioritize ceramic pot safety by securing the pot firmly before drilling.
| Step | Action | Purpose |
|---|---|---|
| 1. Surface Prep | Apply painter’s tape | Improve grip |
| 2. Drill Speed | Use slow, steady speed | Prevent slips |
| 3. Pressure | Apply consistent pressure | Control drilling accuracy |
| 4. Bit Maintenance | Sharpen/replace dull bits | guarantee effective drilling |
Alternatives When You Can’t Drill Ceramic Pots
If drilling into your ceramic pot isn’t an option, you can use strong adhesive hooks to hang or secure items without causing damage. Alternatively, consider repurposing parts of the pot, like using broken shards for decorative or functional projects.
These methods offer practical solutions when traditional drilling isn’t feasible.
Using Adhesive Hooks
Wondering how to hang items on ceramic pots without drilling? Adhesive hooks offer a smart, non-invasive alternative. When choosing adhesive hook types, consider their compatibility with ceramic surfaces and the hook weight limits to guarantee safety.
Here’s how to use adhesive hooks effectively:
- Clean the pot surface thoroughly to remove dust and oils.
- Select adhesive hooks rated for the weight of your item.
- Press the hook firmly onto the pot and hold for 30 seconds.
- Allow the adhesive to cure for at least an hour before hanging.
Repurposing Pot Materials
When adhesive hooks don’t meet your needs or you prefer a more permanent solution, repurposing materials from your ceramic pots offers practical alternatives to drilling. You can transform broken pot pieces into sustainable materials for garden markers, mosaics, or drainage layers.
These repurposing ideas not only extend the life of your pots but also reduce waste effectively.
| Repurposing Idea | Description |
|---|---|
| Garden Markers | Label plants using shard edges |
| Mosaic Art | Create decorative patterns |
| Drainage Layer | Layer shards to improve soil drainage |
| Small Planters | Use pot fragments as mini containers |
| Craft Projects | Incorporate shards in DIY crafts |
Common Mistakes When Drilling Ceramic Pots and How to Avoid Them
Drilling into ceramic pots requires careful technique to prevent cracking or damaging the material. Many mishaps stem from neglecting proper drilling techniques suited to pot materials. To avoid common mistakes, keep these points in mind:
Proper technique is essential when drilling ceramic pots to avoid cracks and damage.
- Using the wrong drill bit: Select a diamond-tipped or carbide bit specifically designed for ceramics to guarantee clean cuts.
- Applying excessive pressure: Let the drill bit do the work; pressing too hard can crack the pot.
- Drilling too fast: Maintain a slow, steady speed to avoid overheating and damaging both bit and pot.
- Skipping a pilot hole: Start with a small pilot hole to guide the larger bit and reduce stress on the ceramic surface.
Following these guidelines guarantees a smooth, damage-free drilling process on your ceramic pots.
How Water Helps Cool the Drill Bit and Reduce Dust While Drilling
Although it might seem like a small detail, applying water while you work plays an essential role in keeping both the drill bit and ceramic pot cool. Water cooling prevents the drill bit from overheating, which can cause it to dull or warp, reducing its effectiveness.
By continuously cooling the bit, you maintain its sharpness and extend its lifespan. Additionally, water acts as a lubricant, easing the drilling process and minimizing the risk of cracks in the ceramic.
Beyond temperature control, water considerably aids dust reduction by capturing ceramic dust particles as they form, preventing them from becoming airborne. This not only keeps your workspace cleaner but also protects your lungs from inhaling fine dust.
Incorporating water cooling into your drilling routine guarantees precision, safety, and durability.
Using Drill Guides to Keep Holes Precise and Clean in Ceramic Pots
You’ll achieve cleaner, more precise holes in ceramic pots by using a drill guide, which stabilizes the bit and prevents slipping. Selecting the right guide depends on the pot’s size and the drill bit diameter you’re using.
Make sure the guide fits securely and matches your drill bit to maintain control and accuracy throughout the process.
Benefits of Drill Guides
When working with delicate ceramic pots, using a drill guide guarantees each hole remains perfectly aligned and clean. Drill guides play an essential role in precision drilling, especially when paired with appropriate drill bit materials designed for ceramics.
Here’s why you should rely on them:
- Guarantees exact hole placement, preventing misalignment.
- Stabilizes the drill bit, reducing the risk of slips and cracks.
- Controls drill depth, avoiding damage to the pot’s interior.
- Promotes cleaner holes by minimizing chipping around edges.
Choosing the Right Guide
Drill guides guarantee your holes stay perfectly aligned and reduce the risk of cracks or chips in ceramic pots. When selecting a guide, consider the drill bit types you’ll use and the specific ceramic pot applications.
A stable, adjustable guide guarantees precision and protects delicate surfaces. Here’s a quick comparison to help you decide:
| Guide Type | Best For | Ceramic Pot Applications |
|---|---|---|
| Magnetic Guide | Small drill bits | Thin-walled pots, delicate tasks |
| Clamp-on Guide | Medium to large bits | Thick pots, sturdy drilling |
| Adjustable Guide | Various bit sizes | Versatile, multi-application use |
Choose a guide that fits your bit size and pot type to maintain accuracy and avoid damage during drilling.
Conclusion
So, you want to drill a ceramic pot without turning it into a shattered mess? Easy—just grab the right drill bit, keep things cool with water, and take it slow.
If you prefer a DIY jigsaw puzzle, skip the prep and go wild. Otherwise, trust the diamond or carbide tips to do the hard work while you stay calm.
Remember, cracking pots is for amateurs—not you. When it comes to the type of drill bit for ceramic pot, diamond or carbide bits are your best friends.