When you need clean, flat-bottomed holes or precise overlapping cuts, Forstner drill bits are your best choice. Forstner drill bits allow for smooth, accurate drilling, making them ideal for woodworking projects that demand precision.
You’ll want to select the correct bit size and guarantee your drill is properly set up to avoid wobbling or tear-out. Using the right technique can make a significant difference in your project’s quality.
Let’s look at how to prepare and operate these bits effectively to get the best results. Proper preparation and careful handling ensure clean, professional-quality holes every time.
What Are Forstner Drill Bits and When to Use Them?
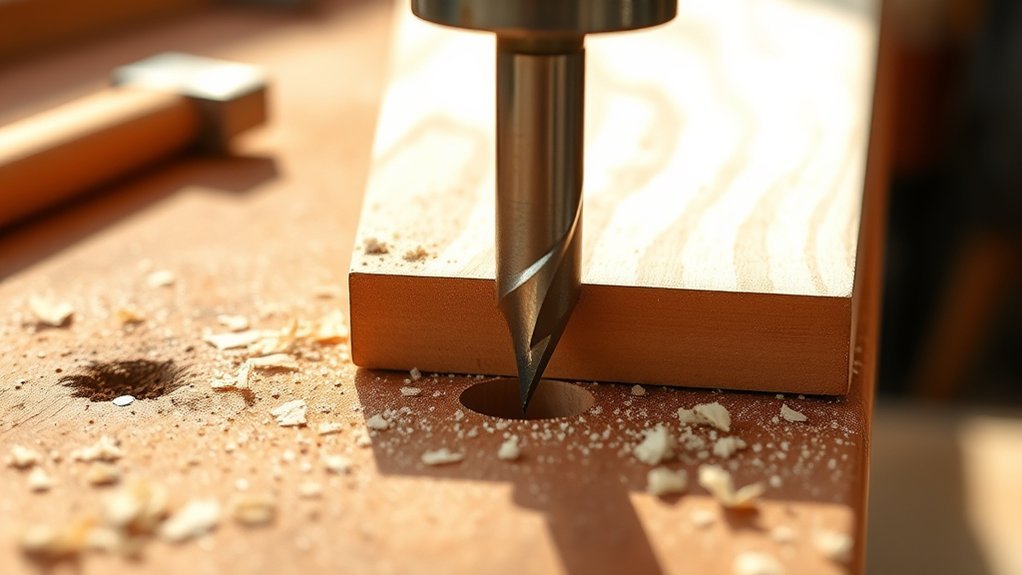
Forstner drill bits are specialized tools designed to bore clean, flat-bottomed holes in wood with precision. When you select a Forstner bit, you’ll encounter various Forstner bit types, including standard, rim-guided, and angled variants.
Each type suits specific Forstner bit applications, such as creating overlapping holes, partial holes on edges, or smooth-bottomed recesses for hardware installation. You’ll appreciate their ability to produce large-diameter holes with minimal tear-out, making them ideal for cabinetry, joinery, and woodworking projects requiring accuracy.
When you need precise, clean cuts without damaging surrounding material, these bits outperform traditional twist bits and spade bits. Understanding the range of Forstner bit types and their applications guarantees you use the right tool for your woodworking task efficiently and effectively.
Choosing the Right Forstner Bit Size for Your Project
How do you determine the correct drill bit size to achieve a clean, accurate hole for your woodworking project? Start by evaluating your project requirements, including the hole diameter and depth needed. Bit size considerations must align with these specifications to guarantee precision.
Forstner bits come in various diameters, so select one matching the exact hole size or slightly smaller if you plan to sand or adjust afterward. Avoid oversized bits that can weaken material integrity or create sloppy fits.
Also, consider the thickness of your workpiece; some bit sizes may not penetrate fully or may cause tear-out if too large. By matching the Forstner bit size precisely to your project requirements, you ensure clean cuts, maintain structural strength, and achieve professional-quality results every time.
How to Set Up Your Drill and Forstner Drill Bits Safely

After selecting the correct bit size to match your project, securing the drill and bit properly is the next step to guarantee safety and accuracy. Begin by verifying your drill is unplugged or battery removed before installing the Forstner bit.
Insert the bit’s shank fully into the drill chuck and tighten it firmly with a chuck key or by hand if it’s a keyless chuck. Confirm the bit is straight to prevent wobbling during operation. Always wear safety goggles and secure your workpiece to avoid movement.
Regular bit maintenance is essential; inspect and clean your Forstner bits before use to maintain sharpness and prevent accidents. Following these drill safety practices reduces risk and guarantees precise, clean drilling results.
Step-by-Step Guide to Drilling Clean Holes With Forstner Bits
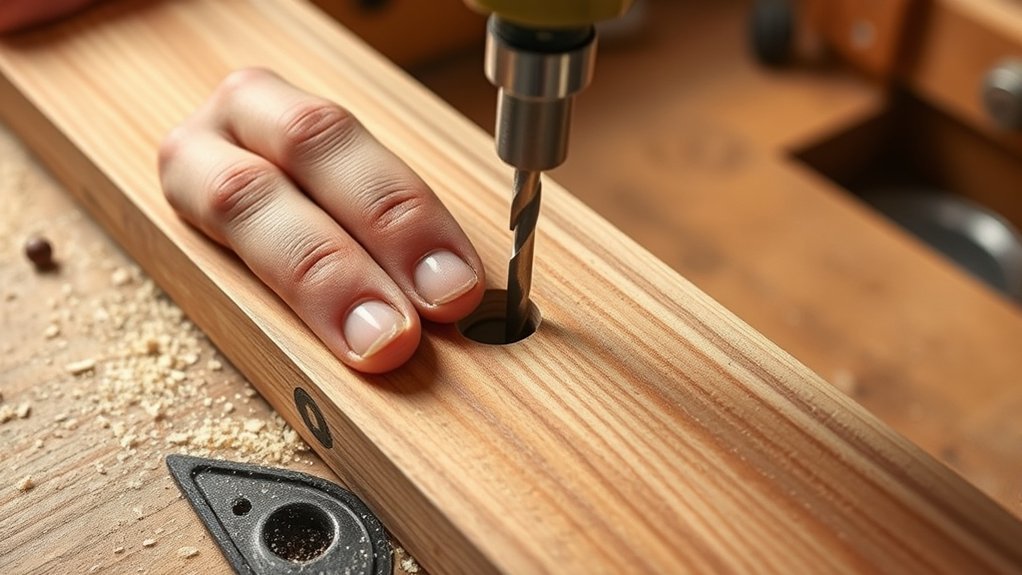
To drill clean holes with Forstner bits, start by marking the exact center point on your workpiece to assure accuracy. Secure the piece firmly to prevent movement during drilling.
Mount the Forstner bit properly in your drill chuck, making sure it’s tight for precision. Begin drilling at a slow speed, applying steady pressure without forcing the bit. This approach prevents overheating and keeps the bit cutting cleanly.
Forstner bit applications excel in creating flat-bottomed holes and precise edge drilling. Pause occasionally to clear wood chips, maintaining visibility and preventing clogging.
After use, perform regular drill bit maintenance by cleaning debris and inspecting the cutting edges for wear. Proper upkeep guarantees peak performance and extends the life of your Forstner bits.
Tips for Drilling Overlapping or Angled Holes With Forstner Bits
When drilling overlapping or angled holes with Forstner bits, you’ll need to adjust your technique to maintain accuracy and clean cuts. Start by carefully marking your hole alignment to guarantee precision, especially when holes overlap.
Use a drill press with an adjustable table or a tilting vise to control the angle accurately. Begin drilling at a low speed to prevent bit wandering, allowing the bit’s center spur to establish a firm grip before increasing speed.
For overlapping holes, partially drill the first hole, then reposition the bit to overlap carefully, maintaining consistent pressure and alignment. Always clear chips frequently to prevent clogging and overheating.
These drilling techniques help you achieve clean, precise holes even at challenging angles or overlaps.
Preventing Tear-Out and Splintering With Forstner Bits
Maintaining clean edges during angled or overlapping holes can be challenging, but preventing tear-out and splintering requires specific attention to your Forstner bit handling. To guarantee effective tear out prevention and apply proper splintering techniques, follow these steps:
- Use a backing board beneath your workpiece to support fibers and minimize splintering.
- Drill at a consistent, moderate speed to reduce heat buildup and bit chatter.
- Score the hole perimeter lightly with a sharp utility knife before drilling to cleanly sever wood fibers.
- Apply steady, even pressure without forcing the bit, allowing it to cut efficiently and prevent tear-out.
Common Forstner Bit Mistakes to Avoid
You’ll want to avoid common mistakes like using incorrect speed settings, which can dull the bit or burn the wood. Make sure your Forstner bit is perfectly aligned to prevent uneven holes and bit damage.
Also, don’t apply excessive pressure. Let the bit cut at its own pace to maintain clean results and prolong tool life.
Incorrect Speed Settings
Although adjusting the drill’s speed might seem straightforward, using incorrect settings with Forstner bits can cause overheating, premature dulling, and poor cutting performance. To maintain peak drill performance, you need to match the speed settings to the bit size and material hardness.
Here are four essential tips:
- Use lower speeds (300-800 RPM) for larger Forstner bits (above 1.5 inches) to prevent heat buildup.
- Increase speeds (1000-1500 RPM) for smaller bits to maintain clean cuts.
- Adjust speed downward when drilling hardwoods, as high speeds generate excessive friction.
- Avoid excessive speed spikes that can cause bit wandering and reduce drill efficiency.
Improper Bit Alignment
Proper alignment of your Forstner bit is essential to achieving accurate, clean holes. Misalignment causes uneven cuts, tear-out, and can damage both the workpiece and bit.
Before drilling, verify the bit is securely tightened in the chuck and positioned perpendicular to the surface. Use alignment techniques such as marking centers with a punch or employing drill press fences to maintain consistent angles.
Regular bit maintenance, including sharpening and cleaning, supports proper seating and prevents wobble. Avoid lateral movement by stabilizing your drill or press.
If you notice bit deflection, stop and readjust immediately. Continued drilling under misalignment risks bit breakage. By adhering to precise alignment protocols, you’ll extend bit life and guarantee professional-quality results without compromising safety or efficiency.
Excessive Pressure Application
When you apply excessive pressure while using a Forstner bit, you risk overheating the bit and damaging both the tool and your workpiece. Forstner bits are highly pressure sensitive, so pressing too hard reduces drill bit durability and compromises cutting efficiency.
To avoid this mistake:
- Let the bit’s sharp cutting edges do the work without forcing it.
- Maintain a consistent, moderate feed rate for clean and accurate holes.
- Pause periodically to allow heat dissipation and prevent thermal damage.
- Use a drill press with adjustable speed to control cutting conditions precisely.
How to Sharpen and Care for Your Forstner Drill Bits
You’ll know your Forstner bit needs sharpening when it produces rough cuts or requires extra pressure. Use a fine file or sharpening stone to carefully restore the cutting edges, maintaining the original angles.
After sharpening, store your bits in a protective case to prevent damage and keep them ready for precise drilling.
Identifying Dull Edges
Although Forstner drill bits are designed for clean, precise cuts, their edges can dull with frequent use, reducing efficiency and finish quality. You need to perform dull edge identification regularly to maintain peak performance. Watch for these key signs:
- Increased resistance or burning smell while drilling.
- Rough or chipped edges visible on the cutting surfaces.
- Reduced ability to produce clean, flat-bottomed holes.
- Excessive vibration or wandering during drilling.
Incorporate these bit maintenance tips into your routine inspections to catch dullness early. Regularly checking your bits prevents damage to your workpiece and prolongs tool life. Identifying dull edges promptly guarantees you can sharpen your bits before they negatively impact your project or cause unnecessary wear.
Sharpening Techniques
Since dull Forstner bits compromise cutting accuracy and efficiency, sharpening them regularly guarantees consistent performance and extends their lifespan. Begin by securing the bit in a vise to prevent movement.
Use a fine diamond file or sharpening stone to gently hone the cutting edges, maintaining the original bevel angle. Focus on the rim and center spur, as these affect clean cuts and precision.
Avoid removing excess material, which can alter the bit’s geometry. After sharpening, inspect the edges under magnification to confirm uniformity.
For ongoing care, apply light machine oil to prevent rust and clean debris after each use. These sharpening techniques and maintenance tips will keep your Forstner bits sharp, reliable, and ready for precise woodworking tasks.
Proper Storage Methods
After sharpening your Forstner bits, proper storage preserves their cutting edges and prevents damage. You’ll want to focus on organizing and protecting your bits effectively.
- Use dedicated storage containers with individual slots; this prevents bits from knocking against each other.
- Arrange bits by size or type to streamline bit organization and quick identification.
- Store bits in a dry environment to avoid rust and corrosion.
- Label storage containers clearly to maintain consistent bit organization and avoid unnecessary handling.
Following these methods guarantees your Forstner bits stay sharp and ready for precision drilling. Proper storage containers combined with systematic bit organization extend the lifespan and performance of your tools.
Best Woods for Forstner Drill Bits and Suitable Projects
Several types of wood respond exceptionally well to Forstner drill bits, allowing you to achieve clean, flat-bottomed holes with minimal tear-out. When working with hardwood options like maple, cherry, and oak, these bits maintain sharpness and provide precise cuts, ideal for cabinetry and fine woodworking projects.
Forstner bits handle softwood alternatives such as pine and cedar effectively, though you should adjust feed speed to prevent burning or splintering. Choose hardwoods for projects requiring durability and a high-quality finish, like furniture joinery and decorative inlays.
Softwoods suit less demanding tasks, including pilot holes for dowels or hinge installation. By selecting the appropriate wood type, you maximize the performance of your Forstner bits and guarantee consistent, professional results across your woodworking projects.
Conclusion
Mastering Forstner drill bits boosts your woodworking precision—did you know they can create perfectly flat-bottomed holes up to 50% cleaner than spade bits? By securing your workpiece, maintaining steady speed, and regularly clearing chips, you’ll achieve flawless cuts every time.
Avoid common mistakes like excessive pressure or dull bits to extend tool life. These simple steps help maintain the sharpness and effectiveness of your tools.
With proper setup and care, Forstner drill bits become indispensable for accurate, professional-grade drilling in your projects. Embracing their use will significantly enhance your woodworking results.