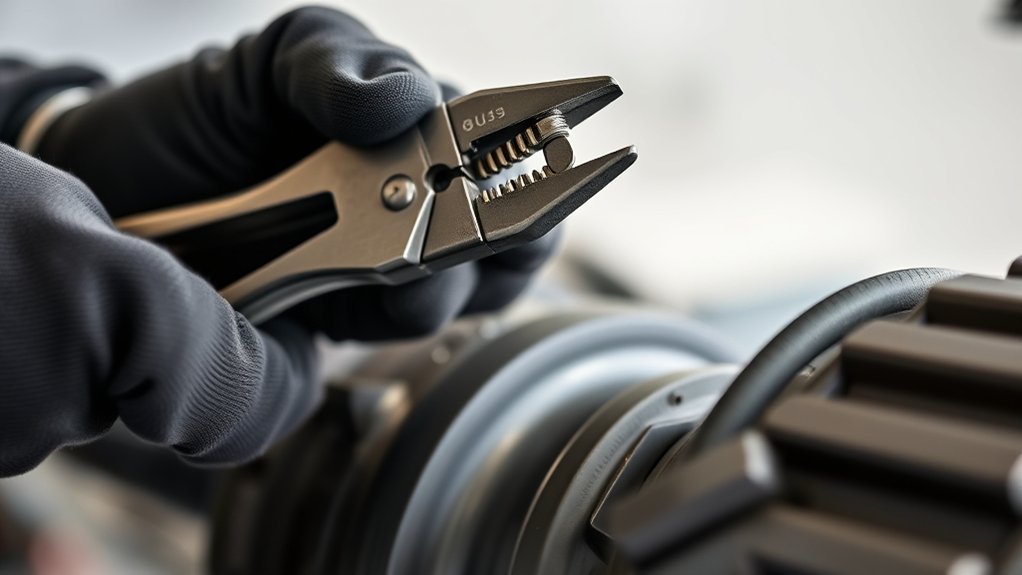
Using CV boot clamp pliers might seem straightforward, yet improper handling can lead to boot damage or clamp failure. You’ll need to master the precise positioning and tension control to secure the clamp without compromising the boot’s integrity.
Understanding the correct technique guarantees a durable seal and prevents costly repairs.
Let’s explore the essential steps and best practices that professionals rely on to get this right every time. Proper use of CV boot clamp pliers ensures the clamp is tight and secure, maintaining the boot’s protection from dirt and moisture.
With careful attention, you can avoid common pitfalls and extend the life of your CV boots.
Choose the Right CV Boot Clamp Pliers
Before you begin working with CV boot clamps, you need to select the right pliers designed specifically for the type of clamp you’re handling. There are various types of pliers, including ear clamp pliers for stainless steel clamps and band clamp pliers for adjustable steel or aluminum clamps.
Match the pliers to the clamp materials to guarantee proper tension without damaging the clamp or boot. For metal clamps, use pliers with hardened jaws to prevent slippage, while for softer materials like plastic, opt for pliers with smooth or coated jaws to avoid cutting the clamp.
Choosing the correct type guarantees you apply uniform pressure, securing the clamp tightly while preserving the integrity of the CV boot and clamp materials. This precision prevents leaks and extends component life.
Prepare CV Boot and Clamps for Installation
While preparing the CV boot and clamps for installation, you’ll need to thoroughly clean the CV joint area to remove any dirt, grease, or old boot material that could compromise the seal. Proper preparation guarantees a secure clamp installation and extends the lifespan of the cv boot.
Thoroughly clean the CV joint area to ensure a secure seal and prolong the CV boot’s life.
Follow these steps:
- Inspect and clean the CV joint surface using a lint-free cloth and a suitable solvent to eliminate contaminants.
- Dry the area completely to prevent moisture-induced degradation under the cv boot.
- Pre-position the clamps on the replacement cv boot without tightening to streamline the installation process.
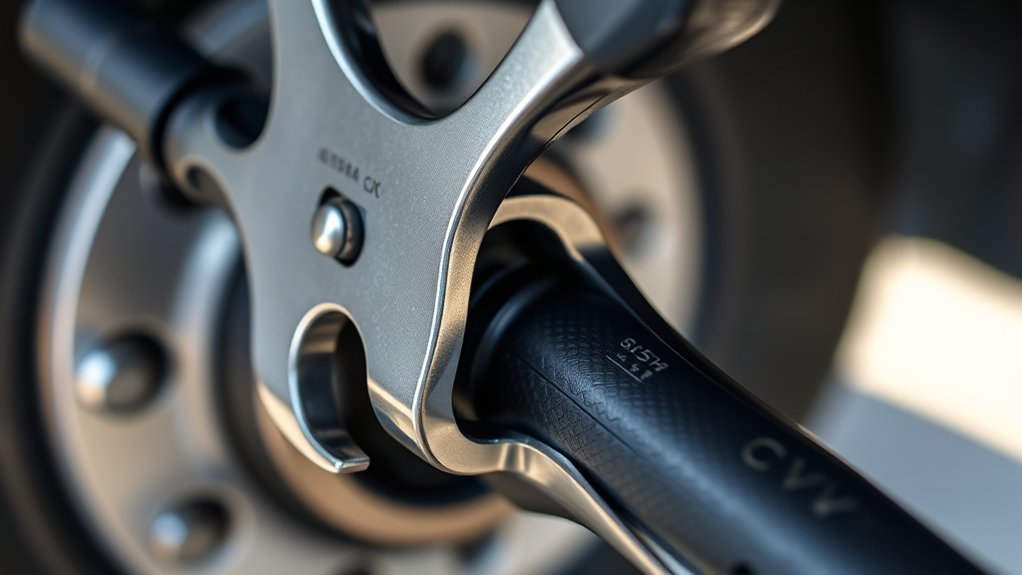
Position the Clamp Correctly on the CV Boot
Start by aligning the clamp evenly around the CV boot’s sealing lip to guarantee a tight, uniform fit. Positioning depends on clamp types; ear clamps or band clamps require slightly different placements. Use precise installation techniques by confirming the clamp sits just behind the boot’s ridge to prevent slippage and maintain sealing integrity. Avoid overlapping or uneven gaps to verify proper compression.
| Clamp Type | Ideal Position | Installation Technique |
|---|---|---|
| Ear Clamp | Behind sealing lip ridge | Squeeze ears evenly with pliers |
| Band Clamp | Over boot bead | Tighten gradually, avoid twisting |
| Double Ear | Both ears evenly spaced | Compress simultaneously |
Correct clamp positioning is essential for durability and preventing grease leaks.
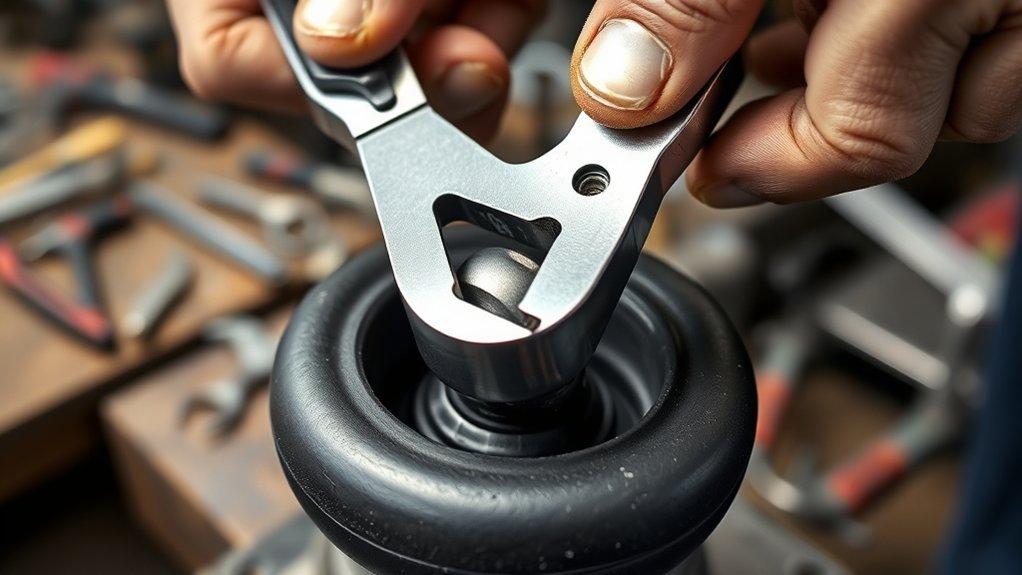
How to Use CV Boot Clamp Pliers Safely
To use CV boot clamp pliers safely, you need to confirm your hands and eyes are protected throughout the process. Always wear gloves and safety glasses to prevent injury from sharp edges or unexpected clamp release. Follow these key safety precautions:
- Inspect the pliers before use, confirming proper tool maintenance by checking for rust, damage, or loose parts.
- Secure the CV boot clamp firmly without applying excessive force, avoiding tool slippage or damage.
- Keep your fingers clear of the clamp’s closing area to prevent pinching or crushing injuries.
Adhering to these steps confirms you maintain control and safety. Proper tool maintenance not only extends the pliers’ lifespan but also supports consistent, safe operation during CV boot clamp installation.
Tips for Tightening CV Boot Clamp Pliers Effectively
When tightening CV boot clamp pliers, position the clamp correctly to guarantee a secure fit without damaging the boot. Apply even pressure on the handles to tighten the clamp uniformly and prevent leaks.
Always inspect the boot seal after tightening to confirm it’s properly secured and free of gaps.
Proper Clamp Positioning
Although positioning the CV boot clamp correctly may seem straightforward, it’s critical for guaranteeing a secure seal and preventing grease leakage. You need to account for clamp types and boot materials to position clamps effectively. Here’s how to do it:
- Align the clamp evenly over the boot’s raised lip or bead, which varies based on boot material flexibility.
- For ear-type clamps, center the clamp’s closure mechanism precisely on the boot’s thickened area to avoid uneven pressure.
- For adjustable band clamps, verify the band lies flat without twists, matching the boot’s contour to prevent damage.
Proper clamp placement directly influences the longevity of the seal and prevents premature boot failure. Always double-check positioning before tightening to maintain peak performance.
Applying Even Pressure
Applying even pressure with CV boot clamp pliers guarantees a uniform seal that prevents leaks and boot damage. To achieve an even distribution during pressure application, position the pliers so the clamp edges align precisely. Avoid uneven tightening, which can cause boot distortion or weak seals.
| Step | Tip |
|---|---|
| Initial Positioning | Align clamp and boot edges evenly |
| Pressure Application | Squeeze handles steadily and smoothly |
| Final Adjustment | Check for uniform clamp tightness |
Maintain consistent force as you close the pliers to verify the clamp tightens uniformly around the boot. Uneven pressure risks gaps or pinching. By controlling your grip and applying gradual pressure, you’ll secure the clamp effectively and extend the boot’s service life.
Checking Boot Seal
Ensuring the CV boot clamp is tightened evenly sets the stage for a reliable seal, but you still need to verify that the boot seal is secure. To maintain seal integrity, follow these steps carefully:
- Inspect the boot material for any cracks, tears, or deformations that could compromise the seal. Replace the boot if damaged.
- Confirm the clamp sits flush against the boot’s lip without gaps or uneven pressure points, ensuring uniform compression.
- Gently flex the boot near the clamp to check for movement; a properly sealed clamp prevents boot slippage or leaks under stress.
Inspect and Adjust CV Boot Clamps After Installation
After installing the CV boot clamps, carefully inspect them for uniform tension and secure positioning. Use visual inspection techniques to identify any gaps or misalignments that could cause leaks.
If necessary, adjust the clamp tension to guarantee a tight, reliable seal without damaging the boot.
Visual Inspection Techniques
Though the CV boot clamp may appear secure at first glance, you’ll need to conduct a thorough visual inspection to confirm proper installation. Start by performing a detailed damage assessment of both the clamp and boot to identify any cracks, tears, or deformations that compromise sealing.
Then, inspect the clamp’s placement. Make sure it sits evenly around the boot’s lip without gaps or overlaps. Finally, check for any signs of slippage or looseness that could lead to contamination or grease leakage.
Follow these three steps:
- Assess the clamp and boot for visible damage.
- Verify even, gap-free clamp positioning.
- Confirm clamp stability and absence of slippage.
This visual inspection guarantees the integrity and longevity of the CV joint protection.
Proper Clamp Tension
One critical step in maintaining CV boot clamps is verifying and adjusting their tension to the correct specification. After installation, use a calibrated tension measurement tool to guarantee the clamp is neither too loose nor excessively tight.
Proper tension directly impacts clamp durability; insufficient tension can cause leaks, while over-tightening risks damaging the boot or clamp. To adjust, carefully release tension with the pliers, then reapply gradual pressure, checking the measurement after each adjustment.
Always refer to manufacturer torque or tension guidelines for accuracy. Consistent tension measurement and precise adjustment extend clamp lifespan and secure the CV boot effectively, preventing contamination and premature failure.
Maintaining proper clamp tension is essential for reliable drivetrain performance and long-term service.
Conclusion
By following these steps, you’ll guarantee a secure, leak-free CV boot clamp every time. For example, a technician once avoided costly boot damage by carefully tightening the clamp with pliers, preventing grease leaks on a customer’s vehicle.
Remember to wear safety gear, check for even tension, and inspect the clamp after installation. Proper technique not only extends the boot’s life but also saves you time and repair costs down the road.
Using CV boot clamp pliers correctly ensures a reliable seal and long-lasting protection for the CV boot.