You might think removing a septum ring without pliers is tricky or even impossible, but with the right approach, it’s often manageable. Knowing how to take out a septum ring without pliers starts with understanding the type of ring you have and how it opens. This knowledge is essential before you begin the removal process.
Preparing your nose properly can make a big difference. Gently cleaning the area and ensuring your hands are clean will help minimize discomfort and reduce the risk of infection.
Using gentle techniques can prevent injury and make the process smoother.
Let’s explore practical steps that can help you safely take out your septum ring on your own. With patience and care, you can remove your ring without the need for any special tools.
How to Clean and Loosen Your Septum Before Removal
Before you remove your septum ring, it’s essential to clean and loosen the area properly to prevent pain and infection. Begin with septum cleaning techniques: gently rinse your nose with saline solution or a mild saline spray to remove any debris or bacteria. Avoid harsh chemicals that could irritate the delicate tissue.
Next, apply a warm compress for 5 to 10 minutes to soften the skin and cartilage around the piercing. This is a key loosening method that makes removal easier and less painful. You can also massage the area gently to increase blood flow and flexibility.
How to Identify Your Septum Ring Type and Opening Mechanism
Before removing your septum ring, you need to identify its style and how it opens. Common types include captive bead rings, seamless hoops, and clickers, each with a unique opening mechanism.
Knowing this will help you remove the ring safely and comfortably.
Common Septum Ring Styles
Septum rings come in various styles, each with a unique design and opening mechanism that you’ll want to recognize before attempting removal. Popular septum styles include captive bead rings, seamless hoops, clickers, and circular barbells.
Captive bead rings have a small removable bead, while seamless hoops form a continuous circle without visible breaks. Clickers feature a hinged segment that snaps open and closed, and circular barbells resemble horseshoes with threaded ends.
Septum ring materials vary from surgical steel and titanium to gold and bioplast, influencing flexibility and ease of handling. Knowing your ring’s style and material helps you anticipate how it behaves during removal.
Identifying these factors guarantees you handle your septum ring gently, reducing discomfort and avoiding damage to both the jewelry and your piercing.
Opening Mechanism Types
Although septum rings come in various styles, identifying the opening mechanism of your specific ring is key to removing it safely and comfortably. There are different opening mechanisms based on septum ring types, such as captive bead rings, segment rings, clickers, and seamless hoops.
Captive bead rings open by gently pulling the bead out, while segment rings require you to remove a removable segment. Clickers have a hinge and snap closed, so you’ll need to carefully unclick them. Seamless hoops involve twisting the ring open slightly.
To identify your septum ring’s mechanism, examine it closely under good light and test gentle movements without forcing it. Understanding these different opening mechanisms helps guarantee you remove your septum ring without discomfort or damage.
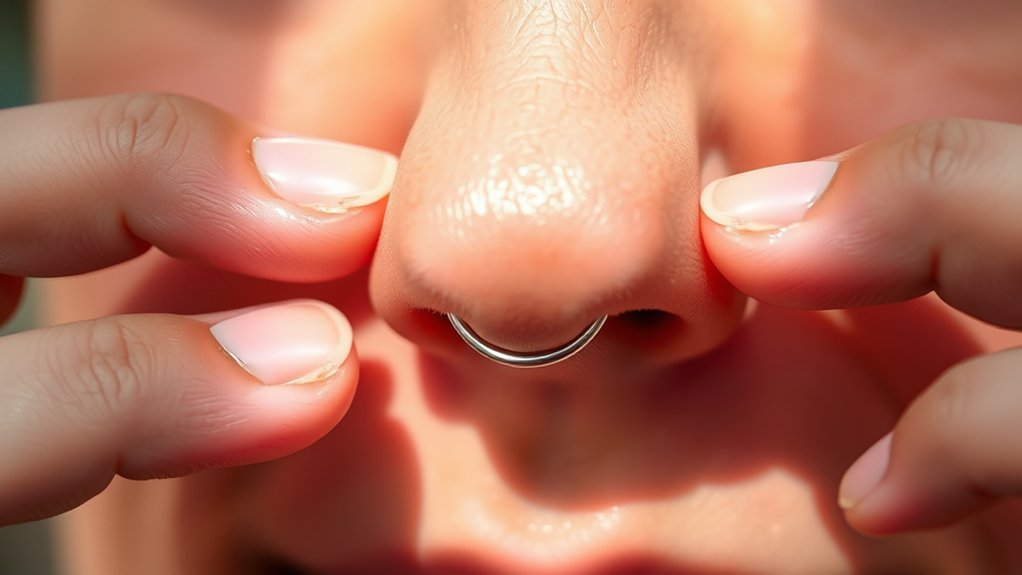
How to Loosen a Tight Septum Ring Without Pliers
If your septum ring feels too tight to remove, start by applying a warm compress to relax the tissue around the piercing. Then, use gentle twisting motions combined with a bit of natural oil to ease the ring open without causing damage.
These steps help loosen the ring safely without needing pliers.
Warm Compress Application
When your septum ring feels too tight to remove comfortably, applying a warm compress can help relax the tissue and gently loosen the jewelry. Warm compresses benefits include increased blood flow and softened skin, which reduce resistance around the piercing.
To use effective heat application techniques, soak a clean cloth in warm water. Make sure it’s comfortably warm, not hot, and hold it against your septum for 5 to 10 minutes. Repeat this process a few times if needed, allowing the warmth to penetrate and ease any stiffness.
This method prepares your skin for easier removal by loosening the septum without causing irritation. Remember, consistent warmth is key; avoid overheating, and make sure your hands and cloth are clean to prevent infection.
Gentle Twisting Techniques
After loosening the tissue with a warm compress, you can gently twist the septum ring to ease it free without causing pain or damage. Use a careful twisting technique by slowly rotating the ring back and forth, applying minimal pressure to avoid irritation.
This gentle approach helps the jewelry move more freely through the piercing, reducing discomfort. Avoid sudden or forceful movements, as these can inflame the tissue or cause bleeding.
Instead, focus on small, controlled rotations that encourage the ring to loosen naturally. If you feel resistance or pain, pause and reapply the warm compress before trying again.
This method minimizes trauma and supports a safe, comfortable removal without the need for pliers or professional tools.
Lubrication With Oils
Using a few drops of natural oils can greatly ease the removal of a tight septum ring without resorting to pliers. Applying essential oils as part of your lubrication techniques reduces friction and soothes the skin, making the process smoother and less painful. Choose oils known for their gentle, slip-enhancing properties.
Here’s how to apply oils effectively:
Clean your hands and the piercing area thoroughly. Use a cotton swab to apply a small amount of essential oil like jojoba or coconut oil around the ring. Allow the oil to penetrate for a few minutes to soften the skin and reduce tightness.
Gently attempt to twist or slide the ring free with minimal force.
This method guarantees a safer, more comfortable removal without damaging your piercing.
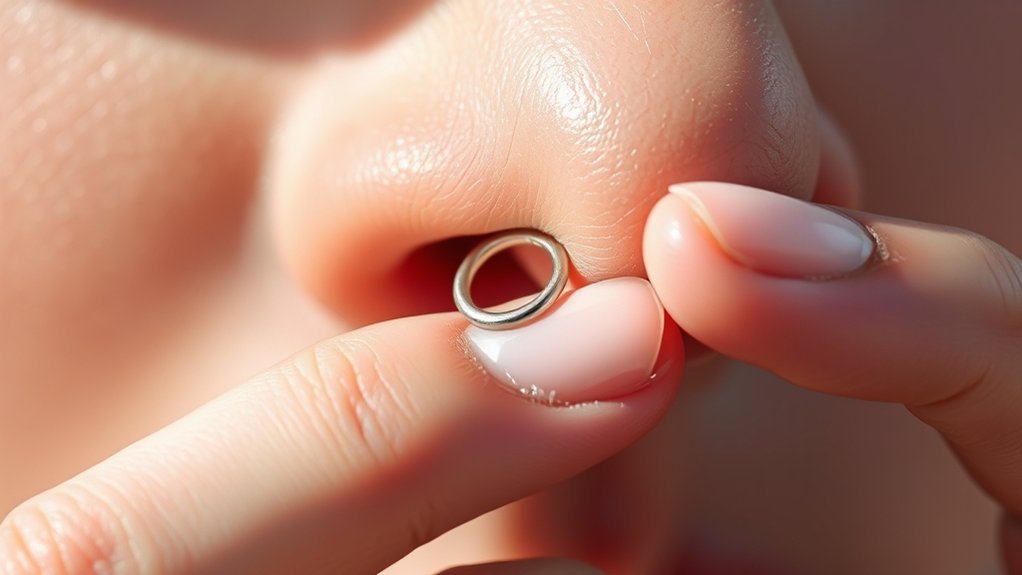
Removing a Circular Septum Ring Without Pliers
Removing a circular septum ring without pliers requires a steady hand and a careful approach. Begin by thoroughly washing your hands and cleaning the piercing area to minimize infection risk.
Use gentle removal techniques: apply a bit of lubricant, such as saline solution or oil, around the ring to ease movement. Slowly rotate the ring to find the opening, then gently slide it out without forcing.
Maintain steady pressure and avoid sudden movements to prevent irritation or injury. Always follow safety precautions. If you encounter resistance or pain, stop immediately to avoid damage.
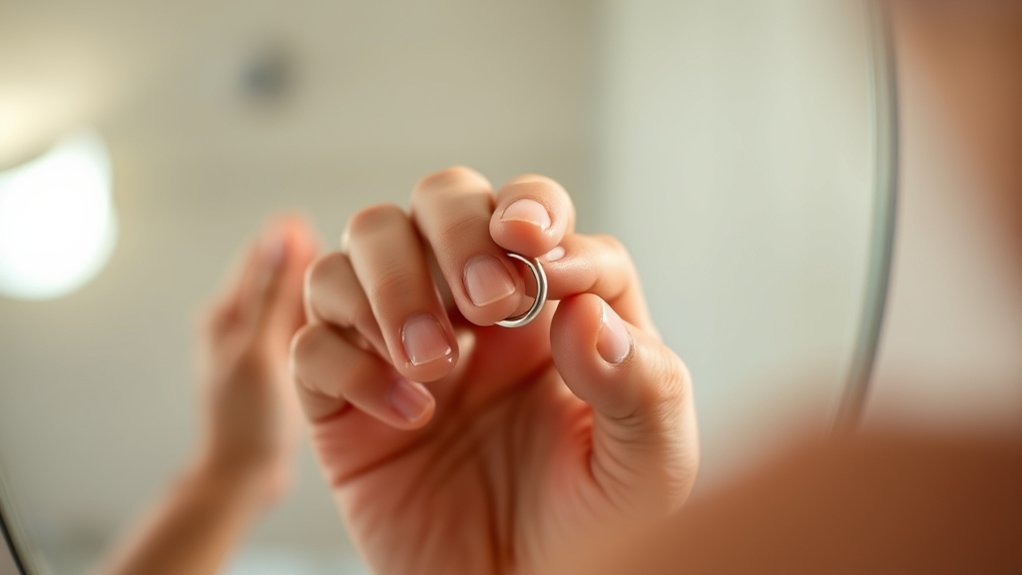
Removing a Seamless or Captive Bead Septum Ring Without Pliers
Taking out a seamless or captive bead septum ring without pliers calls for a slightly different approach than with circular rings. These styles require patience and gentle handling to avoid discomfort or damage.
For seamless rings, carefully locate the break or hinge, then gently twist the ring open using your fingers. Captive beads need a bit more finesse. Apply gentle pressure to one side of the bead to release it from the ring.
Here’s how to proceed safely:
- Wash your hands thoroughly to prevent infection
- Use a mirror for better visibility
- Apply a saline solution to soften the area
- Gently twist or press without forcing the ring or bead
This method guarantees you remove seamless rings and captive beads smoothly without tools.
Handling Pain or Resistance During Septum Ring Removal
Although septum ring removal is usually straightforward, you might encounter pain or resistance that signals the need for extra care. If you feel discomfort, pause and avoid forcing the jewelry out, as this can cause tissue damage.
For pain management, gently clean the area with a saline solution to reduce irritation before trying again. Applying a warm compress can also help relax your nasal tissues, easing removal.
When facing resistance, use slow, controlled movements rather than sudden twists. Employ resistance techniques such as slightly adjusting the angle of the ring to find the path of least resistance.
If it still won’t budge, consider consulting a professional piercer to avoid injury. Prioritizing gentle handling guarantees a safer, less painful removal experience.
How to Clean and Care for Your Septum After Removing Your Septum Ring
Properly cleaning and caring for your septum after removing your septum ring is essential to promote healing and prevent infection. Establish a consistent septum care routine to keep the area clean and soothe any irritation.
Follow this aftercare routine to support recovery:
- Gently rinse the piercing with saline solution twice daily to remove debris.
- Avoid touching or twisting the piercing with unwashed hands to minimize bacteria transfer.
- Apply a fragrance-free, hypoallergenic moisturizer if the skin feels dry or irritated.
- Steer clear of harsh chemicals, makeup, or alcohol-based products around the piercing site.
Conclusion
By following these steps, you’ll not only remove your septum ring without pliers but also care for your piercing safely, reducing irritation and pain. Just as patience softens the skin, it eases the process—remember, your hands and gentle twists are your best tools.
If resistance meets your effort, pause and try again later; sometimes, timing and care align perfectly, turning a tricky removal into a smooth, confident experience.
With patience and the right technique, you can successfully take out your septum ring without pliers, ensuring a safe and comfortable process.