Imagine you’re trying to remove a stripped screw with pliers from a cabinet hinge, and your screwdriver just slips every time.
Using pliers can provide the grip and torque needed to extract it without damaging the surrounding material.
However, selecting the right type of pliers and applying proper technique are essential to avoid worsening the situation.
Understanding these steps will help you tackle stubborn screws more effectively.
When to Use Pliers to Remove a Stripped Screw
You should use pliers to remove a stripped screw when the screw head is exposed and accessible, but the screwdriver can no longer grip it effectively. Stripped screw causes include worn or damaged slots, excessive torque, or incorrect screwdriver size.
When these factors prevent standard extraction, pliers offer mechanical advantage by enabling a firm grip around the screw head or edges. The pliers advantages lie in their ability to apply controlled rotational force without relying on the screw’s internal grooves, reducing further damage.
Verify you select pliers with sufficient jaw strength and grip texture to prevent slippage. Grip the screw firmly, then rotate slowly counterclockwise to loosen it. This method suits screws with partially damaged heads but fails when the head is recessed or completely destroyed.
Choosing the Best Pliers for Removing Stripped Screws
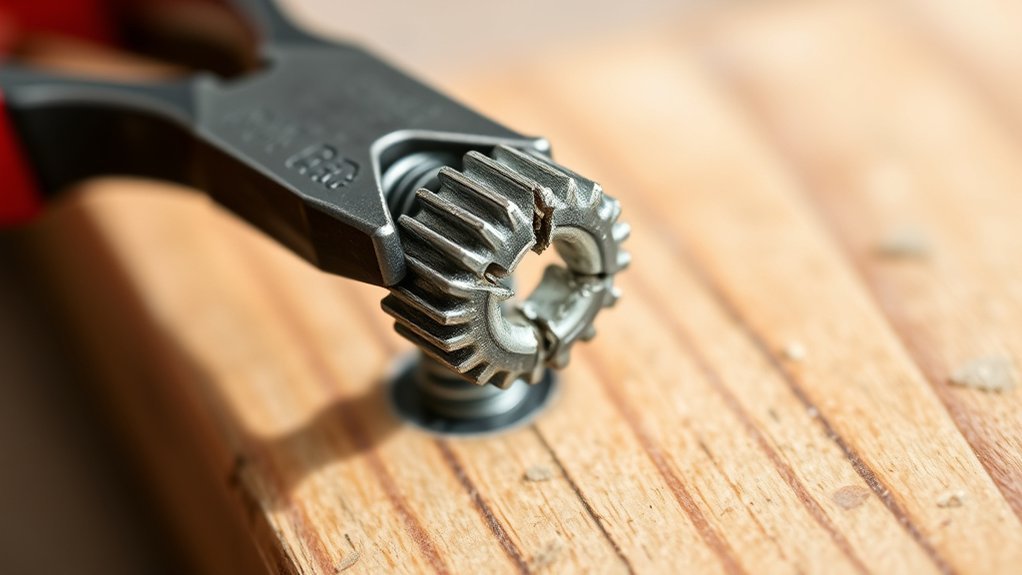
When pliers become necessary to remove a stripped screw, selecting the right type can greatly impact your success. The best pliers for this task typically provide a strong grip combined with precise control.
Needle-nose pliers offer excellent reach and fine control in tight spaces but may lack the gripping force needed for stubborn screws. Slip-joint pliers allow adjustable jaw width, accommodating various screw sizes, making them versatile.
Locking pliers, like Vise-Grips, are often the best choice because they clamp securely onto the screw head, minimizing slippage. When choosing among pliers types, consider the screw’s accessibility and the amount of torque required.
Prioritize durable materials and comfortable, non-slip handles to maintain control and apply steady pressure without damaging the workpiece.
How to Prepare for Removing a Stripped Screw With Pliers
Before attempting to remove a stripped screw with pliers, make sure the work area is well-lit and the screw head is accessible without obstruction. Identify the screw type, such as flathead, Phillips, or hex, as this will influence your grip technique.
Clean the screw head and surrounding area to guarantee a secure hold. Select appropriate pliers, such as locking or needle-nose, based on the screw’s size and location. Position the pliers’ jaws firmly around the screw head or shaft, avoiding slippage.
Practice controlled grip techniques: apply steady, even pressure without squeezing excessively, which could further damage the screw. Stabilize the workpiece to prevent movement during extraction.
Confirm your tools are in good condition and your body position allows for precise, ergonomic handling. These preparations set the foundation for safe and effective screw removal.
How to Remove a Stripped Screw With Pliers, Step by Step
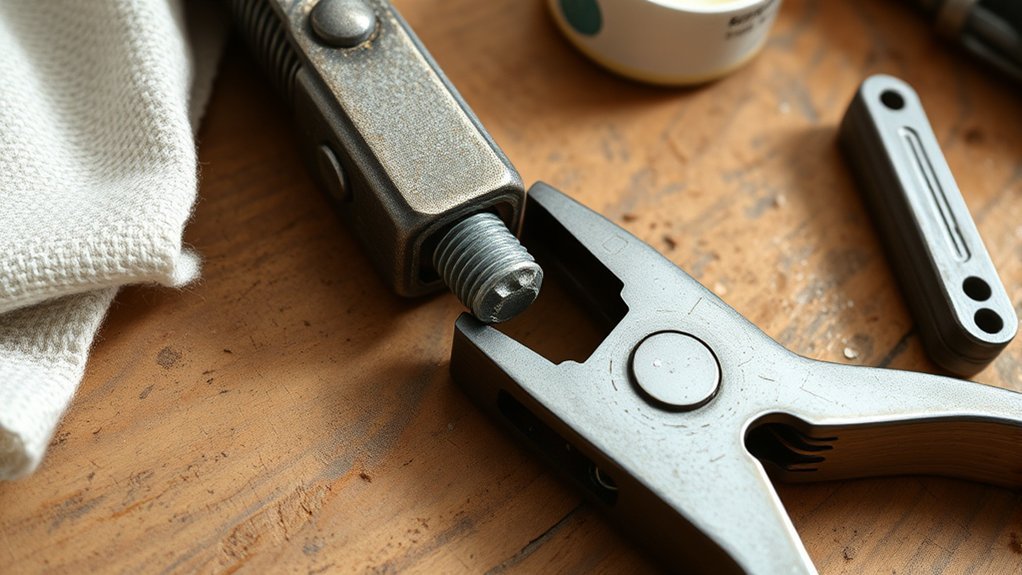
Having prepared the work area and selected the proper pliers, begin by firmly clamping the jaws around the stripped screw’s head or exposed shaft. Use locking pliers or needle-nose pliers, depending on accessibility and screw size.
Apply steady pressure to guarantee a secure grip without damaging the surrounding material. Slowly rotate the pliers counterclockwise to back the screw out, maintaining consistent force to prevent slipping.
Maintain steady pressure and rotate pliers slowly counterclockwise to safely back out the screw without slipping.
If resistance increases, release and reposition the pliers to improve grip. This step-by-step method aligns with standard screw extraction techniques, optimizing torque application.
Once the screw loosens, continue turning until fully removed. Throughout the process, choose plier types that best fit the screw’s condition and location, guaranteeing effective control and minimizing further damage.
Removing Stripped Screws With Different Head Types Using Pliers
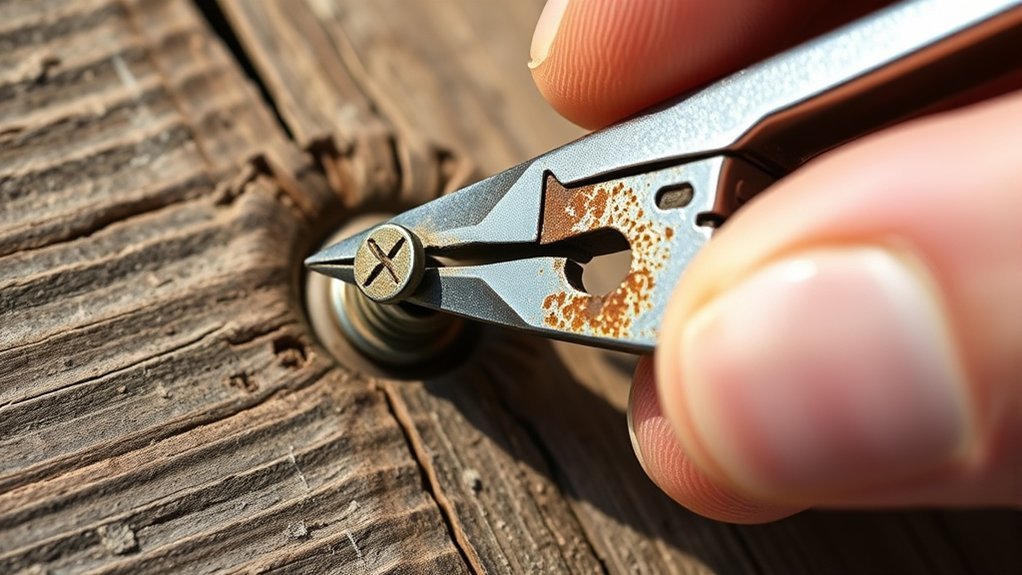
When removing stripped screws with pliers, you need to adjust your grip technique based on the screw head type. For Phillips heads, position the pliers to maximize contact with the cross slots.
Flathead screws require a firm edge grip, while hex heads are best extracted using locking pliers that fit snugly around the shape.
Phillips Head Grip Techniques
Grasp the stripped Phillips head screw firmly with a pair of locking pliers to gain better torque and control during removal. Adjust the grip to align the pliers precisely with the screw’s cross-shaped slots, optimizing Phillips techniques for a secure hold. Follow these steps:
Position the pliers’ jaws to lock onto the screw’s outer edges. Apply consistent pressure to avoid further rounding. Rotate the pliers slowly counterclockwise to back the screw out.
Re-adjust grip as needed if slipping occurs. Use gentle rocking motions to loosen stubborn screws.
Flathead Screw Extraction Tips
Locking pliers provided a solid grip for Phillips screws, and a similar approach applies to flathead screws, though the technique varies to match the single-slot design. When removing stripped flathead screws, align your pliers’ jaws parallel to the slot, ensuring maximum contact without damaging the surrounding material.
Adjust the grip based on flathead screw types and sizes to prevent slippage.
| Flathead Screw Types | Recommended Pliers Approach |
|---|---|
| Slotted | Firm, parallel jaw grip |
| Oval Head | Slight angle for better contact |
| Fillister | Adjust jaw width for screw size |
| Flathead Screw Sizes | Jaw Adjustment |
| Small (2-4 mm) | Narrow grip, delicate control |
| Medium (5-7 mm) | Moderate grip, steady pressure |
| Large (8+ mm) | Wide grip, firm pressure |
Using this method, you’ll extract stripped flathead screws efficiently and safely.
Hex Head Pliers Method
Using hex head pliers offers a reliable solution for extracting stripped screws with various head types. To guarantee a secure plier grip, follow these steps methodically:
Identify a hex head or any accessible screw head portion. Open the hex head pliers to fit snugly around the screw. Position the pliers so the jaws fully encompass the screw head.
Apply firm, steady pressure to maintain the plier grip. Rotate the pliers counterclockwise to back out the screw slowly.
This technique works well on screws with rounded or damaged slots where screwdriver engagement fails. The hex head pliers’ design allows you to clamp tightly, preventing further stripping.
Use controlled torque to avoid damaging the surrounding material. If needed, adjust the grip and reposition the pliers to maintain ideal contact throughout removal.
What to Do If Pliers Can’t Remove a Stripped Screw
If pliers can’t grip the stripped screw, start by trying specialized extraction tools designed for this purpose. You can also apply heat or lubricant to loosen the screw’s hold before attempting removal again.
If these methods fail, carefully drilling out the screw is a reliable final option.
Use Alternative Extraction Tools
Several specialized extraction tools can help when pliers fail to remove a stripped screw. To address stubborn screws, you’ll want to explore various screw extraction methods using alternative tools designed for grip and leverage. Consider the following:
Screw extractor kits: Use reverse-threaded bits that bite into the screw when turned counterclockwise.
Rubber band method: Place a rubber band over the screw head for added grip with a screwdriver.
Drill and left-handed drill bits: Drill into the screw to loosen and extract it.
Flathead screwdriver: Use a larger flathead screwdriver to engage any remaining edges.
Needle-nose pliers or locking pliers: Grip the screw head firmly if it protrudes enough.
Each tool offers a precise approach to overcome stripping and loosen the screw effectively.
Apply Heat Or Lubricant
When pliers fail to loosen a stripped screw, applying heat or lubricant can greatly ease extraction. Start with heat application by using a soldering iron or heat gun to warm the screw for 30 to 60 seconds. This expands the metal, loosening the bond between the screw and material.
Be cautious to avoid damaging surrounding surfaces or components. If heat isn’t suitable, proceed with lubricant use. Apply penetrating oil directly onto the screw head and let it soak for 10 to 15 minutes. The lubricant reduces friction and breaks down rust or corrosion binding the screw.
After either method, attempt removal again with pliers. If resistance persists, repeat the heat application or lubricant use process carefully before considering alternative extraction techniques.
Drill Out The Screw
Grab a drill with a bit slightly smaller than the screw shaft to carefully drill out the stripped screw. This method is effective when pliers fail to gain grip. Follow precise drilling techniques to avoid damaging the surrounding material. Begin at low speed, applying steady pressure to center the bit on the screw head. Gradually increase speed as the bit penetrates.
Secure the workpiece to prevent movement. Use a drill bit designed for metal or wood, depending on the screw. Drill straight to avoid enlarging the hole unnecessarily. Clear debris frequently to maintain visibility. If the screw loosens, remove it immediately with pliers or a screwdriver.
This controlled approach guarantees successful screw extraction while minimizing damage.
How to Prevent Stripped Screws and Make Removal Easier
A key step in preventing stripped screws and simplifying future removal is selecting the right tools and applying proper technique. Start by choosing a screwdriver or bit that precisely matches the screw head size and type to guarantee maximum contact.
Apply steady, controlled pressure while turning, avoiding excessive force that can damage the screw. Incorporate screw maintenance tips such as cleaning the screw head and lubricating threads with a light oil before insertion.
Use preventive measures like pre-drilling pilot holes in hard materials to reduce resistance and stress on screws. Additionally, avoid over-tightening screws, which increases the likelihood of stripping.
Conclusion
Removing a stripped screw with pliers requires patience and precision, much like maneuvering a key through a complex lock. By choosing the right pliers, preparing the screw head properly, and applying steady pressure while turning counterclockwise, you can regain control over stubborn fasteners.
If the screw resists, try repositioning the pliers or using heat and penetrating oil to loosen it. These additional steps can help break the screw free without causing further damage.
Following these methodical steps guarantees efficient removal and minimizes damage, saving you time and effort on your project. With the right approach, removing a stripped screw with pliers becomes a manageable task.