If you’ve installed hair extensions secured with beads or bonds, knowing how to remove hair extensions with pliers safely is vital to protect your natural hair.
Using the right tools and technique guarantees you avoid breakage or scalp discomfort.
Before you start, it’s important to identify your extension type and prepare your hair properly.
Mastering this process will help you remove extensions efficiently.
Here’s what you need to know to get started.
Identifying Your Hair Extension Type
Before you begin removing your hair extensions, you need to accurately identify their type, as each requires a different removal method to secure safety and prevent damage. Start by examining your hair closely.
Clip in extensions are easy to spot. They attach with small clips that you can open and remove without tools. Tape in extensions, however, have adhesive strips that bond to your natural hair, requiring a gentle solvent or specific technique to loosen. Misidentifying tape in extensions as clip ins could lead to pulling and breakage.
If you’re unsure, part your hair to inspect the roots carefully. Proper identification guarantees you use the correct removal method, protecting both your natural hair and the extensions for potential reuse.
Tools Needed to Remove Hair Extensions With Pliers
To safely remove hair extensions with pliers, you’ll need a specific set of tools designed for precision and protection. Start with high-quality professional hair extension pliers; their design guarantees accurate grip without damaging your natural hair.
When selecting pliers, prioritize ergonomic handles and smooth, rounded tips to minimize pulling or snagging. Additionally, gather a fine-tooth comb and hair clips to section hair efficiently.
Safety precautions are essential. Wear protective gloves to avoid pinching, and always work in a well-lit area for clear visibility. Avoid using general-purpose pliers, as improper tools increase the risk of hair breakage.
Preparing Your Hair for Extension Removal
Before you start removing your hair extensions, make certain to detangle your hair thoroughly to prevent breakage. Next, section your hair properly to gain clear access to each extension.
These steps guarantee a safe and efficient removal process.
Detangle Hair Thoroughly
Start by gently detangling your hair with a wide-tooth comb or a specialized extension brush. Use slow, deliberate strokes to prevent breakage and minimize stress on your natural hair. Focus on the ends first, gradually working upward to avoid pulling on the roots or extension bonds.
Effective detangling methods involve sectioning your hair into manageable parts, which makes the process safer and more thorough. Avoid tugging or rushing, as damaged strands can complicate removal and cause discomfort.
Maintaining proper hair care during detangling supports scalp health and protects the hair shaft. Prioritize patience and precision. This step guarantees your hair is prepared for a smooth, damage-free extension removal. Proper detangling is essential to safeguard your natural hair throughout the process.
Section Hair Properly
Dividing your hair into four or more sections gives you clear control and access during extension removal. Start by using precise section techniques to separate your hair evenly, ensuring each part is manageable.
Use reliable section tools like clips or hair ties to secure each section firmly but gently, preventing slippage. This organized approach minimizes tangling and reduces strain on your natural hair.
Work systematically, focusing on one section at a time to maintain control and safety. Proper sectioning not only streamlines the removal process but also protects your scalp and hair from unnecessary pulling or damage.
Step-by-Step Removal Using Pliers
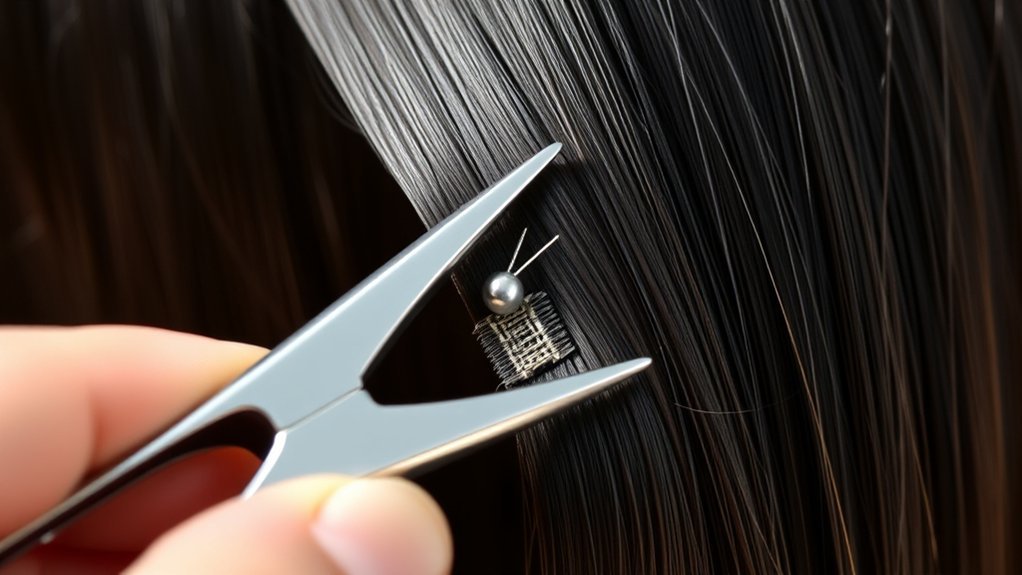
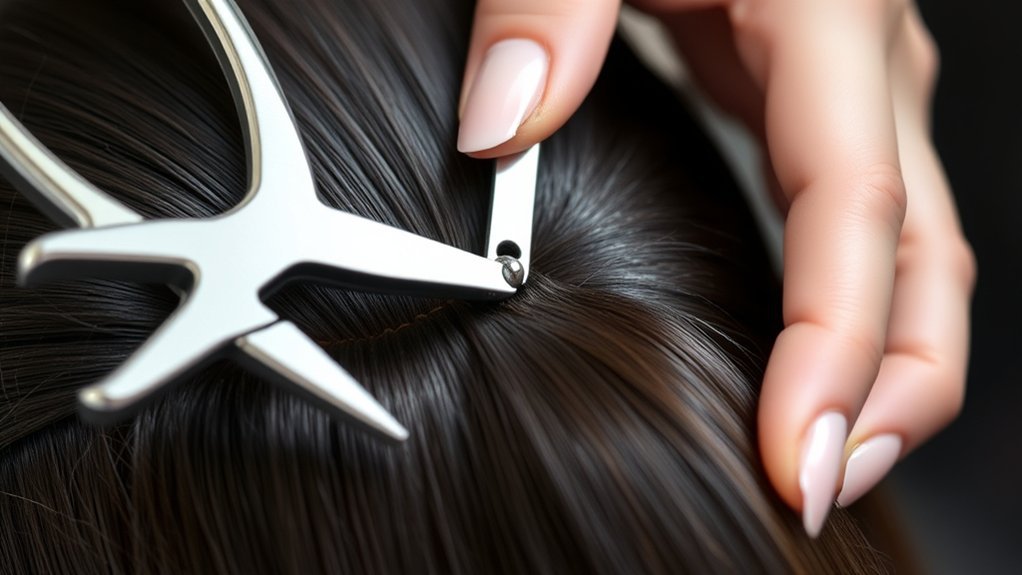
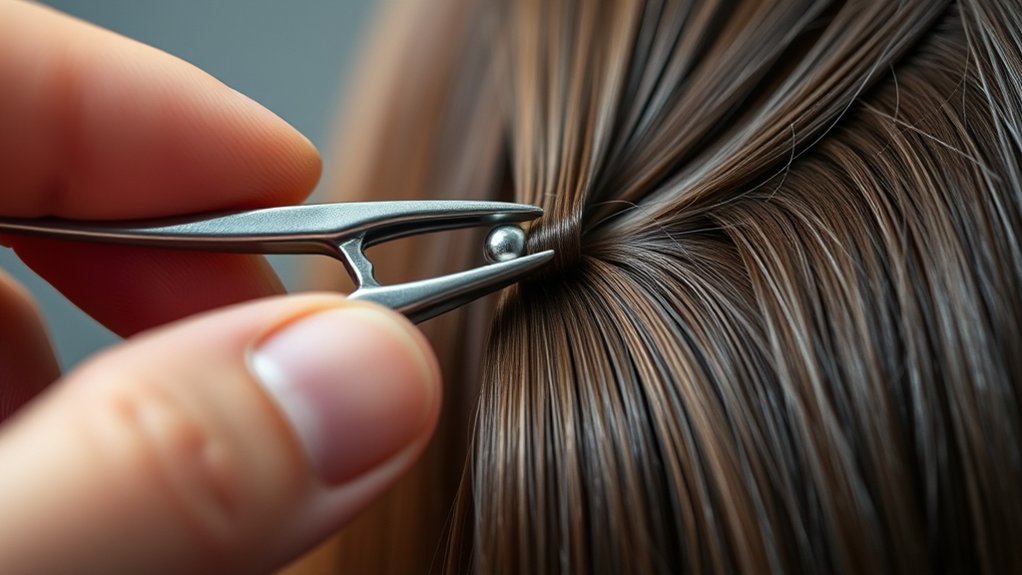
Grip the beads securing your hair extensions firmly with pliers designed for this purpose. Identify the extension types, as micro bead or loop extensions require different handling, so confirm compatibility before proceeding.
Position the pliers to gently squeeze the bead, avoiding excessive pressure that might damage your natural hair. Slowly compress the bead until it loosens, then carefully slide the extension strand out.
Repeat this removal technique bead by bead, working methodically from one side to the other. Keep your hands steady and avoid pulling, as abrupt force can cause breakage.
Always use pliers specifically made for extension removal to guarantee precision and safety. Following these removal techniques assures the integrity of both your natural hair and the extensions, making the process efficient and damage-free.
Handling Stubborn Bonds and Beads Safely
When you encounter stubborn bonds or beads, first identify the type to choose the safest removal method. Use specialized tools and gentle techniques to avoid damaging your natural hair.
Patience and precision are key to loosening these attachments without causing breakage.
Identifying Stubborn Bond Types
Although many hair extension bonds release easily with standard removal methods, some stubborn bond types require extra care to avoid damage. You need to first identify the bond types, such as keratin bonds, micro rings, or fusion beads, as each presents unique removal challenges.
Keratin bonds can harden firmly, making them tough to break without proper tools. Micro rings and fusion beads may be clamped tightly, risking hair breakage if removed incorrectly. Recognizing these bond types helps you anticipate difficulty and adjust your approach accordingly.
Always inspect the bonds closely before starting removal to determine their material and attachment style. This initial assessment minimizes the risk of damaging natural hair and guarantees you apply the safest, most effective method for handling stubborn bonds and beads.
Techniques For Safe Removal
Because stubborn bonds and beads require careful handling, you should always use specialized tools designed for their removal to prevent hair damage. Follow strict safety precautions and prioritize extension maintenance by gently manipulating bonds with pliers made for extensions. Avoid forcing or pulling to reduce breakage risk.
| Step | Tool Needed | Safety Precautions |
|---|---|---|
| Identify bond | Magnifying glass | Guarantee good lighting |
| Apply remover | Extension solvent | Use gloves to protect skin |
| Gently loosen | Precision pliers | Work slowly to avoid hair stress |
| Remove bead | Bead remover tool | Avoid sharp force |
| Clean residue | Soft cloth | Use mild cleanser for scalp |
This method guarantees safe, damage-free removal while preserving your hair and extensions.
Avoiding Damage to Your Natural Hair During Removal
To protect your natural hair during extension removal, you’ll need to handle each step with care and patience. Begin by gently loosening bonds with pliers designed for extensions, avoiding excessive force that can stress your hair shafts. Always work section by section, supporting your scalp and hair roots to prevent breakage.
Maintain good hair care by keeping strands moisturized before and after removal, which supports extension health and natural hair strength. Use a detangling spray to ease separation and reduce tugging. Avoid pulling or yanking extensions, as this can cause tension and damage follicles.
After removing all extensions, thoroughly cleanse your hair and scalp to remove residue and restore natural oils. Prioritize gentle handling throughout to safeguard your hair’s integrity during this delicate process.
When to Seek Professional Help for Removing Extensions
If you encounter any difficulty loosening bonds or feel resistance when removing extensions, it’s best to consult a professional. Knowing when to consult an expert is essential to prevent damage.
Signs of distress include persistent pulling, hair breakage, scalp irritation, or extensions that won’t budge despite careful attempts. Professionals have specialized tools and expertise to safely release bonds without harming your natural hair.
Don’t risk worsening the situation by forcing removal, which can lead to hair loss or scalp injury. If you notice redness, swelling, or pain during removal, stop immediately and seek professional help.
Forcing extension removal can cause hair loss or scalp injury; stop if you feel pain and seek professional help immediately.
Prioritize your hair’s health by recognizing these signs of distress and understanding when to consult. Your safety and hair integrity depend on it.
Cleaning and Storing Your Pliers After Use
One essential step after removing hair extensions is thoroughly cleaning and properly storing your pliers to maintain their functionality and hygiene. Start by wiping off any adhesive residue with a soft cloth dampened in isopropyl alcohol, making sure you avoid water to prevent rust.
Use a small brush to clear debris from the joints. Follow these cleaning tips regularly to extend your tool’s lifespan and guarantee safe use. After cleaning, dry your pliers completely.
For storage solutions, keep them in a dry, cool place, ideally in a protective case or pouch to prevent damage and contamination. Avoid leaving pliers exposed to moisture or direct sunlight. Proper cleaning and storage safeguard your investment and assure peak performance every time you remove extensions.
Caring for Your Hair After Extension Removal
Properly caring for your hair after extension removal is essential to restore its health and prevent damage. Begin your post removal care by gently detangling your hair with a wide-tooth comb to avoid breakage.
Wash your hair using a sulfate-free, moisturizing shampoo to cleanse without stripping natural oils. Follow with a deep conditioning treatment to replenish moisture and improve hair hydration.
Avoid heat styling tools for at least a week to reduce stress on your hair shaft. Additionally, use a leave-in conditioner or hair oil to maintain hydration and protect your hair from environmental damage.
Regularly trim split ends to promote healthy growth. By following these precise steps, you’ll support your hair’s recovery, ensuring it remains strong and vibrant after the extension removal process.
Conclusion
Removing hair extensions with pliers is like carefully untying a knot—patience and precision protect what’s precious beneath. By following each step mindfully and applying gentle pressure, you’ll safeguard your natural hair while freeing it from bonds.
Remember, your hair is the foundation; treat it with respect to keep it strong and healthy. When in doubt, don’t hesitate to seek professional help.
With careful care, you’ll restore your hair’s natural beauty safely and confidently. Always approach removing hair extensions with pliers gently to ensure the best results.