If you’re dealing with a stuck drill bit in your Hyper Tough drill, you know how frustrating it can be.
The key to removing the drill bit from Hyper Tough tools is to approach the problem methodically—starting with safety and understanding why the bit jammed in the first place.
Once you pinpoint the cause, you can apply the right techniques and tools to free it without damaging your drill or the bit.
There are a few critical steps you’ll want to contemplate before trying to force it out.
Taking your time and following a careful process will save you from potential damage and extra costs down the line.
Quick Steps to Remove a Stuck Drill Bit From a Hyper Tough Drill
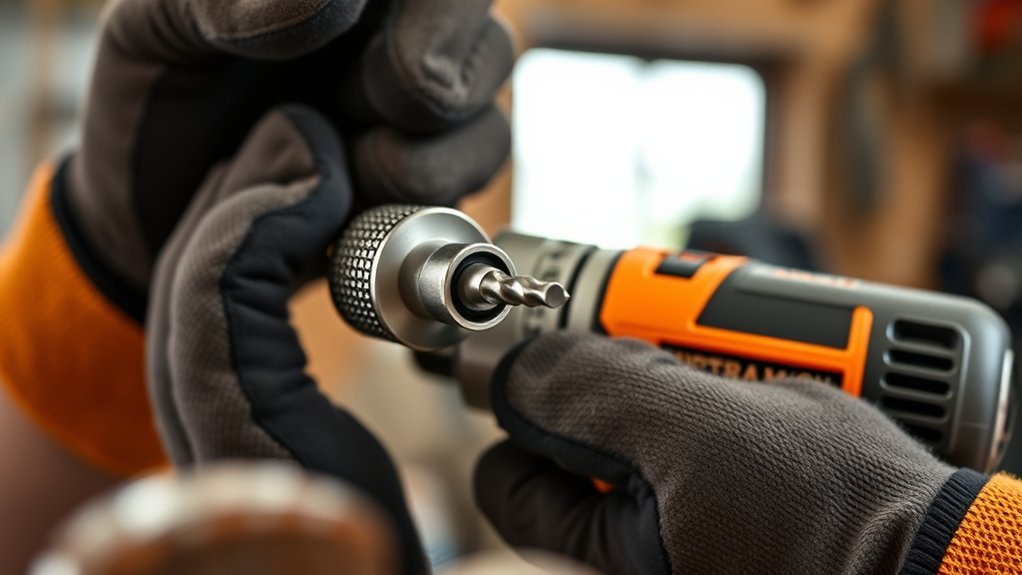
Start by unplugging your Hyper Tough drill or removing its battery to secure safety. Proper drill maintenance begins with securing the tool before attempting bit removal.
Grip the chuck firmly and rotate it counterclockwise to loosen the drill bit. If the bit resists, use a pair of pliers for additional leverage, gripping the bit close to the chuck.
Avoid excessive force to prevent damage to the chuck or bit. Once loosened, carefully pull the bit free.
Inspect the drill and chuck for debris or damage before inserting a new bit. Regular cleaning during drill maintenance prevents bits from sticking and simplifies bit replacement.
Following these steps guarantees efficient, safe removal of stuck bits and prolongs your Hyper Tough drill’s operational life.
Identify Why Your Hyper Tough Drill Bit Is Stuck
Several common causes can make your Hyper Tough drill bit stuck, and identifying the exact reason helps you apply the correct solution. First, the drill bit may be jammed due to debris or material buildup in the chuck. Second, over-tightening the chuck can cause excessive grip, preventing release.
Third, the drill bit itself might be bent or damaged, causing it to wedge tightly. Fourth, corrosion or rust on the bit or chuck can create resistance. To diagnose, inspect the chuck and drill bit carefully for visible debris, damage, or rust.
Check if the chuck feels overly tight or stiff. Pinpointing these common causes guarantees you address the root issue effectively and avoid further damage during removal. Understanding why your drill bit is stuck is essential before proceeding.
Use Tools to Loosen a Stuck Drill Bit
Choose a wrench that fits your drill bit’s shank snugly to avoid slipping. Apply penetrating oil to reduce friction and loosen rust or debris. Then, use pliers to grip the bit firmly while turning to free it safely.
Selecting Proper Wrench Size
How do you determine the right wrench size to effectively loosen a stuck drill bit? First, identify the wrench types suitable for your drill bit, typically adjustable or open-end wrenches. Accurate size measurement is vital to avoid damaging the bit or tool.
Follow these steps:
- Measure the nut or hex part of the drill bit chuck with a caliper or ruler.
- Compare the measurement to standard wrench sizes, usually in millimeters or inches.
- Select a wrench that matches the measurement closely; an adjustable wrench provides flexibility but may slip if not tightened properly.
- Test the fit by applying slight pressure, guaranteeing a snug grip without excessive force.
Choosing the correct wrench size guarantees effective leverage while preventing stripping or rounding the drill bit components.
Applying Penetrating Oil
When a drill bit is stuck, applying penetrating oil loosens rust and debris, making removal easier. Choose the right penetrating oil type, such as aerosol, liquid, or gel, based on the bit’s location and material. Apply oil precisely to avoid excess mess and guarantee deep penetration.
Use a small brush or spray nozzle for accuracy. Allow the oil to sit for 10–15 minutes to maximize effectiveness before attempting removal.
| Penetrating Oil Types | Application Tools | Recommended Wait Time |
|---|---|---|
| Aerosol Spray | Spray Nozzle | 10-15 minutes |
| Liquid | Small Brush | 15 minutes |
| Gel | Applicator Brush | 20 minutes |
| Multi-Purpose Oils | Dropper | 10 minutes |
Following these application techniques improves your chances of loosening the stuck bit efficiently.
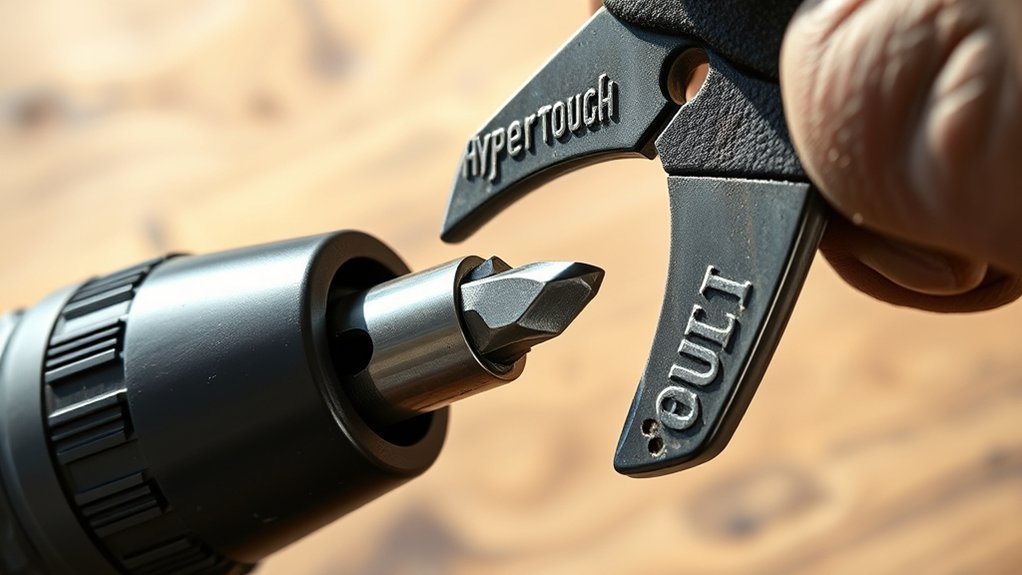
Using Pliers for Grip
Pliers provide a strong grip to help you twist and extract a stuck drill bit that won’t budge by hand. To effectively use the pliers technique, follow these steps:
- Select needle-nose or locking pliers with sufficient grip strength to avoid slippage.
- Firmly clamp the pliers onto the drill bit’s shank closest to the chuck.
- Apply steady, controlled torque by twisting the pliers counterclockwise to loosen the bit.
- Maintain a secure hold throughout the process to prevent rounding or damaging the drill bit.
Using pliers enhances your grip strength and leverage, allowing you to overcome resistance caused by rust or debris. Always verify the pliers are properly aligned to avoid deforming the bit, which could complicate removal.
Adjust the Hyper Tough Drill Chuck to Free the Bit
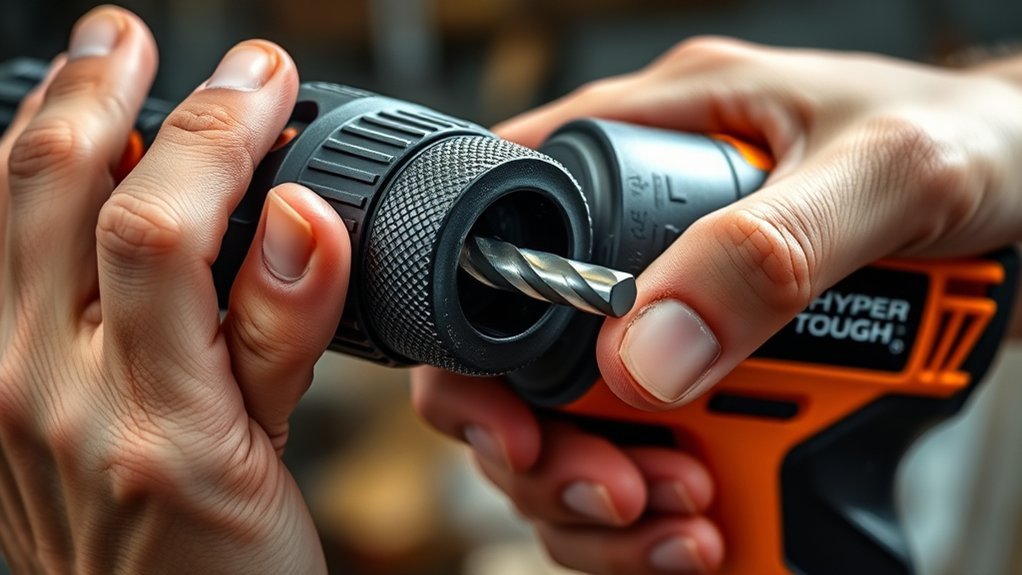
Loosen the Hyper Tough drill chuck by rotating its outer sleeve counterclockwise. This action initiates chuck adjustment, a critical step in drill maintenance for freeing a stuck bit. Apply steady force to avoid damaging the chuck teeth or the drill bit shank.
Rotate the Hyper Tough drill chuck’s outer sleeve counterclockwise with steady force to safely loosen and adjust the chuck.
If the sleeve doesn’t rotate easily, avoid excessive force to prevent stripping the mechanism. Continue turning until the jaws inside the chuck expand enough to release the drill bit.
Once loosened, grip the bit firmly and pull it out while maintaining the chuck in the loosened state. After removal, inspect the chuck and bit for wear or debris, as regular drill maintenance guarantees smooth chuck adjustment and prolongs tool life.
Proper chuck adjustment prevents bit slippage during operation.
Apply Lubricants and Penetrating Oils to Release the Bit
You’ll want to select a lubricant or penetrating oil designed to break down rust and corrosion without damaging your drill. Apply the oil directly to the bit and chuck interface, allowing it to penetrate for at least 10-15 minutes to maximize effectiveness.
Proper timing guarantees the lubricant loosens the bit, making removal easier and reducing wear on your tool.
Choosing Proper Lubricants
How do you effectively free a stuck drill bit? Choosing the proper lubricant type is critical. You want a lubricant that reduces friction and penetrates tight spaces without damaging the tool or material. Consider these points:
- Select a light oil for minimal resistance and quick penetration.
- Use synthetic lubricants for high-performance tasks requiring temperature stability.
- Avoid thick greases; they may hinder penetration in tight gaps.
- Prioritize lubricants compatible with metal surfaces to prevent corrosion.
Proper application techniques matter. Apply the lubricant directly onto the bit and surrounding chuck area, allowing it to seep in. Let it sit briefly to maximize effectiveness before attempting removal. This guarantees the lubricant reaches the binding surfaces, easing extraction without causing damage.
Applying Penetrating Oils
After selecting the appropriate lubricant, apply penetrating oil directly to the stuck drill bit and the chuck area. Choose penetrating oil types designed for metal loosening, such as those containing mineral spirits or synthetic oils, to guarantee deep infiltration into tight spaces.
Use precise application techniques. Employ a narrow nozzle or dropper to target the interface between the drill bit shank and chuck jaws. Avoid over-application, which can cause mess and reduce effectiveness.
Allow the oil to seep in, promoting corrosion breakdown and reducing friction. Reapply if necessary, focusing on areas showing visible rust or grime buildup.
This method loosens seized components without damaging the drill or bit, preparing them for easier removal. Proper application of penetrating oil is crucial for restoring mobility in stuck drill bits efficiently.
Timing and Effectiveness
Although applying penetrating oil is essential, the timing considerably influences its effectiveness in releasing a stuck drill bit. To optimize your results, use precise timing techniques that guarantee the lubricant fully penetrates the joint before attempting removal.
Effectiveness measures depend on allowing sufficient dwell time and reapplying as needed. Follow these steps:
- Apply penetrating oil directly to the bit-shaft junction.
- Wait 10-15 minutes to let the oil seep into tight spaces.
- If the bit remains stuck, reapply and wait another 10 minutes.
- Use gentle twisting after the waiting period to test looseness.
Employing these timing techniques maximizes the lubricant’s ability to reduce friction and corrosion, improving your chance of safely releasing the drill bit without damage.
Mistakes to Avoid When Removing a Stuck Drill Bit
When you face a stuck drill bit, rushing to force it out can cause damage to both the bit and the drill. One of the most common errors is applying excessive torque, which may strip the chuck or break the bit.
Avoid using inappropriate tools like pliers that can deform the bit or chuck components. Neglecting safety precautions, such as wearing gloves and eye protection, increases injury risk during extraction.
Another mistake is ignoring lubrication; applying penetrating oil before attempting removal reduces friction and eases the process. Additionally, failing to disconnect the drill from power before working on it can cause accidental activation.
Prevent Stuck Drill Bits in Your Hyper Tough Drill
To prevent stuck drill bits in your Hyper Tough drill, you should regularly clean and lubricate the chuck to maintain smooth operation. Consistent preventive maintenance and proper drill care reduce friction and corrosion, minimizing the risk of bits seizing.
Regularly cleaning and lubricating your Hyper Tough drill’s chuck helps prevent stuck drill bits.
Follow these steps:
- Remove debris from the chuck after each use with a brush or compressed air.
- Apply a light machine oil or lubricant to the chuck’s moving parts monthly.
- Verify drill bits are properly inserted and tightened without over-torquing.
- Use drill bits appropriate for the material to avoid excessive resistance and heat buildup.
When to Get Professional Help for a Stuck Drill Bit
If you can’t loosen a stuck drill bit after trying standard removal methods, it’s time to seek professional help. Attempting excessive force or improper techniques may damage your Hyper Tough drill’s chuck or internal components.
Professional services specialize in drill repair and have the tools and expertise to safely extract the bit without causing further harm. They can also inspect your drill for underlying issues that contributed to the bit getting stuck.
Avoid risking permanent damage or voiding warranties by relying on amateurs. Promptly contacting certified technicians guarantees effective removal and restores your drill’s functionality.
Use professional services when the bit resists extraction beyond reasonable effort, or if you notice unusual noises, grinding, or mechanical resistance during removal attempts. Prioritize safety and drill longevity by trusting qualified drill repair experts.
Conclusion
Removing a stuck drill bit from your Hyper Tough drill is essential, as 60% of tool jams result from debris or rust buildup. Always start by unplugging or removing the battery, then loosen the chuck counterclockwise.
Use pliers or penetrating oil if needed, but avoid excessive force to prevent damage. Regular maintenance and cleaning can reduce stuck bits, saving time and frustration.
If the bit remains stuck, don’t hesitate to seek professional help to avoid costly repairs. Properly removing a drill bit from Hyper Tough tools ensures your drill stays in good working condition.