If you need to remove a bathtub drain stopper with pliers, start by identifying the type of stopper you have. This is important because different stoppers require different removal techniques.
Next, gather the right tools, including a pair of pliers with a firm grip. Apply steady pressure to avoid damaging the drain or the stopper itself.
Sometimes the stopper can be stubborn, so be patient and use the correct technique. Knowing the proper approach will save you time and prevent potential plumbing issues down the line.
Here’s what you need to do next.
Identify Your Bathtub Drain Stopper Type
Before you can remove your bathtub drain stopper, you need to identify its type. There are several common types of stoppers: lift-and-turn, push-and-pull, toe-touch, and trip lever. Each design requires a different removal approach.
Lift-and-turn stoppers have a visible knob you twist; push-and-pull stoppers operate by pushing down and pulling up. Toe-touch stoppers work with a simple press, while trip lever stoppers connect to an external lever.
Knowing your stopper type helps you avoid common issues like stripped screws or stuck components. Examine your stopper closely for screws or visible mechanisms. This step guarantees you apply the right technique, preventing damage to the drain assembly and making the removal process smoother and more efficient.
Gather Tools and Prepare Your Workspace
Gather at least five essential tools to guarantee a smooth removal of your bathtub drain stopper. Begin by selecting pliers, a screwdriver set, an adjustable wrench, a flashlight, and a cleaning cloth. Your tool selection should cover different stopper types and potential fasteners.
Next, focus on workspace organization. Clear the area around the bathtub to provide unobstructed access and prevent tool loss. Lay a protective mat or towels to catch debris and protect surfaces.
Clear the bathtub area and use mats or towels to protect surfaces and catch debris during removal.
Arrange your tools within easy reach to maintain efficiency during the process. Good lighting is vital, so position your flashlight or confirm adequate room lighting. Proper workspace organization minimizes interruptions and enhances safety while you work.
This preparation assures you’re ready to proceed confidently with the removal task.
How to Remove Your Bathtub Drain Stopper Using Pliers
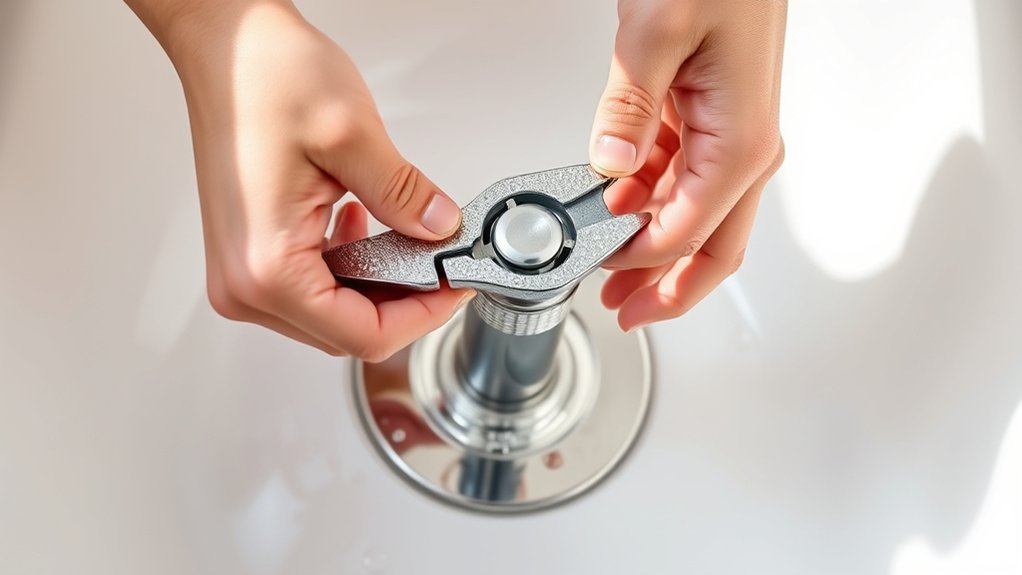
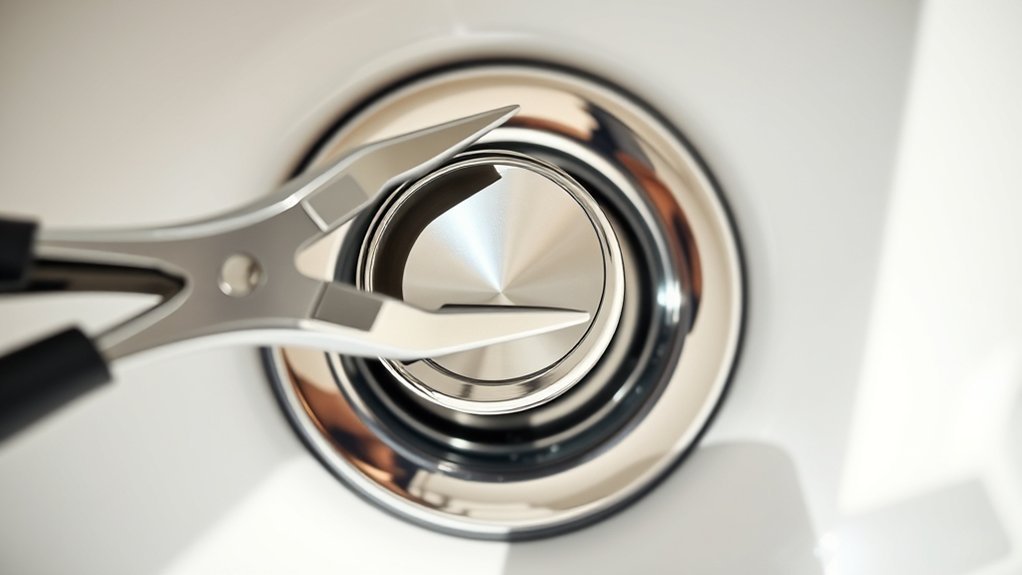
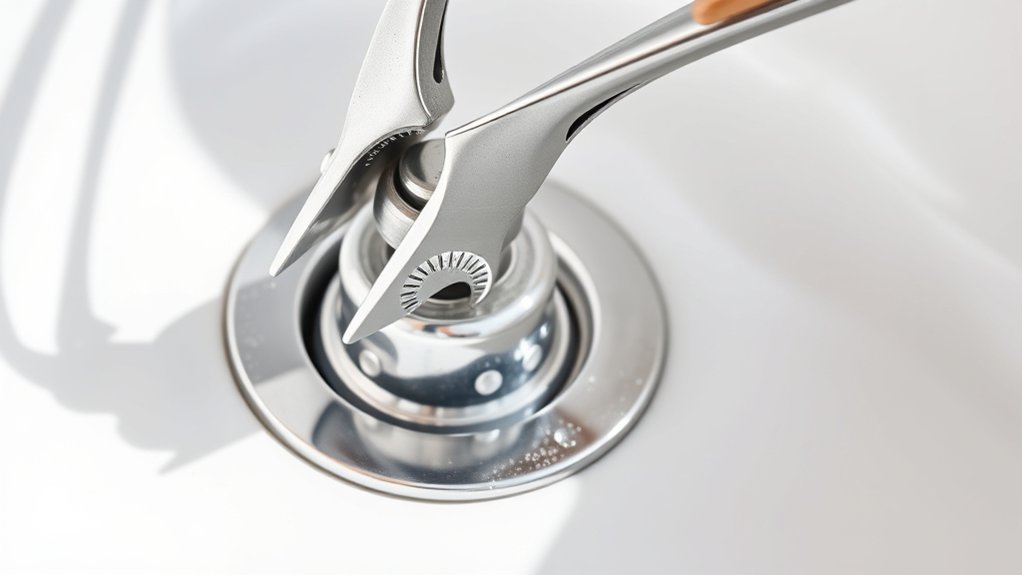
Grip the drain stopper firmly with pliers, ensuring you have a steady hold to prevent slipping. Twist counterclockwise to unscrew the stopper; if it resists, apply steady pressure without forcing to avoid damage.
Removing the stopper is key for effective bathtub maintenance and prevents plumbing issues.
| Emotion | Action | Result |
|---|---|---|
| Frustration | Hold tightly with pliers | Secure grip |
| Confidence | Twist counterclockwise | Stopper loosens |
| Relief | Remove stopper | Access drain for cleaning |
| Satisfaction | Complete task | Improved bathtub function |
| Caution | Avoid forcing | Prevent plumbing damage |
Use these plumbing tips to maintain your bathtub efficiently and avoid costly repairs.
Troubleshooting: Removing Stubborn Bathtub Drain Stoppers Safely
If the drain stopper won’t budge after twisting with pliers, it’s time to apply alternative methods carefully. Removing a stubborn stopper requires patience and strict safety precautions to avoid damage or injury.
- Lubricate the mechanism: Apply a penetrating oil around the stopper’s base to loosen corrosion or buildup. Let it sit 10-15 minutes.
- Use gentle tapping: Lightly tap around the stopper with a rubber mallet to break any mineral deposits holding it in place.
- Apply steady, controlled force: Instead of sudden pulls, use gradual pressure with pliers, ensuring you don’t slip or damage the drain.
Always wear gloves and eye protection. Avoid excessive force that could crack the tub or strip threads. Following these steps will help you safely remove that stubborn stopper.
Clean and Replace Your Bathtub Drain Stopper After Removal
Begin by thoroughly cleaning the bathtub drain stopper to remove soap scum, mineral deposits, and grime that could affect its function. Use effective cleaning techniques like soaking in vinegar or applying a baking soda paste to dissolve buildup. Scrub gently with a brush to avoid damaging the stopper’s surface.
Inspect the stopper for wear or corrosion; if damaged, consider replacement options to guarantee proper drainage and sealing. When selecting a replacement, match the type and size to your existing drain assembly for compatibility.
After cleaning or replacing, reinstall the stopper securely, testing its operation to confirm smooth movement and water retention. Regular maintenance through proper cleaning techniques will prolong the stopper’s lifespan and prevent frequent replacements, keeping your bathtub drain functioning efficiently.
Conclusion
Now that you’ve successfully removed your stubborn stopper, stay smart by servicing it regularly to sidestep serious stoppages. Use pliers properly, applying steady pressure and patience to prevent damage. Remember, lubricating and lightly tapping can swiftly solve sticky situations without strain.
Keeping your drain clean and correctly maintained certainly saves stress and spares costly repairs. Stay sharp, stay safe, and support smooth, seamless shower sessions every time you step in. Proper use of pliers is key when you want to remove bathtub drain stopper effectively.