You might not realize it, but poorly organized drill bits can slow down your work by up to 30%.
Organizing drill bits by size and type helps you cut down search time and prevent damage. Proper storage also extends their lifespan, saving you money over time.
If you’re ready to improve efficiency and protect your tools, the next steps will show you exactly how to set up a system that works.
How Organizing Drill Bits Saves You Time
When you organize your drill bits, you cut down the time spent searching for the right size and type. This simple step directly improves your time management by reducing downtime during projects.
Instead of rummaging through a cluttered toolbox, you quickly locate the bit you need, maintaining workflow momentum. An organized system boosts efficiency by allowing you to focus on the task rather than the tools.
Properly stored bits also prevent damage and loss, ensuring consistent performance and availability. By streamlining access, you minimize interruptions, leading to faster project completion and less frustration.
Sort Drill Bits by Size, Type, and Use Frequency
Although it may seem straightforward, sorting drill bits by size, type, and use frequency greatly streamlines your workflow. Begin by grouping bits into clear size categories: small, medium, and large, based on your most common applications.
Next, separate them by type, such as twist, spade, or masonry bits, to avoid confusion and speed selection. Finally, analyze your usage patterns and position frequently used bits in easily accessible spots. This method reduces search time and prevents damage from improper storage.
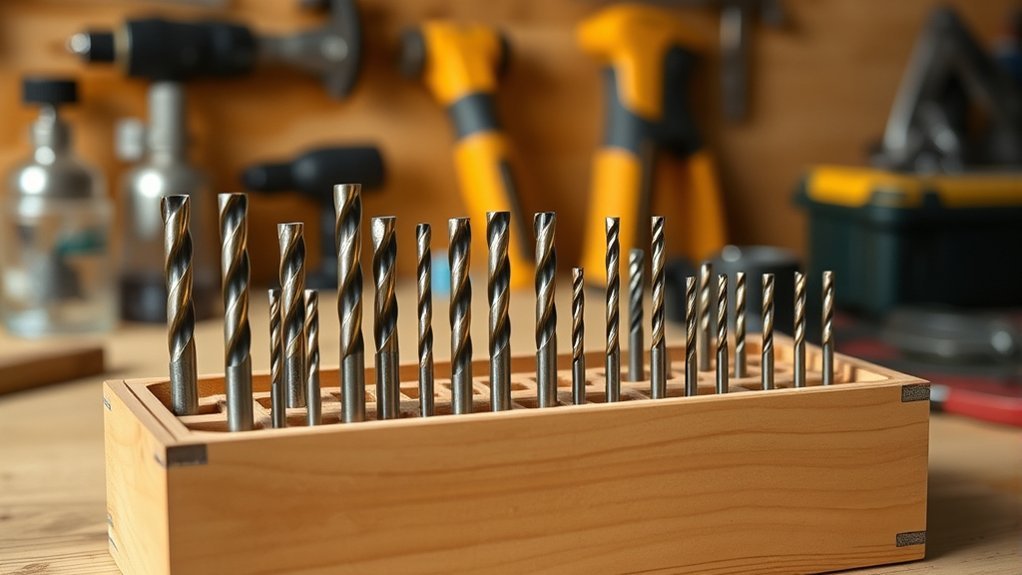
Choose Holders and Cases for Drill Bit Access
Selecting the right holders and cases directly impacts how quickly you access your drill bits and maintain their condition. Choose drill bit holders designed for your bit sizes to prevent damage and simplify selection.
Plastic or metal holders with labeled slots keep bits organized and secure. Magnetic strips offer a space-saving solution, holding bits firmly while providing instant visibility. Mount magnetic strips near your workstation for quick grab-and-go access, especially for frequently used bits.
When selecting cases, prioritize sturdy materials with foam or molded compartments to minimize movement and protect sharp edges. Compact cases with clear lids let you identify bits without opening them.
Build Creative DIY Drill Bit Organizers at Home
Gather basic materials like wood, foam, or magnetic strips before you start building your drill bit organizer. Follow a clear step-by-step assembly process to guarantee each bit fits securely and stays accessible.
This hands-on approach lets you customize storage for your specific drill bit sizes and workspace.
Materials Needed
To build effective DIY drill bit organizers at home, you’ll need a few essential materials that balance durability and ease of use. Start with quality storage materials like plywood or medium-density fiberboard (MDF) for a sturdy base.
Acrylic sheets or plastic bins work well for transparent compartments, letting you quickly identify drill bits. Consider foam inserts or rubber strips to secure drill bit materials without damage.
Small magnets can hold metal bits firmly in place, preventing movement. For labeling, use adhesive vinyl or waterproof markers to keep your organizer clear and organized.
Finally, basic hardware such as screws, nails, and wood glue will guarantee a solid assembly. Choosing these practical materials guarantees your DIY organizer lasts and protects your drill bits efficiently.
Step-by-Step Assembly
With your materials ready, you can start assembling your drill bit organizer step by step. Begin by measuring and marking the baseboard to accommodate various drill bit types, ensuring you allocate space for both standard and specialty bits.
Next, drill evenly spaced holes or slots according to diameter to secure bits firmly. Attach dividers or separators to prevent mixing different sizes, enhancing your storage solution’s functionality.
Use screws or adhesive to fix components securely, maintaining stability during use. Finally, label each section clearly to streamline identification and retrieval of drill bits.
This systematic approach creates a practical storage solution that protects your bits and improves your workspace efficiency, keeping all drill bit types organized and accessible.
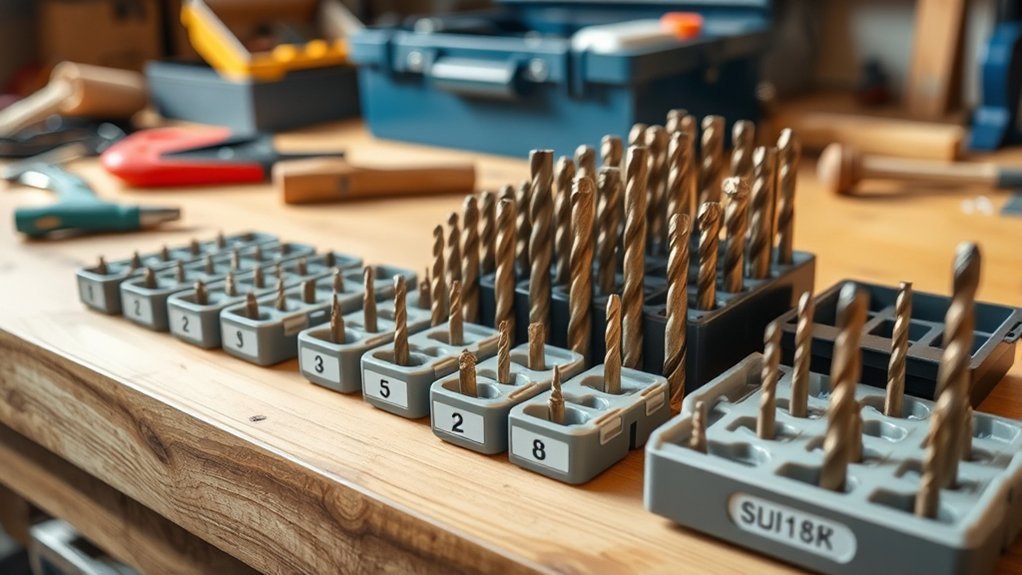
Label Drill Bits for Fast Size Identification

Anyone working with drill bits knows how frustrating it can be to search for the right size. Labeling your drill bits clearly speeds up this process and reduces errors.
Use size tags and color coding to organize bits efficiently. Here’s how you can do it:
- Attach size tags directly on the bit holder or storage case.
- Use a consistent color coding system to differentiate size ranges.
- Apply durable, weather-resistant labels for longevity.
- Arrange bits in ascending or descending order based on size.
Implementing these steps guarantees you quickly identify the right drill bit without wasting time. Clear labeling minimizes interruptions during projects and helps maintain a professional workspace.
Store Drill Bits Safely to Prevent Damage
Clear labeling helps you find the right drill bit quickly, but protecting those bits from damage keeps them ready for use. To guarantee longevity, invest in quality drill bit storage solutions like protective cases that prevent dulling and chipping.
Store bits individually or in compartments designed to hold each size securely, minimizing contact and friction. Avoid tossing bits loosely into drawers, as this leads to wear and potential breakage.
Use cases with foam inserts or molded plastic trays to absorb shocks during transport or storage. Keep storage containers in a dry environment to prevent rust, and wipe bits clean before storing to remove debris and moisture.
Proper drill bit storage not only preserves cutting edges but also maintains accuracy and efficiency on every job.
Keep Your Most Used Drill Bits Within Reach
Because you often need quick access during projects, keeping your most used drill bits within reach saves time and improves workflow. Position your drill bit racks and magnetic holders near your workspace to eliminate unnecessary searching. This setup minimizes interruptions and keeps your focus sharp.
To optimize accessibility, consider:
To optimize accessibility, mount racks, use magnetic holders, group bits by size, and keep frequently used ones portable.
- Mounting drill bit racks on walls or workbench edges for visible storage
- Using magnetic holders to secure bits for fast grab-and-go
- Grouping bits by size and type to speed identification
- Keeping frequently used bits in a small, portable case for mobility
Implementing these strategies guarantees your essential bits stay organized and ready, streamlining your drilling tasks without sacrificing efficiency or safety.
Keep Your Drill Bits Sharp and Lasting Longer
Keeping your drill bits within easy reach is just one part of efficient tool management. To keep them sharp and lasting longer, adopt regular maintenance routines and sharpening techniques.
Clean bits after use to prevent buildup. Use a bench grinder or specialized sharpener to maintain the cutting edge, avoiding overheating which can reduce hardness.
| Maintenance Task | Frequency | Purpose |
|---|---|---|
| Cleaning | After each use | Remove debris, prevent rust |
| Inspecting | Weekly | Check for dullness or damage |
| Sharpening | As needed | Restore cutting edge |
| Proper Storage | Always | Prevent damage and corrosion |
Follow these steps consistently to extend your drill bits’ lifespan and enhance performance, ensuring efficiency in every project.
Daily Habits to Keep Your Drill Bits Organized
Although maintaining sharp drill bits is essential, developing daily habits to organize them efficiently can save you time and frustration. Integrate simple daily routines that incorporate effective organization tools to keep your drill bits in order and extend their usability.
Sort drill bits by size and type immediately after use. Use labeled storage cases or magnetic strips for quick access. Inspect bits daily for damage or wear during cleanup. Return bits to their designated spots to avoid misplacement.
Conclusion
Organizing your drill bits is like tuning a finely crafted instrument—each piece in its rightful place guarantees precision and efficiency. By sorting, labeling, and storing them thoughtfully, you create a system that protects your tools and sharpens your workflow.
Keep your most-used bits close and inspect them regularly; this care extends their life and saves you time. Treat your drill bits as the keys to your craft, releasing smooth, reliable work every time.
Ultimately, how to organize drill bits effectively ensures that your tools are always ready for action, enhancing both performance and durability.