You might assume measuring a drill bit’s length is straightforward, but accuracy depends on knowing which parts to include.
When you measure a drill bit length, do you consider just the cutting edge, the shank, or the entire bit?
Getting this right is essential for matching your bit to the task and ensuring proper drilling depth.
Understanding the exact method will help you avoid costly errors and improve your project outcomes.
Identify Drill Bit Parts for Accurate Measurement
To measure a drill bit accurately, you first need to identify its key parts: the shank, the flute, and the cutting edge. Understanding drill bit anatomy is vital for measurement accuracy.
The shank is the smooth, cylindrical end that fits into the drill chuck. The flute is the spiral groove running along the bit’s length, responsible for chip removal during drilling. The cutting edge is at the tip, where material is actually cut.
When measuring, you focus on the overall length from the shank’s base to the tip of the cutting edge. Ignoring any part can lead to incorrect measurements.
Tools Needed to Measure Drill Bit Length
Although measuring drill bit length may seem straightforward, using the right tools guarantees accuracy and repeatability. To measure precisely, you’ll need a reliable measuring instrument. Digital calipers offer superior measuring accuracy and ease of reading, making them an excellent choice.
Vernier calipers provide high precision but require careful interpretation of the scale. Dial calipers balance accuracy with simplicity, suitable for quick checks. Choose caliper types based on your comfort and the detail level required.
Additionally, a steel ruler or tape measure can assist with rough measurements but lack the precision needed for technical tasks. Confirm your tools are calibrated and in good condition to maintain consistency. Using proper tools allows you to capture drill bit length measurements accurately, essential for precise machining and fitting applications.
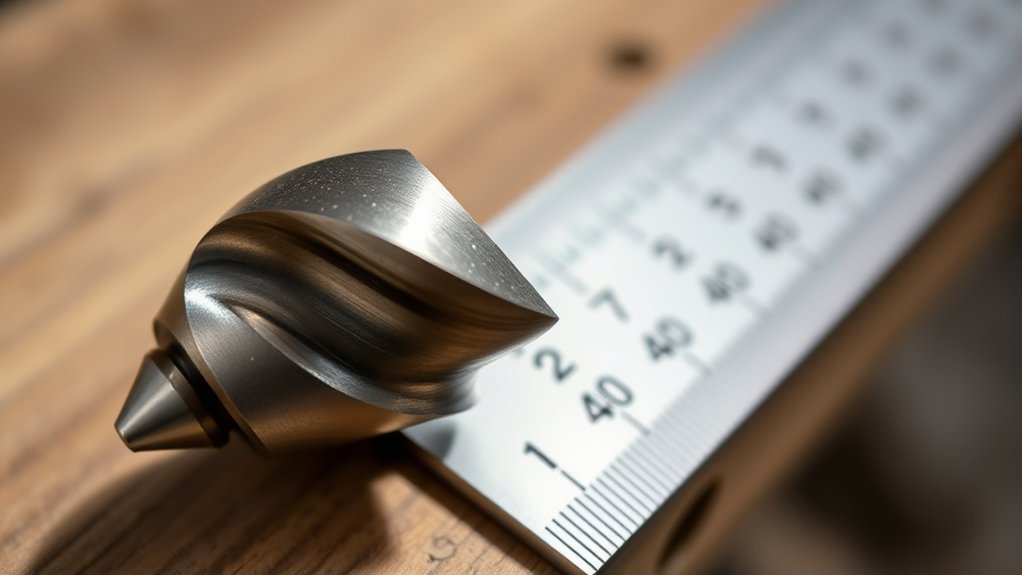
How to Measure Overall Drill Bit Length
To measure the overall drill bit length accurately, you’ll need precise tools like a caliper or ruler. Position the drill bit carefully and use consistent measuring techniques to guarantee reliability.
Keep in mind common tips such as measuring from the tip to the end of the shank and avoiding parallax errors.
Tools Needed
Three essential tools will help you accurately measure the overall length of a drill bit: a caliper, a ruler or tape measure, and a flat surface for consistent alignment. A digital or vernier caliper provides precise measurements, vital for different drill bit types with varying geometries.
A sturdy ruler or tape measure offers a straightforward alternative when calipers aren’t available, though it may sacrifice some measuring accuracy. Using a flat surface, such as a metal block or workbench, guarantees the drill bit lies perfectly straight, eliminating errors caused by uneven positioning.
Together, these tools enable you to capture exact dimensions, regardless of drill bit style, guaranteeing reliable data for tool selection or replacement. Proper preparation with these instruments is key before proceeding to measuring techniques.
Measuring Techniques
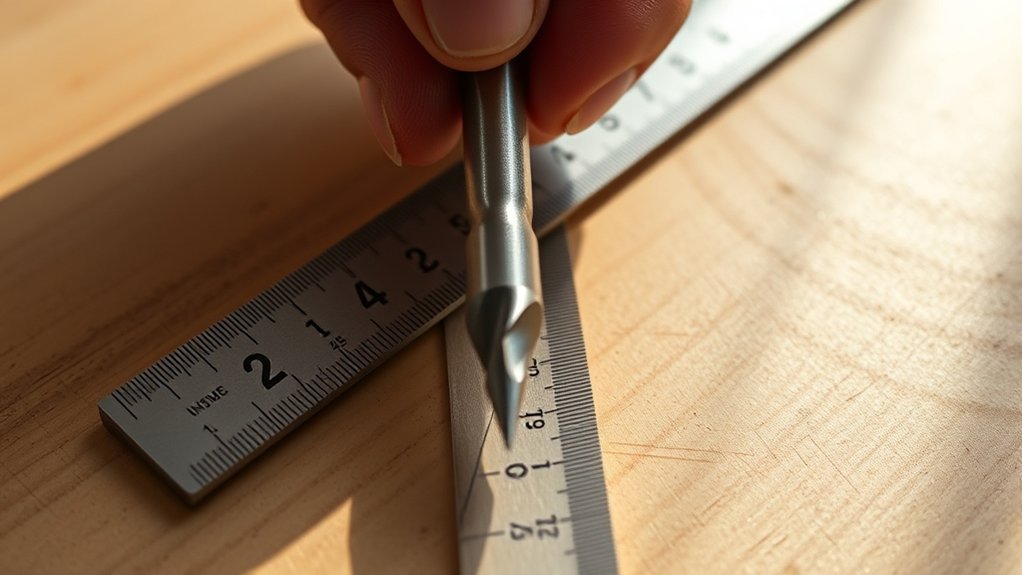
With your caliper, ruler, and flat surface ready, you can begin measuring the drill bit length accurately. Place the drill bit flat against the surface to guarantee stability.
Align the caliper or ruler’s zero mark precisely at the drill bit’s tip. Extend the measuring tool along the bit’s shank to its end, noting the length.
Employ calibration techniques by verifying your measuring tool against known standards before use to maintain accuracy. Adhere to established measurement standards, such as using metric or imperial units consistently.
Measure from the cutting tip to the drill bit’s end, excluding any chuck or holder. This methodical approach guarantees repeatability and precision, vital for selecting the correct drill bit size for your project.
Common Measurement Tips
How exactly should you measure the overall length of a drill bit to guarantee accuracy? First, align the drill bit with a calibrated ruler or digital caliper, confirming the tip and shank ends rest flush against the measuring device.
Always follow established measurement standards, which vary slightly depending on drill bit types. For example, twist drills have different length definitions compared to spade bits.
Keep the bit steady and measure in a well-lit environment to avoid parallax errors.
| Drill Bit Type | Measurement Standard |
|---|---|
| Twist Bit | Tip to end of shank |
| Spade Bit | Tip to end of flat shank |
| Masonry Bit | Tip to end of hardened shank |
Adhering to these tips guarantees consistent, reliable length measurements across all drill bit types.
Measuring Cutting Length for Precise Depth
To measure cutting length accurately, first identify the cutting edges on your drill bit. Use a depth gauge to determine the exact distance from the tip to where the bit stops cutting.
Mark the drill bit surface to guarantee consistent drilling depth for your project.
Identifying Cutting Edges
Although it may seem straightforward, identifying the cutting edges of a drill bit requires careful observation to measure the cutting length accurately. You need to understand cutting edge types and drill bit geometry to pinpoint where the cutting action starts and ends.
The cutting edges are typically the sharp, angled surfaces that remove material. Misidentifying these can lead to inaccurate depth measurements.
| Cutting Edge Type | Drill Bit Geometry |
|---|---|
| Twist Bit | Helical flutes, sharp lips |
| Spade Bit | Flat blade, pointed tip |
| Forstner Bit | Circular rim, center spur |
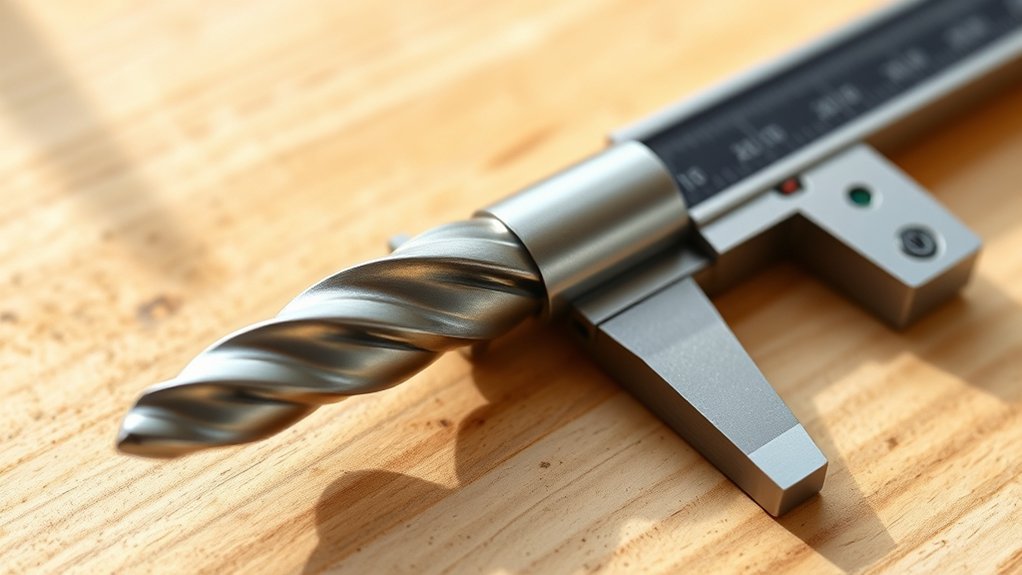
Using Depth Gauges
Recognizing the cutting edges accurately sets the foundation for measuring drill bit length with precision. To measure the cutting length, you’ll rely on depth gauges.
There are several depth gauge types: digital, dial, and vernier, each offering varying degrees of accuracy. Choose a gauge that matches the precision needed for your task.
Position the depth gauge so its base rests firmly against the drill bit’s shank, aligning the measuring probe with the tip of the cutting edge. Read the measurement carefully; digital gauges provide direct readings, while dial and vernier gauges require interpretation.
Ascertain you calibrate the depth gauge before use to maintain depth gauge accuracy. Using these tools methodically reduces errors and guarantees consistent drill bit length measurements.
Marking Drill Bit Surface
When you measure the cutting length accurately, marking the drill bit surface becomes essential for achieving precise drilling depth. Begin by performing thorough surface preparation; clean the drill bit to remove oil and debris, ensuring marking adherence.
Choose an appropriate marking technique based on your tools. Commonly, a permanent marker or a scribe works well. Position the drill bit beside a depth gauge or a calibrated stop, then transfer the measured cutting length onto the bit’s surface.
Apply a clear, distinct mark at the exact depth to avoid ambiguity during drilling. This methodical approach to marking techniques minimizes errors, allowing you to maintain consistent drilling depths across multiple uses.
Always verify the mark before proceeding, ensuring it aligns precisely with your measured cutting length.
Measuring Shank Length and Why It Matters
The shank length of a drill bit directly affects its compatibility with your drill chuck and the stability during operation. To measure shank length accurately, place the drill bit on a flat surface and use a caliper or ruler to measure from the end of the shank to the beginning of the cutting edge.
Understanding shank dimensions is essential because the shank must fit securely in the chuck to prevent slipping and guarantee precise drilling. Incorrect shank length can lead to reduced control, increased wear, and potential damage to both the drill and your workpiece.
Always verify the shank importance in relation to your drill’s chuck specifications before selecting or measuring a bit to maintain peak performance and safety.
Tips for Measuring Unusually Shaped or Sized Drill Bits
Unconventional drill bits, such as spade, auger, or tapered bits, require specialized measuring techniques to ascertain accuracy. When dealing with unusual shapes, start by identifying the longest point on the bit, often the cutting edge or tip, and measure from this point to the end of the shank. Use calipers or a ruler with fine gradations to guarantee precise measurements.
For tapered bits, measure at the widest point and the narrowest, noting both lengths. With auger bits, consider the spiral length separately from the shank. Always hold the bit steady and parallel to the measuring tool to avoid parallax errors.
Document each dimension clearly, as unusual shapes demand detailed records to maintain measurement consistency and avoid errors in application.
Using Drill Bit Length to Choose the Right Bit for Your Project
Selecting the correct drill bit length directly impacts the accuracy and quality of your drilling task. To optimize bit selection strategies, first assess the material thickness and depth requirements of your project.
Choose a bit length that fully penetrates the workpiece without excessive exposure, which can cause instability. Verify project compatibility by matching the bit length to the drill’s chuck capacity and the tool’s power capacity, ensuring safe operation.
Additionally, longer bits suit deep holes but may reduce precision, while shorter bits provide better control for shallow drilling. Measure carefully and consider the hole’s purpose to avoid over- or under-drilling.
Conclusion
By accurately measuring your drill bit length, you ensure precise drilling and avoid costly errors.
Imagine you’re working on a cabinetry project that requires exact hole depths. Measuring both the overall and cutting lengths allows you to select the perfect bit, preventing damage or misalignment.
Use calibrated tools, steady the bit on a flat surface, and document your results consistently. This methodical approach guarantees your drilling matches project specifications every time.
Always remember, careful measurement is key when you measure drill bit length to achieve the best results.