Just as a craftsman chooses the right chisel to shape wood, you need the proper approach to crimp wires with pliers for a secure connection.
Crimping wires with pliers isn’t just about squeezing the tool; positioning, pressure, and preparation all matter.
If you want to avoid weak crimps that cause failures, understanding the step-by-step process and key tips is essential.
Let’s explore how to achieve reliable crimps with nothing more than your pliers and some know-how.
Choose the Right Tools for Crimping Wires
Selecting the right tools is essential when you crimp wires, as using improper equipment can lead to weak connections or damaged components. You must first understand crimping tool types: ratchet, manual, and hydraulic, each designed for specific applications and wire gauges.
Ratchet tools offer consistent pressure, reducing errors, while manual tools suit lighter tasks. Hydraulic tools handle heavy-duty jobs with ease. Pay close attention to wire gauge considerations; using a tool mismatched to your wire size can cause insufficient compression or wire damage.
Verify your tool’s compatibility with the wire gauge and terminal type before starting. Proper tool selection guarantees a secure, reliable crimp, maintaining electrical integrity and preventing future failures. Always consult manufacturer specifications to match your wire gauge with the appropriate crimping tool type.
Decide When to Use Pliers or a Crimping Tool
Although both pliers and crimping tools can secure wire connections, you should choose based on the task’s requirements and wire specifications. Proper tool selection guarantees reliable crimps and prevents damage.
Use pliers when working with soft, low-gauge wires where precision isn’t critical, accessing tight spaces where bulky crimping tools won’t fit, or performing quick, non-critical repairs or temporary connections.
For more consistent crimps, especially with insulated terminals or higher gauge wires, use a dedicated crimping tool. Crimping techniques with these tools apply uniform pressure, guaranteeing ideal electrical and mechanical connections.
Evaluating your wire type, terminal style, and connection demands will guide your choice, helping you achieve professional, secure crimps every time.
Prepare Your Wire Before Crimping
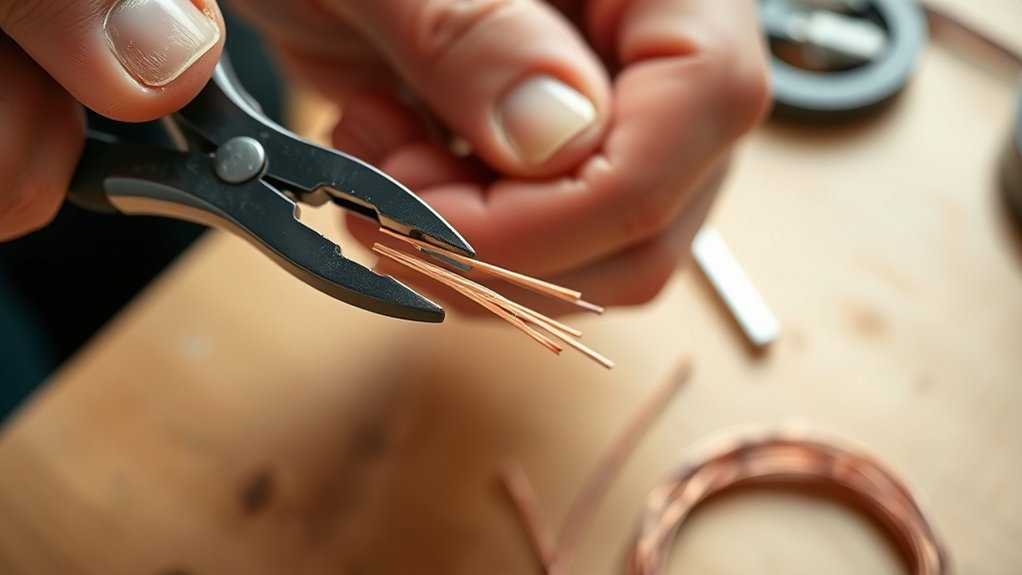
Before you begin crimping, strip the wire insulation carefully to expose the correct length of conductor without nicking the strands. Use a wire stripper sized appropriately for the wire gauge to guarantee clean insulation removal.
Position the wire in the stripper’s notch, apply steady pressure, and pull off the insulation smoothly. Avoid twisting or bending the wire during wire stripping, as this can damage the conductors and compromise the connection.
After insulation removal, inspect the exposed wire for any signs of damage or fraying. Trim stray strands if necessary to create a uniform conductor end. Proper preparation guarantees a secure, reliable crimp and prevents electrical faults.
Accurate insulation removal and careful wire stripping are critical steps to assure effective crimping performance with pliers.
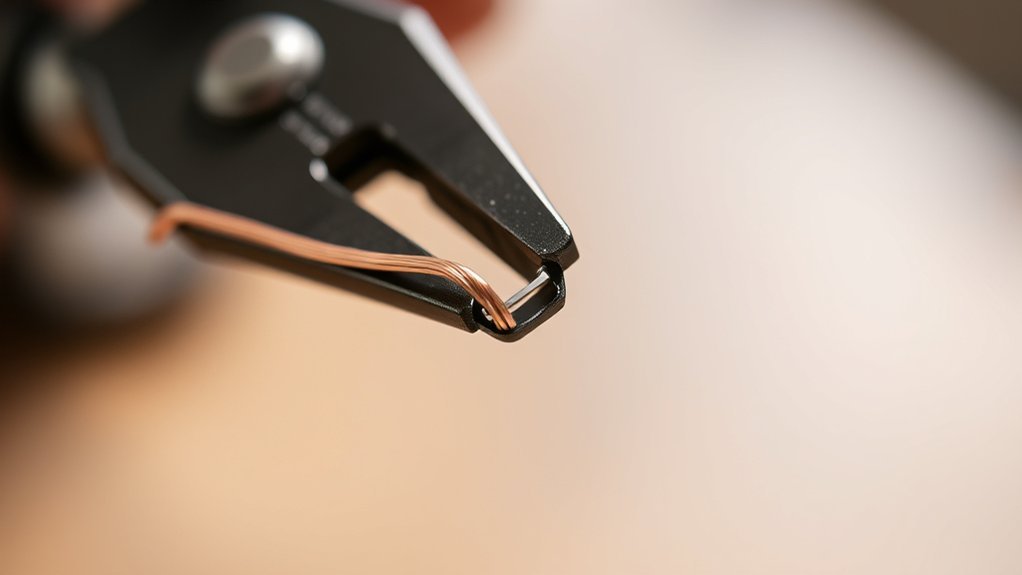
Crimp Wires Step-by-Step Using Pliers
Once you’ve prepared the wire properly, position the stripped conductor into the crimp connector’s barrel, guaranteeing it fits snugly without excess wire protruding. Follow these steps for effective crimping techniques tailored to various wire types:
- Select the appropriate pliers that match your connector size and wire gauge.
- Align the pliers’ jaws around the barrel firmly, avoiding slippage.
- Squeeze the pliers with consistent pressure until the barrel deforms securely around the conductor.
Each wire type, solid, stranded, or braided, requires precise handling to maintain electrical integrity. By applying these steps, you establish a mechanical and electrical bond that prevents loosening or corrosion. Always use tools designed for your specific wire types and connectors to optimize crimp strength and reliability.
Check If Your Wire Crimp Is Secure

After you’ve completed the crimping process, you need to verify that the connection holds firmly and maintains electrical continuity. First, visually inspect the crimp to confirm the metal sleeve fully compresses the wire strands without damage or gaps.
Confirm you used the correct wire gauge slot on your pliers, as improper sizing compromises the crimp’s strength. Next, perform a gentle pull test by tugging the wire; it shouldn’t slip or loosen.
Use a multimeter to check for consistent electrical continuity across the crimped joint. If the wire moves or continuity fails, revisit your crimping technique. Proper alignment, appropriate pressure, and matching wire gauge to the terminal are critical for a secure, reliable connection.
This methodical check guarantees your wire crimp meets safety and performance standards.
Get a Perfect Wire Crimp Every Time: Tips
Mastering five essential techniques can assure you get a perfect wire crimp every time. Focus on these key crimping techniques to guarantee reliability and safety.
- Strip the wire insulation precisely without nicking the conductor; this prevents weak points and assures solid electrical contact.
- Position the wire firmly in the crimp barrel, assuring the conductor sits fully inside without any strands outside.
- Use the correct pliers or crimping tool matched to your connector size to apply uniform pressure, avoiding under or over-crimping.
Avoid These Common Crimping Mistakes
Although crimping wire connectors seems straightforward, several common mistakes can compromise the connection’s integrity and safety. First, avoid applying inconsistent crimping pressure; too little pressure results in a loose connection, while too much can damage the wire strands or deform the connector.
Always use pliers designed for your connector type to maintain proper pressure. Second, never crimp over wire insulation, as this prevents a secure metal-to-metal contact and weakens the electrical connection. Strip the insulation precisely to expose the correct wire length before crimping.
Also, verify the wire is fully inserted into the connector to avoid partial crimps. Finally, inspect each crimp for uniformity and secure fit to prevent failure under load or vibration. Following these guidelines will guarantee safe, reliable crimps.
Wire Connectors for Crimping Wires With Pliers
Selecting the right wire connector is essential for creating a secure and durable crimped joint. When choosing connectors, consider these factors:
- Wire Types: Match connectors to the wire’s material and insulation type to guarantee compatibility and conductivity.
- Connector Sizes: Use connectors sized appropriately for the wire gauge; incorrect sizing can lead to weak crimps or damage.
- Connector Material: Opt for corrosion-resistant materials like copper or tin-plated connectors for longevity.
Before crimping, verify that the connector fits snugly over the stripped wire without gaps. Using pliers, apply firm, even pressure to compress the connector onto the wire, assuring a tight mechanical and electrical connection. Proper selection and application of wire connectors prevent failures and maintain circuit integrity.
Conclusion
Now that you know how to crimp wires with pliers, you’re ready to tackle your wiring projects confidently. Remember, practice makes perfect—getting the right fit and applying consistent pressure guarantees a secure connection every time.
Don’t cut corners; a solid crimp is worth its weight in gold when it comes to safety and reliability. Follow these steps carefully, and you’ll avoid common pitfalls while achieving professional-quality results.
By mastering how to crimp wires with pliers, you ensure both durability and safety in your electrical work. Keep practicing, and your skills will continue to improve with every project.