You might not realize it, but sharpening a drill bit can save you time and money while improving your drilling accuracy.
If your bit starts producing rough holes or you notice it takes more effort to drill, it’s likely time to sharpen.
However, doing it correctly requires the right tools and technique to maintain the bit’s angle and cutting efficiency.
Understanding these details can make the difference between a successful sharpen and a wasted bit.
How To Tell When a Drill Bit Needs Sharpening
How do you know when your drill bit needs sharpening? Monitor drill bit performance closely; if drilling slows notably or requires excessive pressure, it’s a clear sharpening indicator.
Dull bits produce rough, uneven holes and generate more heat, which can damage both bit and material. You might also notice increased vibration or unusual noises during operation.
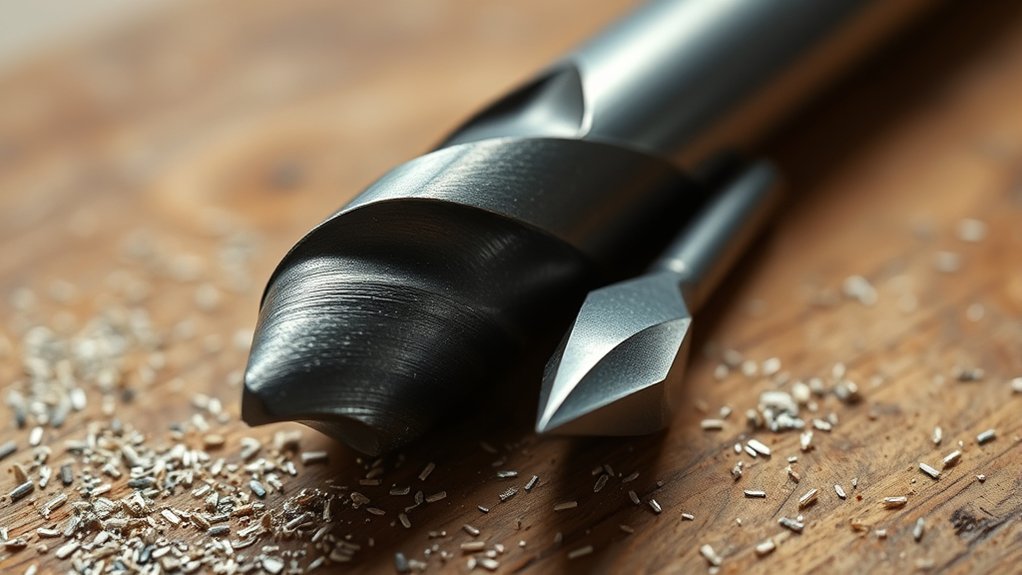
Inspect the cutting edges visually. Rounded or chipped edges signal wear. Additionally, if the bit skids on the surface instead of biting in, sharpening is necessary.
Look for rounded or chipped edges and slipping bits as signs that sharpening is needed.
Regularly evaluating these factors guarantees you maintain ideal drill bit performance, preventing damage and improving efficiency. By recognizing these sharpening indicators early, you save time and material, guaranteeing your drill bit remains safe and effective for precise drilling tasks.
Essential Tools for Sharpening Drill Bits at Home
Recognizing when your drill bit is dull is just the first step; restoring its sharpness requires the right set of tools. For effective drill bit maintenance, you’ll need a sharpening system tailored to your chosen sharpening methods.
A quality bench grinder or a dedicated handheld sharpener provides consistent results, but avoid tools that lack adjustable guides to maintain the correct angle. You’ll also want a fine-grit sharpening stone or diamond file for precise edge refinement.
Safety gear, including eye protection and work gloves, is essential to prevent injury during the process. Additionally, a caliper or gauge can help you measure the bit’s cutting edge angle, ensuring you restore the original geometry accurately.
Equipped with these tools, you can perform consistent, professional-quality sharpening at home.
Bench Grinder or Handheld Sharpener: Which Is Best?
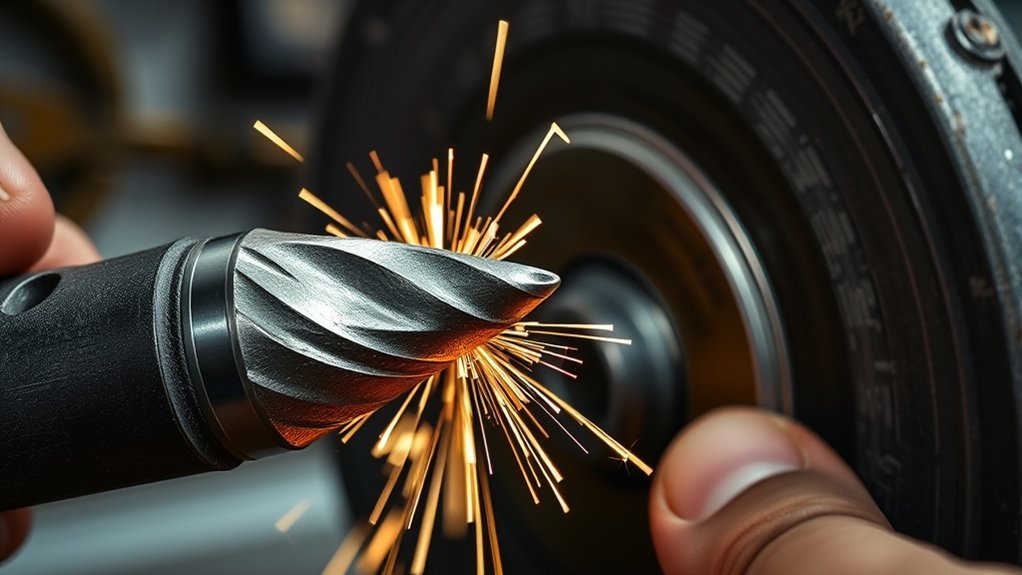
When deciding between a bench grinder and a handheld sharpener, consider the level of control and precision you need for your drill bit sharpening. Bench grinder benefits include consistent grinding speed and the ability to handle larger bits efficiently, making it ideal for frequent or heavy-duty sharpening tasks.
It offers stability, allowing you to maintain proper angles with less effort. On the other hand, handheld sharpener advantages lie in portability and ease of use. They’re perfect for quick touch-ups and smaller bits, providing flexibility when you’re on the go or working in tight spaces.
If accuracy and repeatability are your priorities, a bench grinder is best. However, if convenience and maneuverability matter more, a handheld sharpener will serve you well. Choose based on your specific sharpening frequency and precision needs.
Step-by-Step Guide to Sharpening Drill Bits
To sharpen your drill bits effectively, start by selecting the right sharpening tool, either a bench grinder or a handheld sharpener, based on your precision needs. Next, focus on maintaining the correct drill bit angles, typically 118 to 135 degrees, to guarantee peak cutting performance. Following these steps precisely will restore your drill bits for efficient, clean drilling.
Choosing Proper Sharpening Tools
Although sharpening a drill bit might seem straightforward, selecting the right tools is essential for accuracy and efficiency. Start with sharpening equipment selection: a bench grinder with a fine-grit wheel or a dedicated drill bit sharpener provides ideal control.
Confirm the equipment supports the specific drill bit size and material you’re working with. Tool compatibility considerations matter. Using mismatched tools can damage the bit or yield uneven edges.
If you choose a handheld rotary tool, verify it has appropriate speed settings and compatible grinding attachments. Avoid using coarse wheels that generate excessive heat, which can weaken the bit.
Sharpening Drill Bit Angles
How do you guarantee your drill bit cuts efficiently and lasts longer? By mastering the correct sharpening angles, you maintain ideal drill bit geometry essential for performance.
Start by identifying the original point angle, commonly 118 or 135 degrees, and use a sharpening technique that preserves this angle. Position the bit firmly against the grinding wheel, aligning the chisel edge parallel to the wheel surface.
Apply light pressure to avoid overheating, which can damage the bit’s temper. Ascertain both cutting lips are ground symmetrically to prevent wobbling and uneven cuts.
Regularly check your progress against the intended geometry using a drill gauge or angle guide. Precise attention to these sharpening techniques guarantees your drill bit retains its cutting efficiency and extends its usable life.
Common Mistakes to Avoid When Sharpening Bits

Sharpening drill bits requires careful attention to detail, as even minor errors can reduce their effectiveness or cause damage. Avoid common sharpening errors like uneven grinding or overheating, which weaken the metal.
Precision is key when sharpening drill bits—small mistakes can diminish their strength and performance.
Drill bit misalignment during sharpening leads to poor cutting performance and shortens bit life. To guarantee precision, remember these key points:
- Maintain consistent angle and pressure while grinding.
- Use proper equipment to avoid overheating the bit.
- Keep the bit securely aligned to prevent uneven edges.
- Regularly check your progress to avoid over-sharpening.
How To Sharpen Different Types of Drill Bits
Avoiding common mistakes like uneven grinding and overheating is especially important when working with different types of drill bits, as each requires specific sharpening techniques.
For twist drill bits, hold the bit at the correct angle against a bench grinder, applying light pressure to maintain the original cutting edge.
When sharpening masonry bits, focus on restoring the carbide tip by grinding carefully with a diamond wheel.
For spade bits, sharpen the flat cutting edges using a file or a grinding wheel, ensuring the edges remain parallel.
Step bits demand attention to each step; sharpen each cutting edge individually with a fine grinding tool.
Maintaining the Right Angle and Symmetry When Sharpening
You need to maintain consistent angles to preserve the drill bit’s cutting efficiency and prevent uneven wear. Focus on achieving symmetry by sharpening both cutting edges evenly using steady, controlled movements.
Using angle guides or specialized jigs can help guarantee precision throughout the process.
Importance Of Consistent Angles
Although it may seem minor, maintaining consistent angles when sharpening a drill bit directly affects its cutting efficiency and lifespan. You need to focus on angle consistency to guarantee sharpening accuracy, which prevents uneven cutting edges and reduces vibration during drilling. Deviations can cause poor hole quality and premature bit wear.
To achieve this, keep in mind:
- Use a guide or jig to maintain the correct angle throughout sharpening
- Check the angle regularly with a protractor or angle gauge
- Apply even pressure to avoid altering the grind angle
- Sharpen both cutting edges symmetrically to balance the bit
Consistent angles optimize cutting performance, extend tool life, and reduce the risk of overheating or breakage. Prioritize sharpening accuracy to maintain your drill bit’s effectiveness.
Techniques For Symmetry
When sharpening a drill bit, maintaining perfect symmetry is essential to guarantee balanced cutting edges and peak performance. To achieve symmetrical sharpening, focus on consistent drill bit alignment throughout the process.
Start by securing the bit firmly, ensuring it remains steady and centered. Use controlled, even strokes on both cutting edges, checking frequently to maintain equal material removal. Visual inspection and measuring tools help verify symmetry and angle accuracy.
Avoid uneven pressure or shifting, which can compromise drill bit alignment and reduce effectiveness. By carefully balancing each side, you preserve the bit’s original geometry, improving cutting efficiency and prolonging tool life.
Precise symmetrical sharpening isn’t just about aesthetics; it directly impacts the drill bit’s stability and the quality of your work.
Tools To Ensure Precision
Maintaining symmetry during sharpening hinges on precise control of angles and consistent positioning. To achieve ideal results, you must use tools designed for precision measuring and apply effective sharpening techniques. These tools help keep the drill bit’s cutting edges uniform and at the correct angle, preventing uneven wear and improving performance.
Key tools to guarantee precision include:
Angle guides: Maintain the proper bevel angle consistently.
Calipers or micrometers: Measure bit dimensions for symmetrical sharpening.
Drill bit sharpeners with built-in angle control: Automate consistent positioning.
Magnifying lenses or microscopes: Inspect fine edge details for symmetry.
Using these tools, you’ll sharpen your drill bits accurately, extending their lifespan and enhancing drilling efficiency.
How Often Should You Sharpen Your Drill Bits?
You should sharpen your drill bits as soon as you notice a decline in performance, such as increased resistance or uneven drilling. The frequency depends largely on your drill’s usage and the material types you work with.
Frequent usage, especially on hard materials like metal or concrete, dulls the bit faster, requiring more regular sharpening to maintain precision and efficiency. Conversely, drilling softer materials like wood may extend the interval between sharpenings.
Monitor the bit’s cutting edges for visible wear or chipping. Establish a routine inspection after every few projects, particularly when tackling abrasive or dense materials.
Timely sharpening preserves the bit’s geometry, reduces heat buildup, and guarantees clean cuts, ultimately enhancing your tool’s lifespan and your work’s quality.
When To Replace a Drill Bit Instead of Sharpening
Although sharpening can restore many drill bits, some wear or damage makes replacement the better option. You should consider the drill bit lifespan and material composition before deciding. Hardened steel bits, for example, may become brittle after repeated sharpening, reducing effectiveness.
Sharpening helps many drill bits, but some wear or material issues make replacement the safer choice.
Replace your drill bit instead of sharpening when:
- The cutting edges are chipped or cracked beyond repair
- The drill bit shows signs of significant corrosion or rust
- The diameter is worn down, compromising hole precision
- The material composition weakens, affecting performance and safety
Conclusion
Don’t wait until your drill bit fails you—sharpen it promptly to keep your tools performing at their best. Remember, “a stitch in time saves nine.” By maintaining the correct angle and symmetry with the right tools, you’ll extend your bit’s life and guarantee precise, efficient drilling.
Regular inspections will help you decide when sharpening suffices or replacement is necessary. Stay proactive, and your drilling tasks will be smoother, safer, and more effective.
Can you sharpen a drill bit? Absolutely, and doing so regularly ensures your tool remains sharp and reliable for all your projects.