If precision is the key to your project, mastering how to use square drill bits is a must. You’ll want to start by selecting the right size and properly securing your workpiece to avoid any slips.
But before you plunge into drilling, there are essential setup steps and techniques that will save you time and prevent damage to both your bit and material.
Let’s explore how to get the best results with square drill bits.
What Are Square Drill Bits and When to Use Them
Square drill bits are specialized tools designed to create clean, square-shaped holes in wood and other soft materials. When you need precise, square holes for joinery or hardware installation, these bits come in handy.
Understanding the applications overview helps you choose the right bit for your project. Square drill bits are commonly used in woodworking for mortises, keyholes, and electrical box cutouts.
Knowing common uses like mortises and keyholes guides you to the perfect square drill bit choice.
The bit materials vary; high-speed steel (HSS) bits work well for softer woods, while carbide-tipped bits offer durability and maintain sharpness for tougher materials. When selecting a square drill bit, consider the material you’ll be drilling and the hole size required.
Using the correct bit material and understanding its applications guarantees clean cuts and prolongs tool life.
Best Projects and Applications for Square Drill Bits
When you need to create precise joinery or install hardware, these drill bits excel at producing clean, square holes that standard bits can’t achieve. Square drill bits are perfect for woodworking projects like making mortise and tenon joints, where accuracy guarantees a tight fit.
You’ll also find them useful for fitting locks or hinges, as the square hole matches hardware slots precisely. When working on furniture restoration or cabinet making, these bits help you create professional-quality joinery with minimal cleanup.
To get the best results, clamp your workpiece firmly and drill at a steady speed to avoid splintering. By using square drill bits in these projects, you’ll enhance both the strength and appearance of your woodworking, achieving consistent, sharp-edged holes every time.
Choosing the Right Size and Type of Square Bit
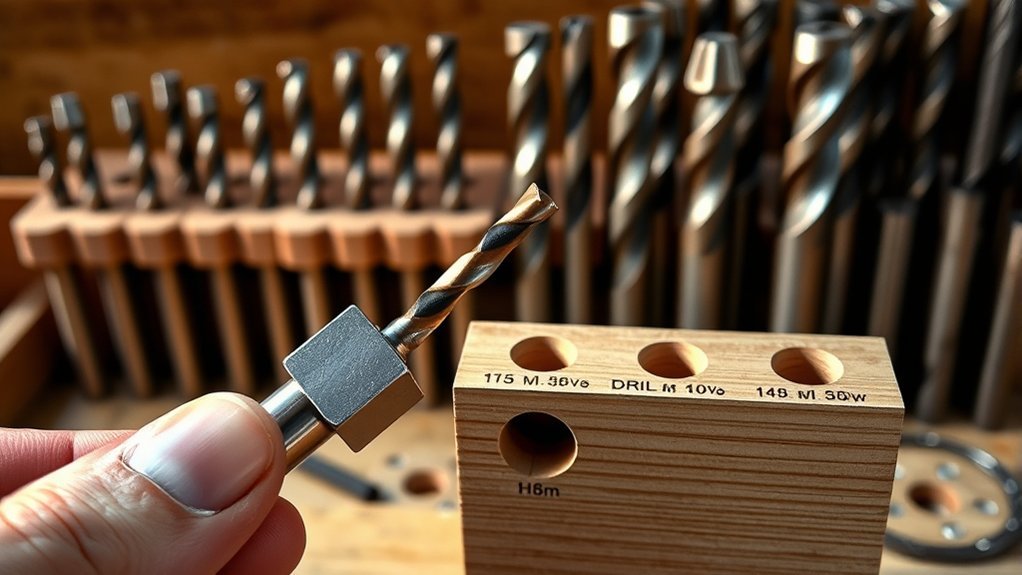
To achieve clean, precise holes for joinery or hardware installation, selecting the right size and type of square bit is key. First, match the bit size to the screw or bolt you’re using. Too large, and the hole will be loose; too small, and you risk splitting the wood.
Consider material compatibility: some bits are designed specifically for softer woods, while others handle hardwood or metal. Pay attention to bit durability by choosing bits made from high-speed steel or carbide-tipped varieties for tougher materials.
Also, check the shank type to guarantee it fits your drill chuck securely. By carefully selecting the correct bit size and type based on your project’s material and requirements, you’ll achieve accurate holes and extend your bit’s lifespan.
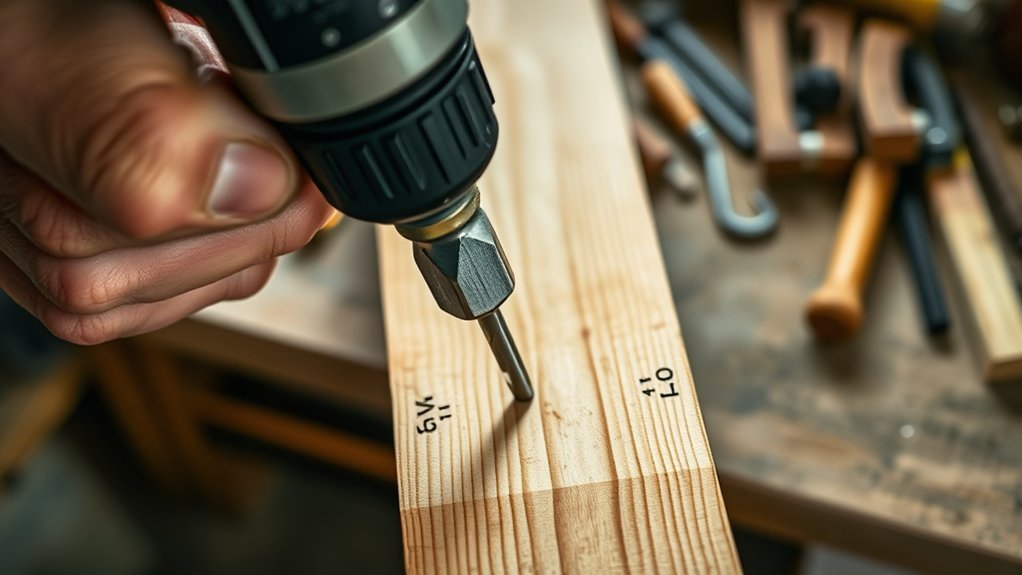
Setting Up Your Drill for Square Drill Bits
Start by selecting a drill with adjustable speed and enough torque to handle square drill bits. Securely install the square bit into the chuck, making sure it’s tight and aligned properly.
Finally, set your drill to a moderate speed and use the appropriate torque setting to prevent slipping or damage.
Choosing The Right Drill
Selecting the right drill is essential for getting clean, precise holes with square drill bits. Start by considering drill types: corded drills offer consistent power, while cordless ones provide mobility but may vary in torque.
Choose a drill with adjustable speed settings to control cutting speed for different drill materials like softwood or hardwood. Make sure your drill has a chuck that can securely hold square bits, usually requiring a keyed or keyless chuck rated for larger bit shanks.
Also, pick a drill with sufficient torque to handle resistance without stalling. Avoid lightweight drills that can wobble or lack power, as this affects hole quality. By matching your drill type and capabilities to your material and bit size, you’ll guarantee ideal performance and clean, accurate results every time.
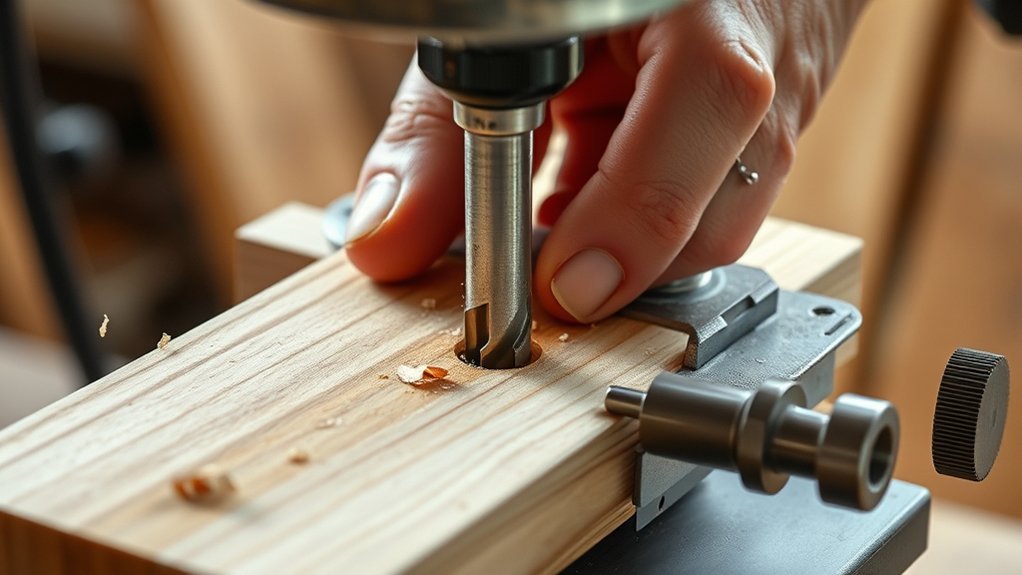
Installing The Square Bit
Before you begin drilling, securely install the square bit into your drill’s chuck to guarantee stability and accuracy. Start by loosening the chuck jaws using the chuck key or by hand if it’s a keyless chuck. Insert the square bit fully, making sure it seats firmly against the chuck’s base.
Tighten the chuck jaws evenly to prevent wobbling during operation. Using proper installation techniques minimizes bit slippage, which is essential for maintaining the square bit benefits, such as precise, clean holes and enhanced torque transfer. Double-check that the bit is aligned straight to avoid damaging your workpiece or the bit itself.
Taking these steps guarantees your drill is set up correctly, maximizing performance and safety when working with square drill bits.
Adjusting Drill Settings
Although square drill bits are designed for durability and precision, you’ll need to adjust your drill’s settings to match their unique requirements. Start by lowering the drill speed; square bits perform best at moderate speeds to prevent overheating and maintain control.
Next, focus on torque adjustment. Set it to a higher level than you would for standard bits because square bits engage more material and need extra force. If your drill has variable speed and torque controls, use them to fine-tune the settings as you work, ensuring smooth, consistent cuts without bit slippage.
Always test on scrap material first to confirm the drill speed and torque are optimized. This careful setup will extend your bit’s life and improve the quality of your holes.
How to Drill Square Holes Safely: Step-by-Step Guide
When you need to drill square holes safely, following a precise step-by-step process is essential to avoid damaging your material or tools. First, secure your workpiece firmly to prevent movement. Next, wear appropriate safety gear, gloves and eye protection are a must.
Mark the hole location clearly. Start drilling with a pilot hole to guide the square bit. Set your drill to a slow speed to maintain control and reduce heat buildup.
Carefully insert the square drill bit, paying close attention to the drill depth to avoid going too deep. Apply steady, even pressure without forcing the bit. Periodically withdraw the bit to clear debris.
Finally, turn off the drill and inspect the hole, ensuring it’s square and clean. Following these safety precautions will help you achieve precise results without accidents.
Tips for Drilling Smooth, Accurate Square Holes
Choose the right square drill bit size for your material to guarantee a clean cut. Keep your drill steady and maintain consistent pressure to avoid wobbling.
These simple steps will help you achieve smooth, accurate square holes every time.
Proper Bit Selection
Selecting the right square drill bit is essential for achieving clean, precise holes without damaging your workpiece. To guarantee bit compatibility and consider material requirements, follow these guidelines:
- Match the bit size to your hole dimensions to prevent excessive force and tear-out.
- Consider the material hardness; use high-speed steel bits for softwoods and carbide-tipped bits for metals or hardwoods.
- Check shank compatibility with your drill chuck to avoid slippage during operation.
- Opt for bits with sharp, well-defined edges tailored to your material to maintain hole accuracy and reduce heat buildup.
Steady Drill Technique
Maintain a steady hand and consistent pressure as you drill to guarantee smooth, accurate square holes. Focus on drill stability by securing your workpiece and using proper hand positioning. Hold the drill firmly with both hands.
Avoid wobbling, as it distorts the hole shape. Start drilling slowly to establish the bit’s path before increasing speed.
| Tip | Explanation |
|---|---|
| Hand Positioning | Grip drill with dominant hand; support with the other for control. |
| Consistent Pressure | Apply steady pressure to prevent bit wandering. |
| Speed Control | Begin slow to guide the bit, then increase speed gradually. |
| Workpiece Securement | Clamp material to maintain stability during drilling. |
Following these steps guarantees precision and clean square holes every time.
Common Mistakes When Using Square Drill Bits
Although square drill bits are straightforward tools, many users make avoidable errors that reduce efficiency and damage materials. Knowing the common square mistakes helps you avoid square errors and get cleaner, more precise holes.
- Applying too much pressure. Let the bit do the work; forcing it can break the bit or splinter the wood.
- Using dull bits. Always sharpen or replace dull bits to maintain clean cuts and reduce effort.
- Incorrect speed. High speeds can burn wood or cause bit damage; use moderate speed for control.
- Skipping pilot holes. Starting without a pilot hole risks wandering and uneven holes.
Troubleshooting Square Drill Bit Issues
Even with the right techniques, you might encounter issues when using square drill bits. First, check for bit compatibility issues. Confirm your bit matches both the material and your drill’s chuck size. Using the wrong bit can cause poor performance or damage.
Next, adjust your drill speed. Square bits often require slower speeds to prevent overheating and guarantee clean cuts. If the bit binds or skids, reduce speed and apply steady pressure.
If the hole isn’t clean or the bit wanders, verify proper alignment and bit sharpness. Finally, if the bit jams, reverse the drill slightly to free it. By addressing these factors—compatibility, speed, alignment—you’ll troubleshoot most square drill bit problems efficiently and improve your drilling results.
Cleaning and Maintaining Square Drill Bits
Since square drill bits face significant wear during use, regular cleaning and maintenance are essential to keep them sharp and effective. You can extend their life and improve performance by following these cleaning techniques and maintenance tips:
- Remove debris and dust using a stiff brush after each use.
- Wipe the bit with a lightly oiled cloth to prevent rust.
- Inspect the edges for dullness; sharpen with a file or grinding tool as needed.
- Store bits in a dry, organized case to avoid damage and corrosion.
Conclusion
Now that you know the essential steps to master square drill bits, the real challenge begins—putting it all into practice. Will you achieve those crisp, precise square holes every time, or stumble on common pitfalls?
With careful setup, steady pressure, and regular cleaning, you’re set to access professional results. So grab your drill, follow the guide, and watch your projects transform.
Ready to drill squares like a pro? Let’s get started with your square drill bits and make every hole count!