Imagine you’re working on a home project and need to swap out a drill bit quickly, but the drill chuck won’t budge. Knowing how to open a drill chuck to remove a bit efficiently is essential.
To handle this properly, you first need to determine whether your drill has a keyed or keyless chuck. Each type requires a different approach to loosen it safely and effectively.
Getting this step right is vital for both your safety and the longevity of your tool.
Mastering the proper method can save you time and frustration down the line.
How to Identify Your Drill Chuck Type
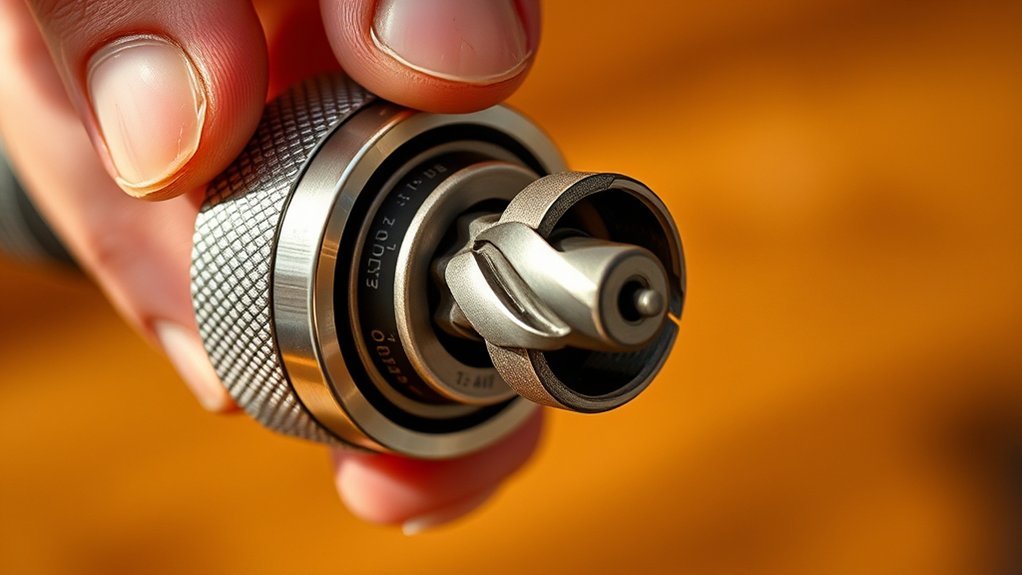
Before you can open your drill chuck, you need to identify its type accurately. There are three primary drill chuck types: keyed, keyless, and SDS.
Keyed chucks feature a toothed ring and require a chuck key to tighten or loosen the grip. Keyless chucks have a smooth, knurled sleeve that you rotate manually without additional tools.
SDS chucks, common in hammer drills, use a specialized locking mechanism for quick bit changes. To identify these drill chuck types, examine the presence or absence of a keyhole, the shape and texture of the outer sleeve, and the locking mechanism style.
Recognizing these identifying features guarantees you apply the correct method for opening your drill chuck, preventing damage and streamlining bit removal.
How to Hold the Drill for Easier Chuck Opening
Two key points determine how you hold your drill to open the chuck efficiently: stability and leverage. Use a proper grip by firmly grasping the drill handle with your dominant hand while supporting the chuck area with the other. This guarantees drill stability and allows you to apply the necessary force to loosen the chuck without slipping.
| Grip Position | Purpose |
|---|---|
| Dominant Hand | Controls drill operation |
| Supporting Hand | Stabilizes chuck |
| Wrist Alignment | Maximizes torque |
| Body Posture | Prevents fatigue |
Maintain wrist alignment to maximize torque and position your body for comfort. This methodical hold reduces effort and improves control when opening the chuck.
How to Open a Keyless Drill Chuck
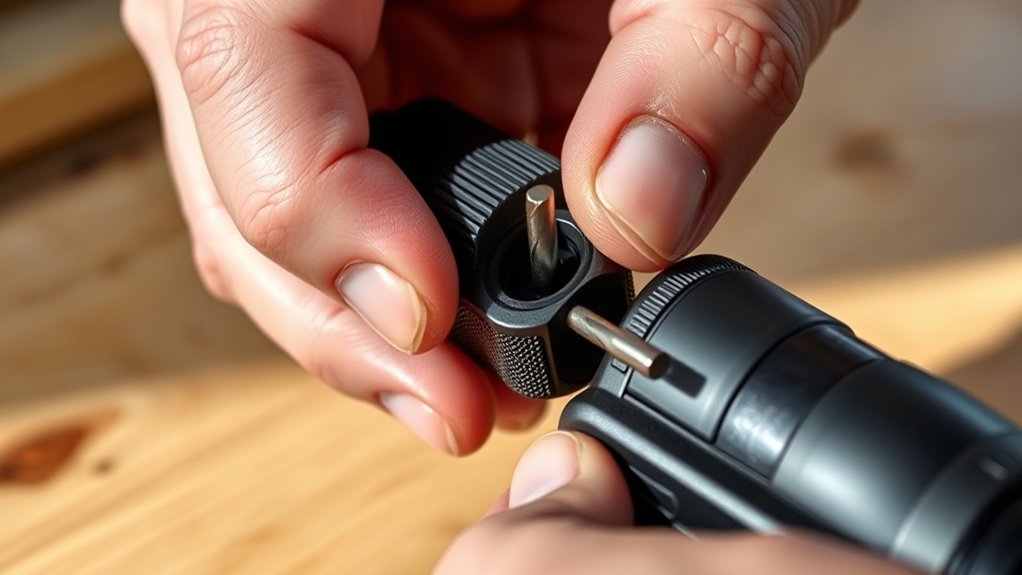
When you need to open a keyless drill chuck, you’ll first grip the chuck firmly with one hand while holding the drill handle steady with the other. Keyless chucks rely on threaded sleeves that tighten or loosen by rotating the outer collar.
To open the chuck, rotate the collar counterclockwise, applying steady, controlled force. This action disengages the clamping mechanism, allowing the jaws to retract and release the drill bit.
Keyless chuck designs vary slightly, but the principle remains consistent: manual rotation controls jaw movement without additional tools. Ascertain you maintain a firm grip to prevent slippage and avoid applying excessive force, which could damage the chuck’s threads.
Following this methodical approach will efficiently open the chuck, enabling safe and quick bit removal or replacement.
How to Use a Chuck Key to Loosen the Bit
Although keyless chucks offer convenience, using a chuck key provides greater torque and security for tightening or loosening drill bits. To loosen the bit, insert the chuck key into the chuck’s gear teeth. Turn it counterclockwise steadily until the jaws open enough to release the bit.
Choose the right chuck key type for your drill, as sizes vary. Here are essential chuck key tips to guarantee effective operation:
| Step | Action |
|---|---|
| 1. Insert | Align chuck key with gear teeth |
| 2. Turn | Rotate counterclockwise with firm grip |
| 3. Open Jaws | Continue until jaws loosen fully |
| 4. Remove Bit | Carefully extract the bit |
Following this method prevents damage and guarantees secure loosening of the drill bit.
How to Remove a Stuck or Rusty Drill Bit Safely
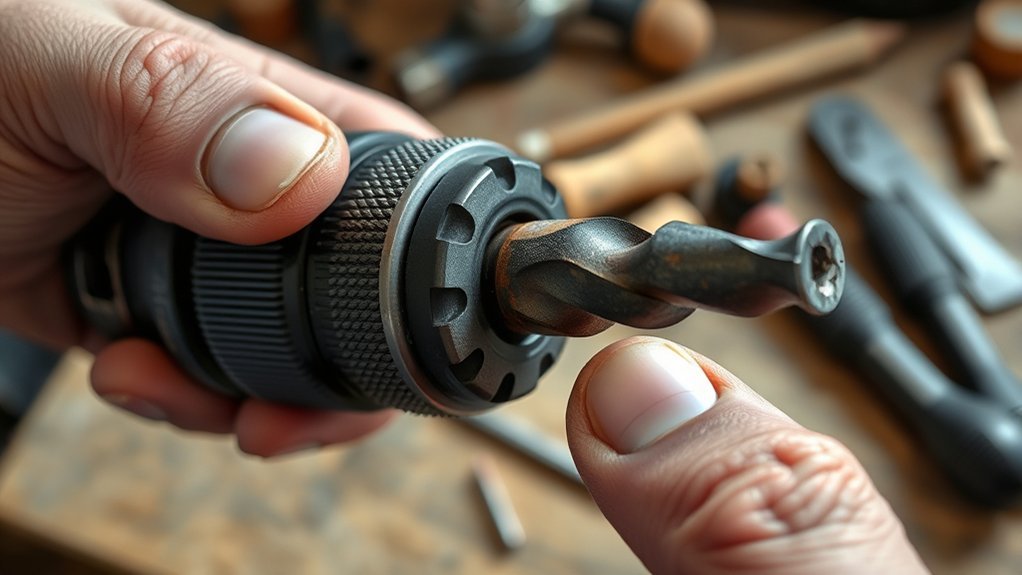
If a drill bit becomes stuck or rusty, you’ll need to apply specific techniques to remove it without causing damage. Begin rusty bit removal by applying a penetrating lubricant to the chuck and bit interface; allow it to soak for 10–15 minutes.
Use a wrench or pliers to gently rotate the chuck counterclockwise, avoiding excessive force that could damage the chuck teeth. If the bit remains stuck, tap the chuck lightly with a rubber mallet to break corrosion bonds.
For safe extraction, hold the drill firmly and guarantee proper lighting to monitor progress. Avoid using heat, as it might damage the drill.
Once loosened, clean the chuck and bit thoroughly to prevent future rust buildup. Following this methodical approach guarantees you remove stuck or rusty bits efficiently and safely.
How to Insert and Tighten Bits in Your Drill Chuck
After safely removing any stuck or rusty bits, you’re ready to insert and tighten new drill bits into your chuck. Select the appropriate bit type and size to match your project and drill sizes. Follow these steps methodically:
- Open the chuck jaws fully by rotating the chuck sleeve counterclockwise.
- Insert the shank of the chosen drill bit, ensuring it sits straight within the jaws.
- Rotate the chuck sleeve clockwise to close the jaws around the bit, applying firm, even pressure.
- If your drill has a keyed chuck, use the chuck key to tighten securely; for keyless chucks, tighten by hand until the bit is immovable.
This procedure guarantees the bit is held firmly, reducing slippage and ensuring precise drilling performance.
How to Troubleshoot Common Drill Chuck Problems
If your drill chuck jams, it’s often due to debris buildup or worn components interfering with the mechanism. You’ll need to carefully inspect the chuck for obstructions and apply penetrating oil to loosen stuck parts.
Following a systematic approach guarantees you restore smooth operation without causing damage.
Chuck Jamming Causes
Though drill chucks are designed for smooth operation, they can jam due to several common mechanical issues. You’ll find that drill misuse and improper maintenance often lead to these problems. To troubleshoot effectively, focus on these four key causes:
- Debris Accumulation: Dirt and metal shavings can clog the chuck mechanism, preventing smooth movement.
- Lack of Lubrication: Without regular oiling, internal components seize up, causing stiffness or locking.
- Worn or Damaged Gears: Continuous heavy use or misuse can wear teeth, leading to misalignment and jamming.
- Corrosion: Exposure to moisture causes rust that binds parts together, especially if maintenance is neglected.
Identifying the root cause helps you apply the correct remedy and avoid further damage.
Loosening Stuck Chucks
When your drill chuck jams due to debris, corrosion, or worn gears, you need a systematic approach to loosen it without causing damage. Start by applying rust removal techniques like penetrating oil to break down corrosion.
Next, gently tap the chuck with a rubber mallet to dislodge debris. If still stuck, use stuck chuck solutions such as a strap wrench to gain extra leverage without marring the surface.
| Issue | Solution | Tool Needed |
|---|---|---|
| Rust buildup | Penetrating oil | Lubricant |
| Debris lodged | Gentle tapping | Rubber mallet |
| Tight grip | Extra leverage | Strap wrench |
Follow these steps methodically to guarantee safe, effective loosening of your drill chuck.
How to Maintain Your Drill Chuck for Smooth Operation
To keep your drill chuck operating smoothly, you need to clean it regularly to remove dust and debris that can cause jamming. Apply lubricant sparingly to the moving parts to reduce friction without attracting excess dirt.
Following these maintenance steps will extend the chuck’s lifespan and guarantee consistent performance.
Regular Cleaning Tips
Maintaining your drill chuck requires consistent cleaning to prevent debris buildup that can impair its gripping ability and smooth operation. Proper drill maintenance hinges on effective cleaning techniques that remove dust, metal shavings, and grease.
Follow these steps for regular cleaning:
- Use a stiff brush to dislodge particles trapped between the jaws and inside the chuck.
- Blow compressed air into the chuck to clear residual debris from hard-to-reach areas.
- Wipe the chuck exterior and jaws with a clean cloth dampened with a mild solvent.
- Inspect the chuck for wear or damage after cleaning to address issues promptly.
Adhering to these cleaning techniques guarantees your drill chuck maintains peak performance and longevity.
Lubrication Best Practices
Cleaning your drill chuck lays the groundwork for effective lubrication, which directly impacts its smooth operation and longevity. After removing debris, select appropriate lubrication types—light machine oil or specialized drill chuck grease work best. Avoid heavy greases that attract dust or cause buildup.
Use a precision applicator or needle oiler to deliver lubricant directly into the chuck’s moving parts, including the jaws and the spindle interface. Apply sparingly to prevent excess oil from contaminating your workpiece.
Rotate the chuck’s collar several times to evenly distribute the lubricant throughout internal components. Regularly inspect the chuck for signs of wear or dry spots, and reapply lubricant as needed.
Following these application techniques guarantees your drill chuck maintains consistent gripping force and reduces friction, extending its operational life.
Conclusion
Now that you’ve mastered opening your drill chuck, you’re basically a mechanical wizard—no bit will ever hide from you again! With precise grip, correct technique, and a little patience, loosening even the most stubborn chuck becomes child’s play.
Keep these steps sharp, and you’ll breeze through every project like a pro. Remember, a well-maintained chuck isn’t just convenient—it’s the secret weapon that keeps your drill running flawlessly every single time.
Mastering how to open drill chuck to remove bit ensures your tools stay efficient and ready for any task ahead.